How to Submit a Realty Report Ad Design in the Customer Portal
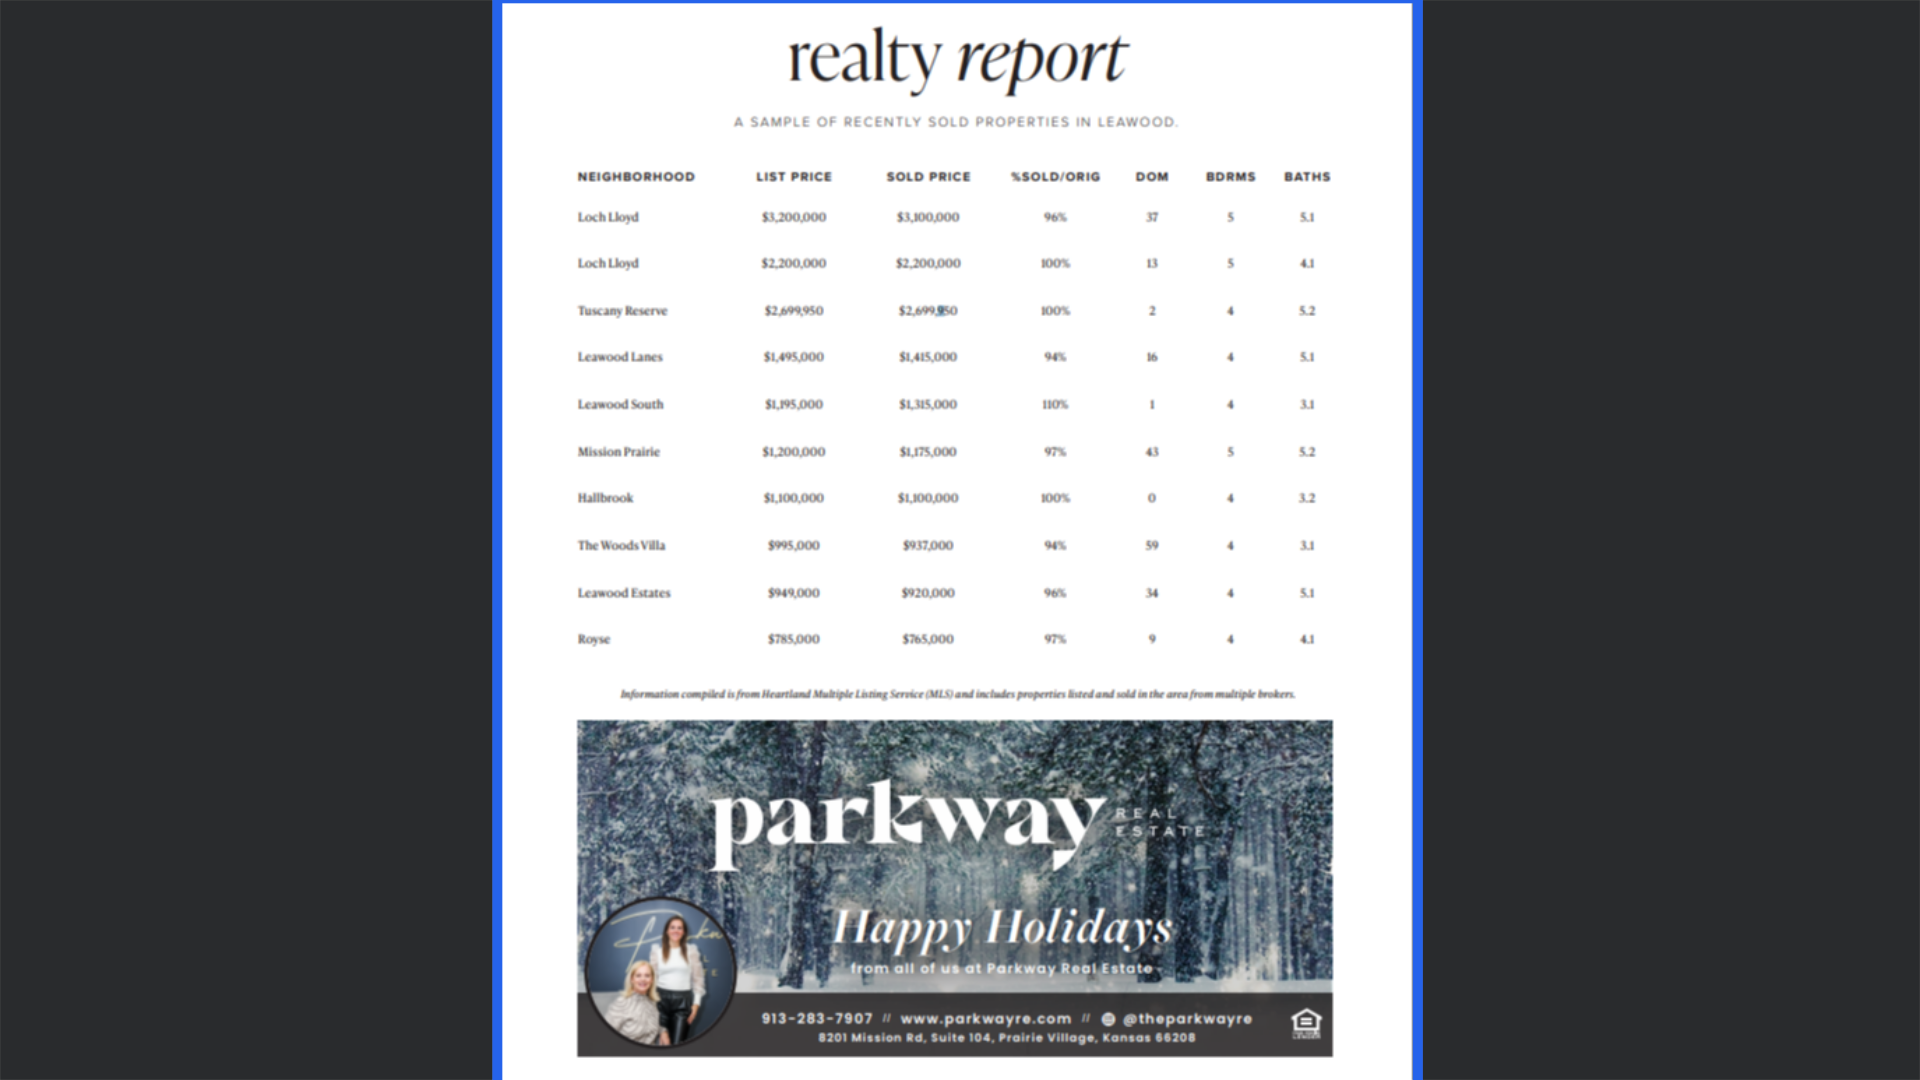
The Realty Report provides a professional, branded way to showcase recent property sales in your area, with two parts: a table for your MLS data (featuring 10 to 25 listings) and a customizable ⅓ page ad below. City Lifestyle manages the layout and design of the Realty Table to ensure brand consistency, while you provide the MLS data.
- City Lifestyle designers are responsible for creating the Realty Report, and Creative Design Services are required for all Realty Reports.
- All information must be submitted to the ARC system by the publication's Creative Design Request deadline.
- You can submit a print-ready design for the ad at the bottom of the Realty Report, or our team can create one using a standard template.
- The information for the ⅓ page ad portion must also be submitted through the Creative Design Request at the same time as the MLS data, by the Creative Design Request deadline.
Only Realty Reports designed by the City Lifestyle team are featured in the publication’s Table of Contents, offering added visibility. Only one Realty Report is allotted in the magazine per issue. Designs created by the client are not considered a realty report and must be in the agreement as a regular ad.
- Log into your Customer Portal via https://citylifestylehq.com using your credentials.
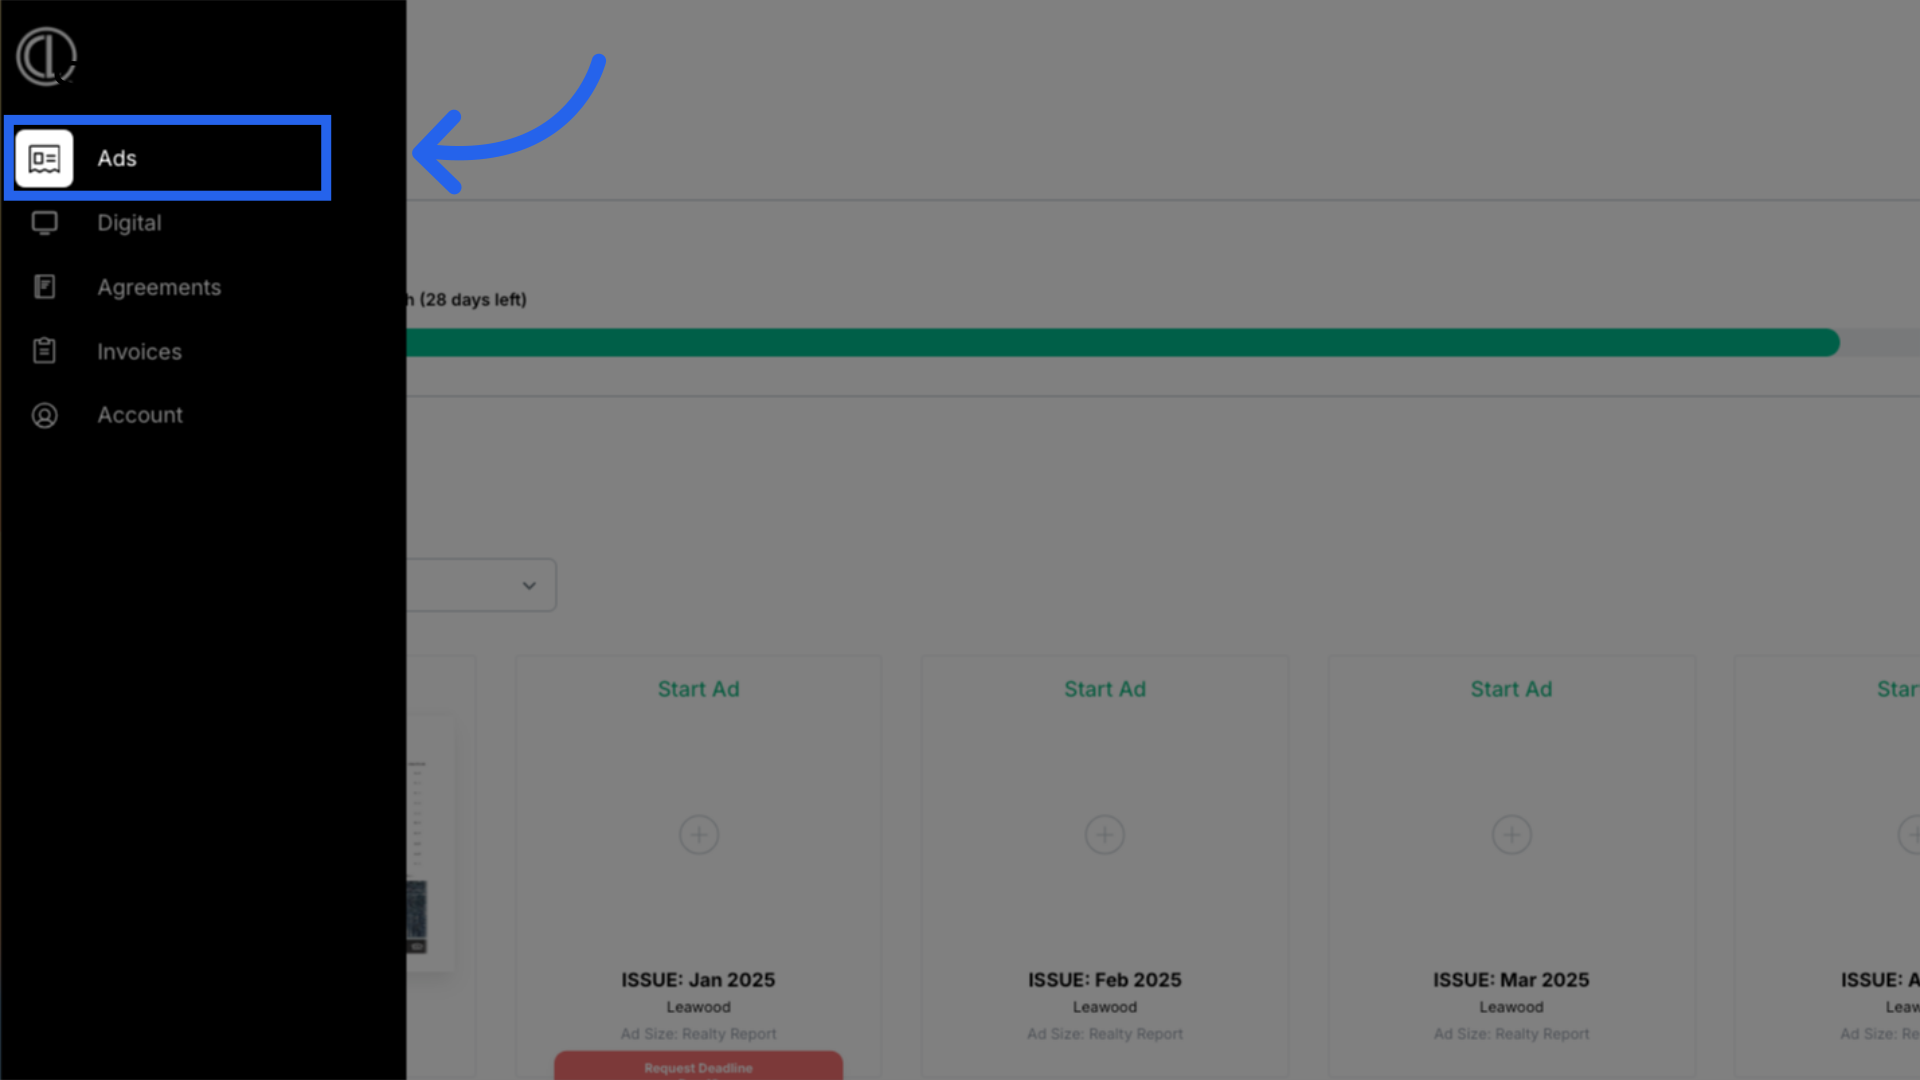
- On the left side menu, click the Ads Tab.
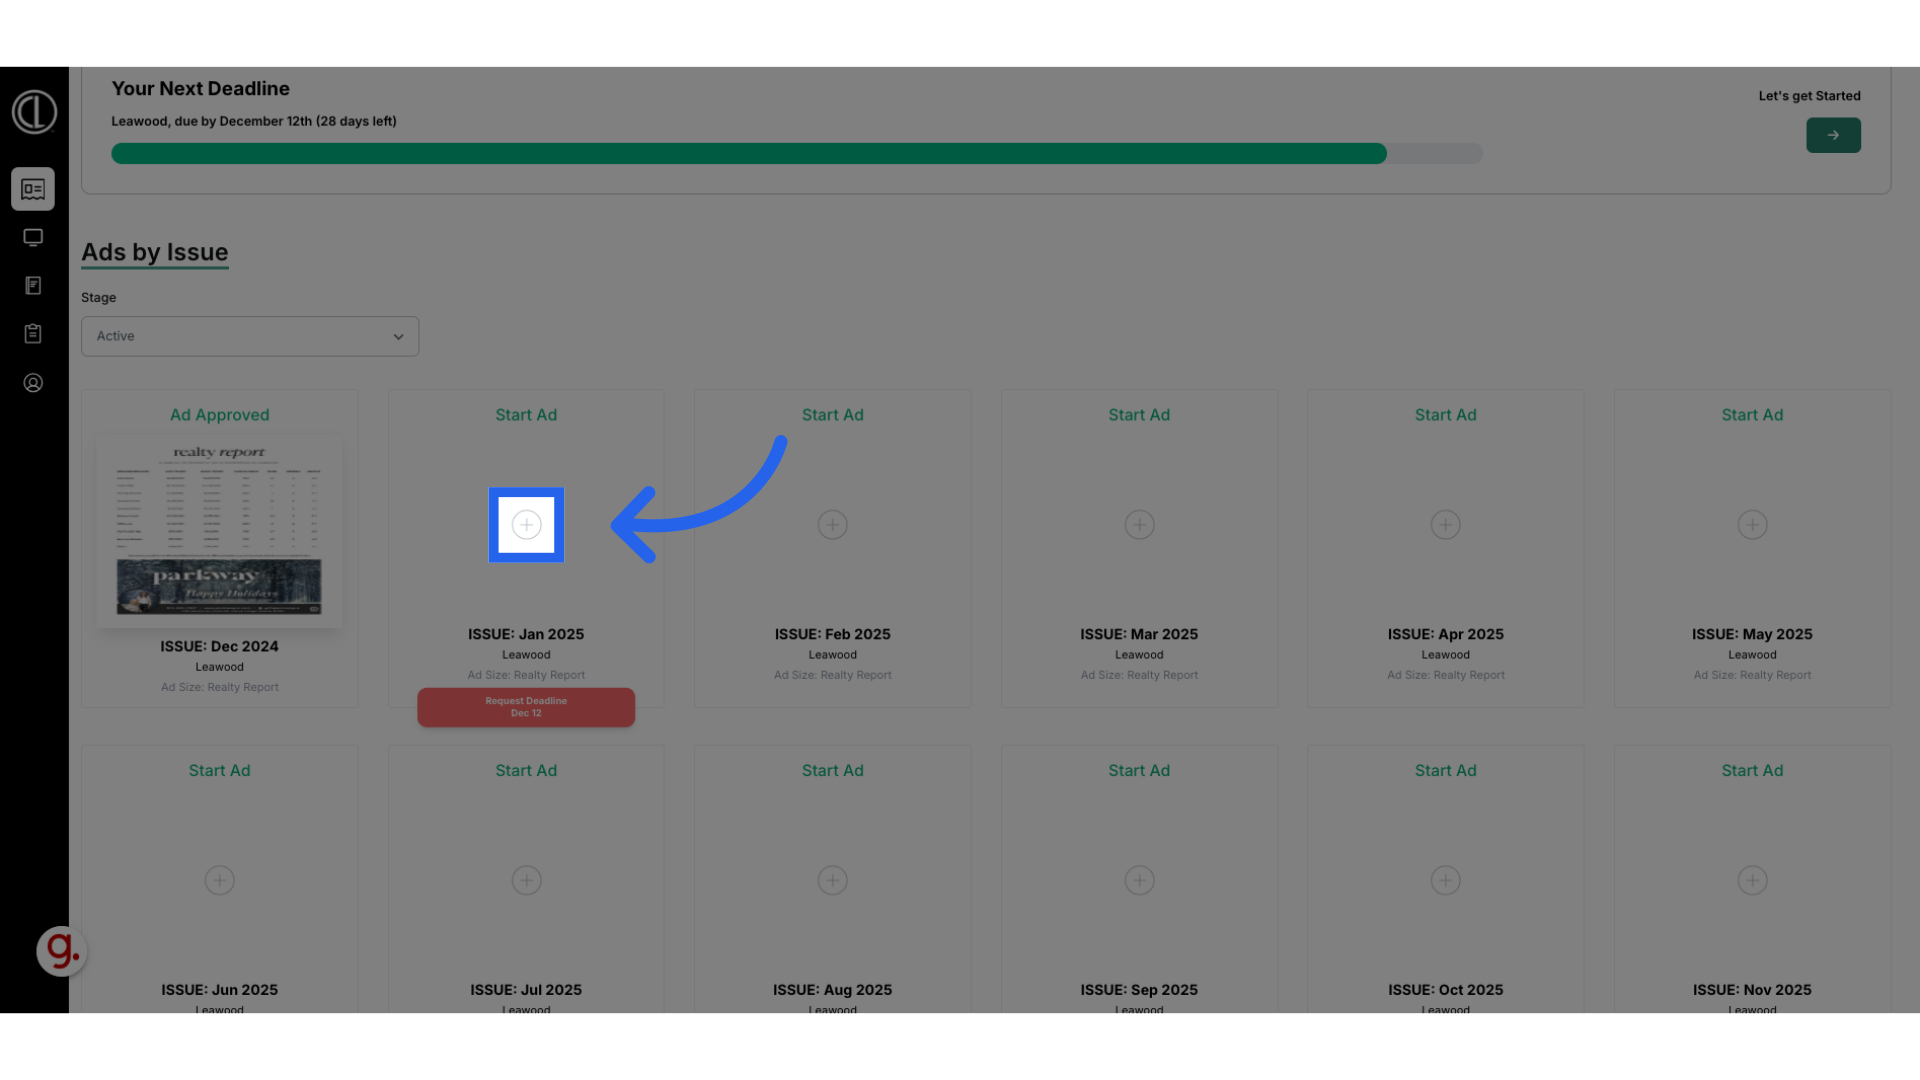
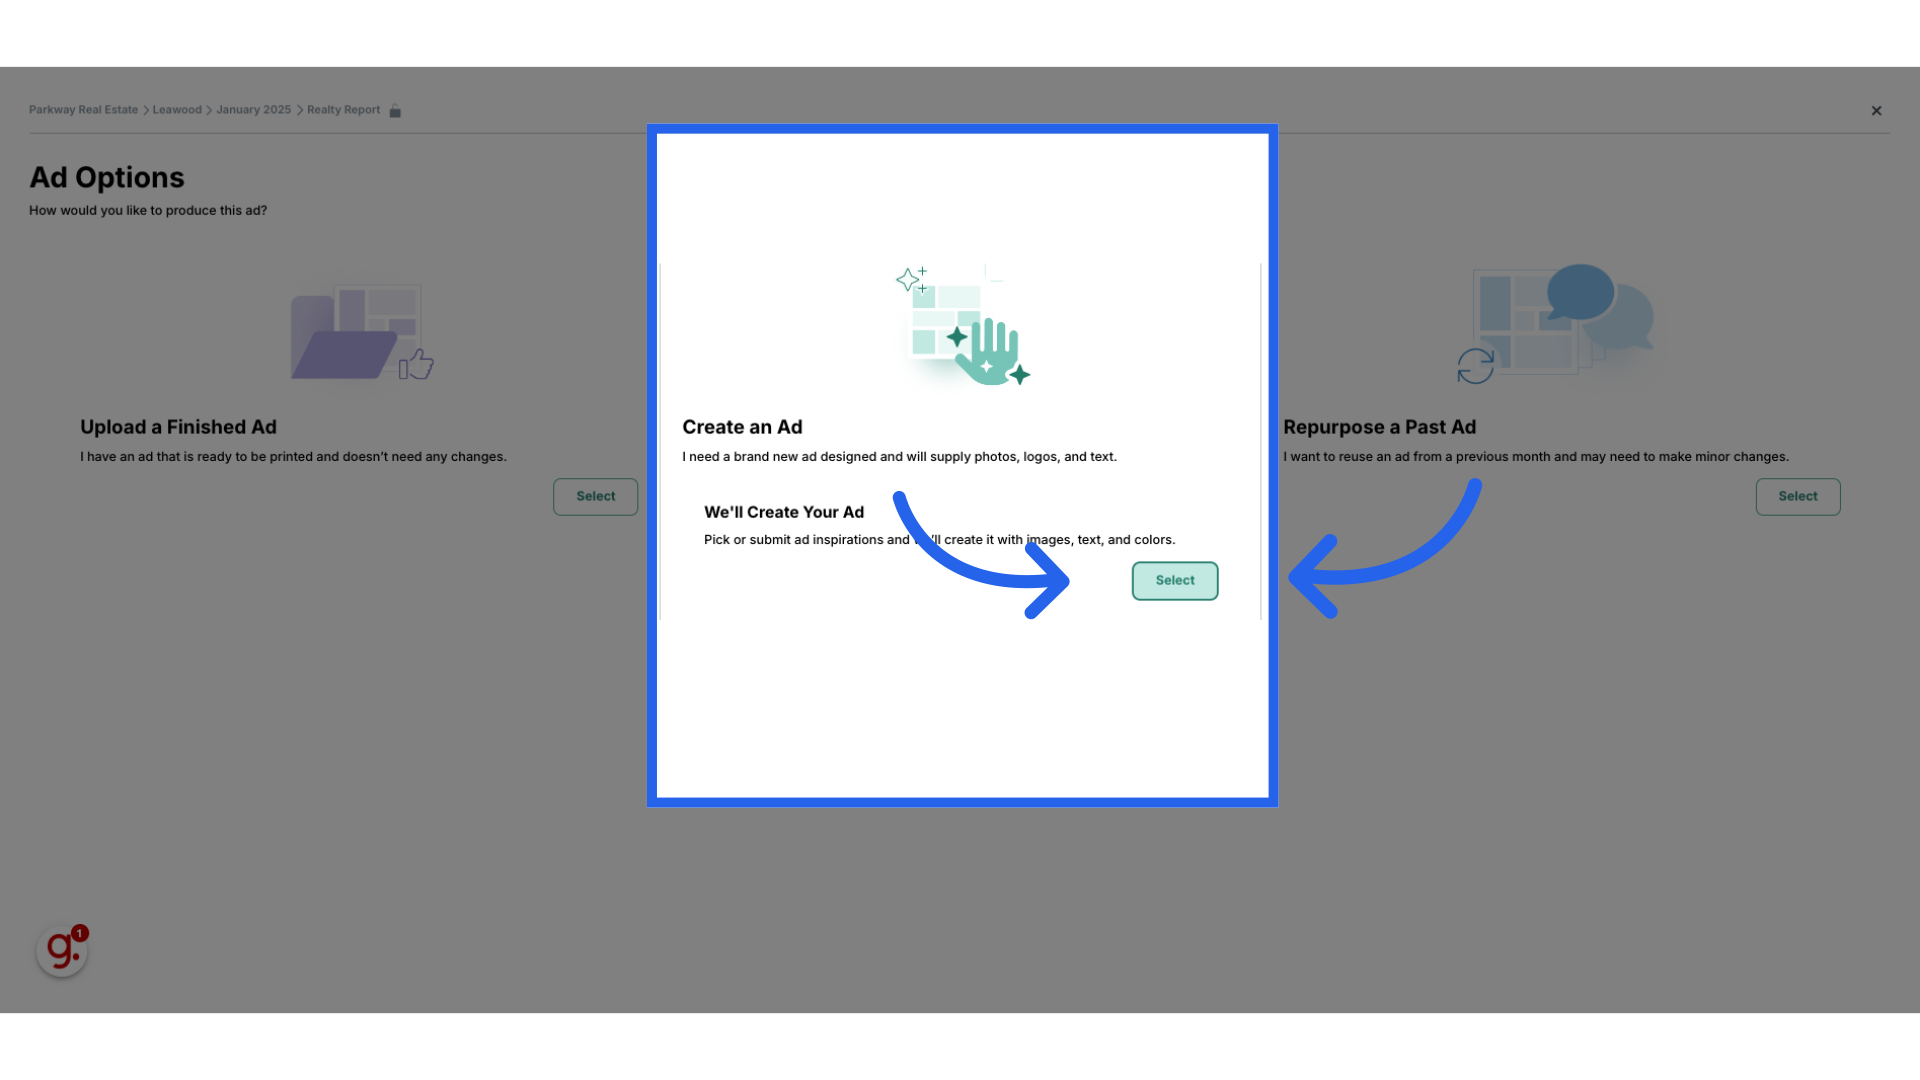
- On the “Ads” main page, find the correct month you will be submitting an ad for, and click on the gray plus sign symbol. (Red deadline box = current month. No red deadline box = future month.) In the center of the new window page, select “Create An Ad”.
- Field 1: Select Your Ad Style
- Skip this field as it is unavailable for the Realty Report ad since the ⅓ page ad is standardized for the Realty Report Insertion.
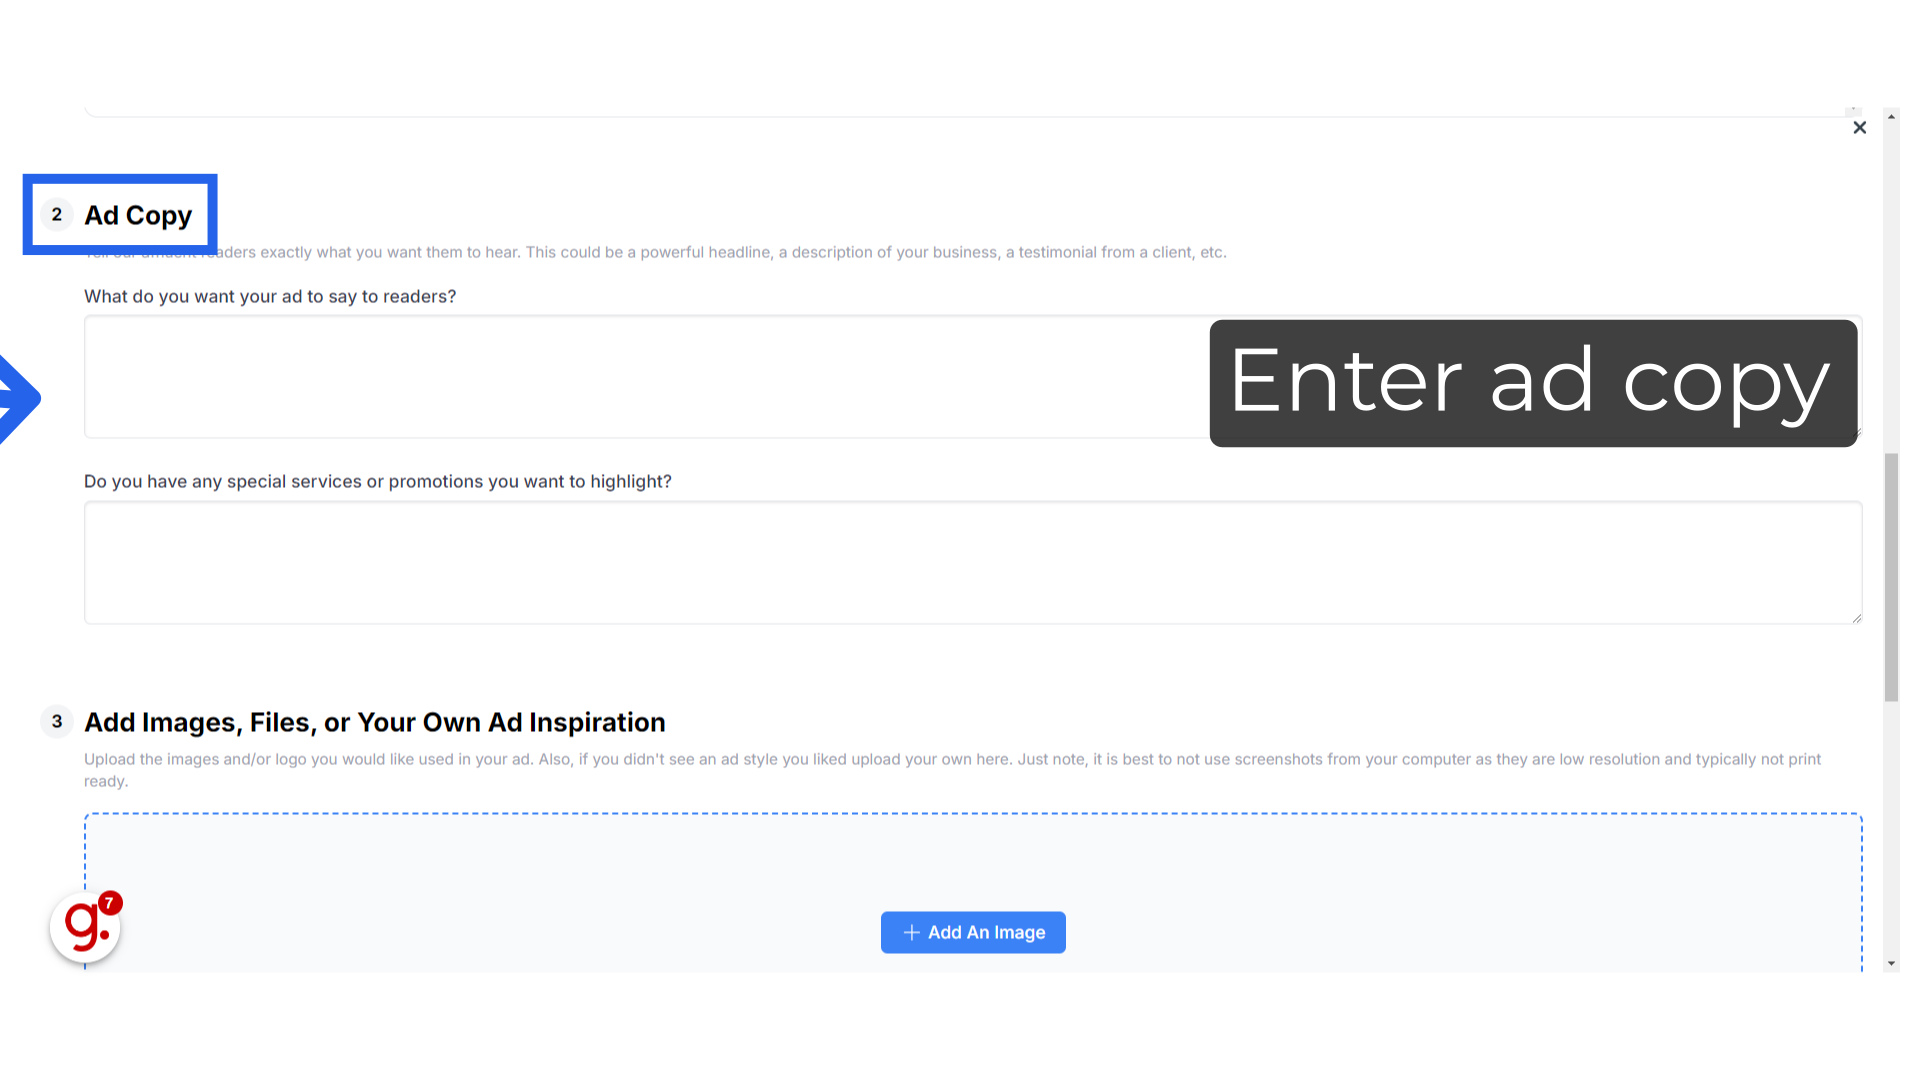
- Field 2: Ad Copy
- If you’re providing a Print-Ready ⅓ page ad to be placed below the Realty Report, skip to Field #3.
- If you want the design team to create the ⅓ page ad placed below the Realty Report, enter the text that will go into your ⅓ page ad.
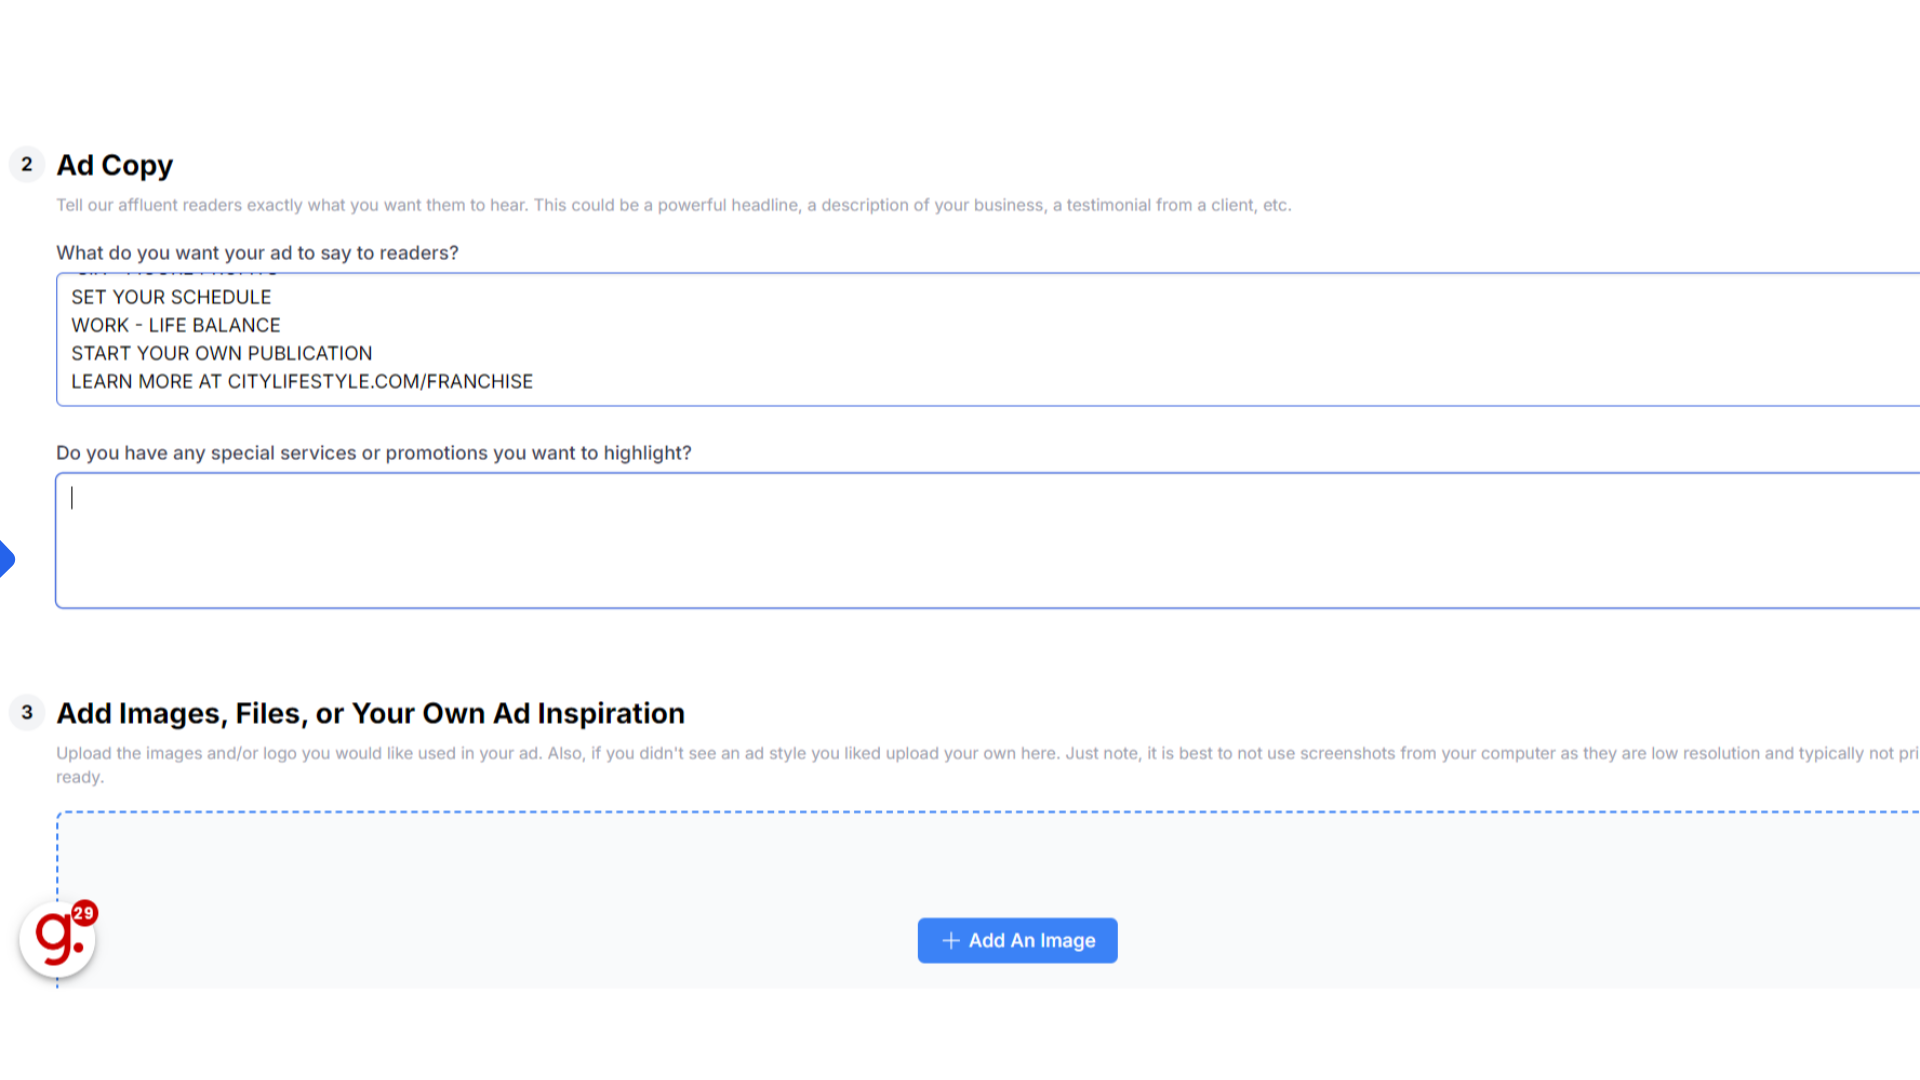
- “What do you want your ad to say to your readers?” is required and where you will need to enter all of the specific text you want within your ad. You can provide your list of services, product descriptions, a powerful headline, testimonials, or anything that you believe is important for the reader to know.
- “Do you have any special services or promotions you want to highlight?” is not required, but you can add any key offers or promotions you want prominently featured, such as sales or unique services. This is optional but recommended.
- Please note that Designers will apply all text listed in the copy fields to this ad. All notes should be entered in the remaining fields.
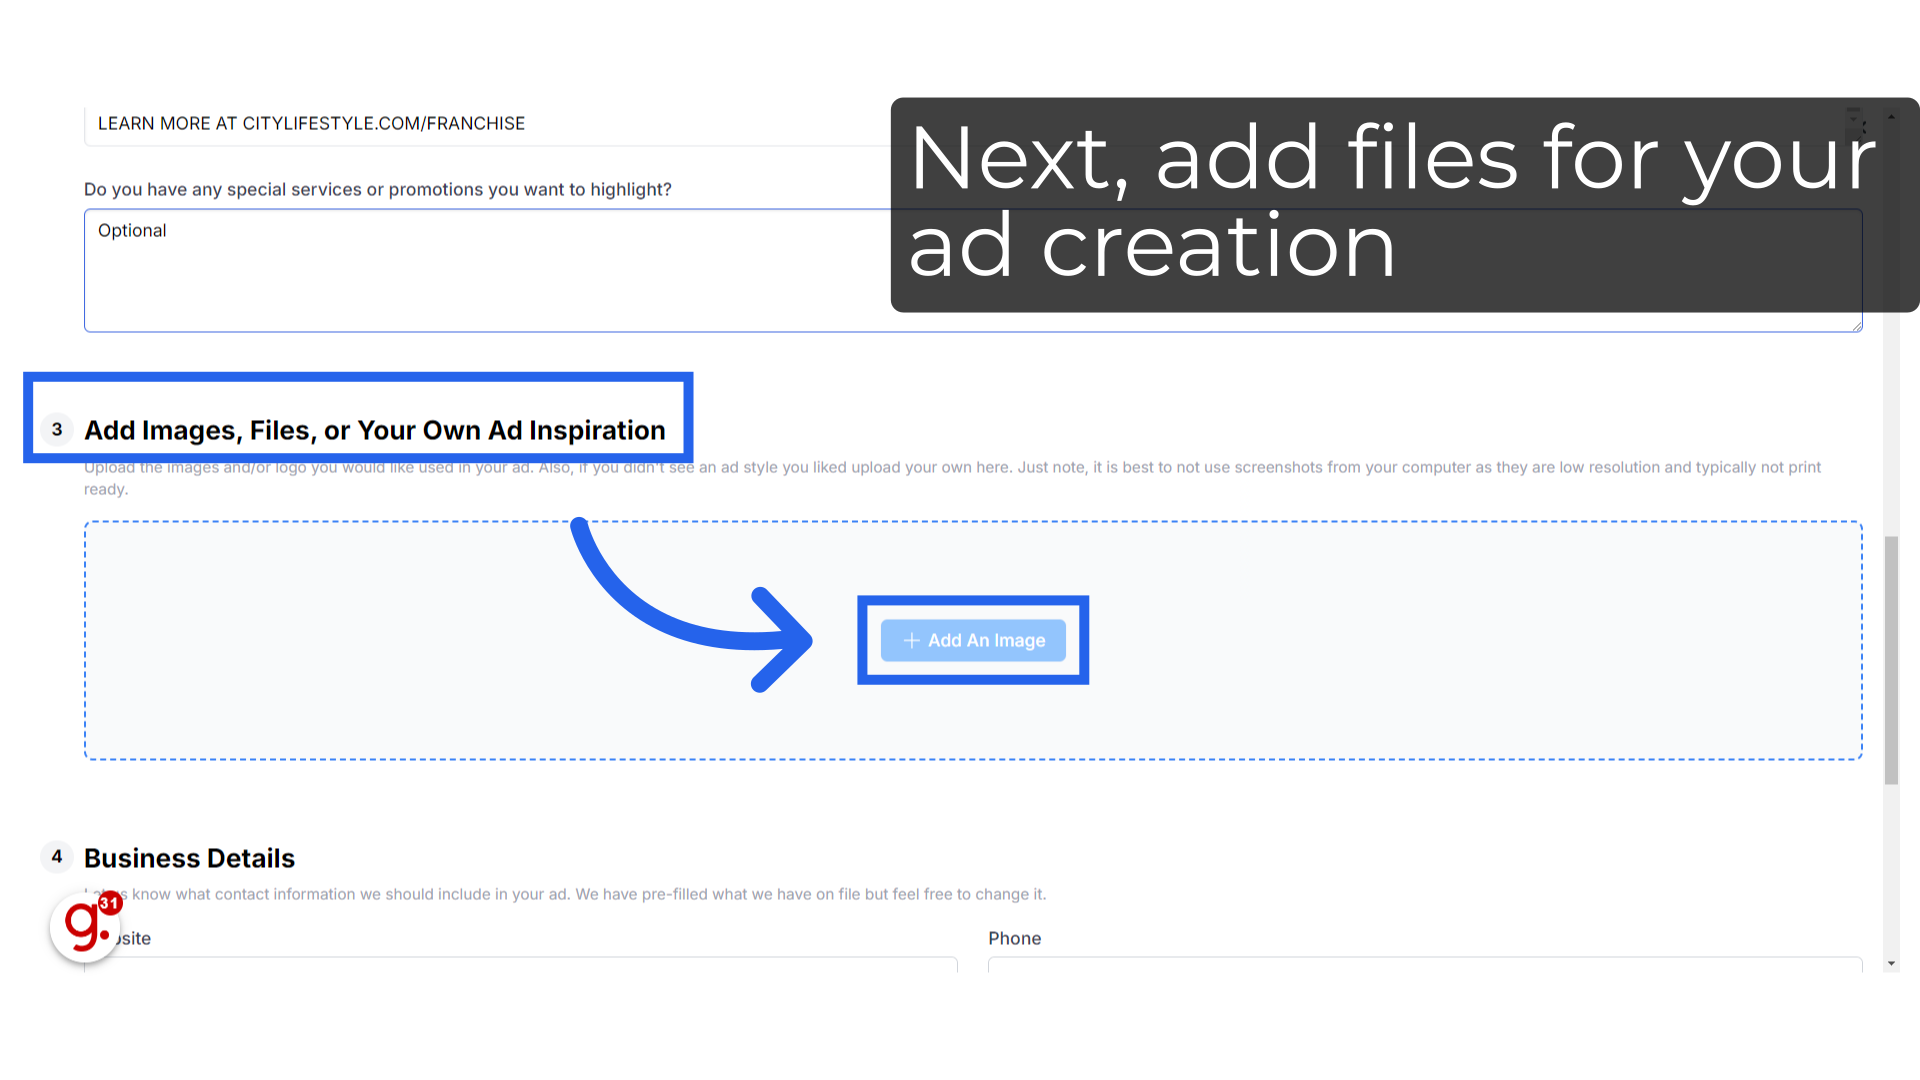
- Field 3: Add Images, Files, or Your Ad Inspiration
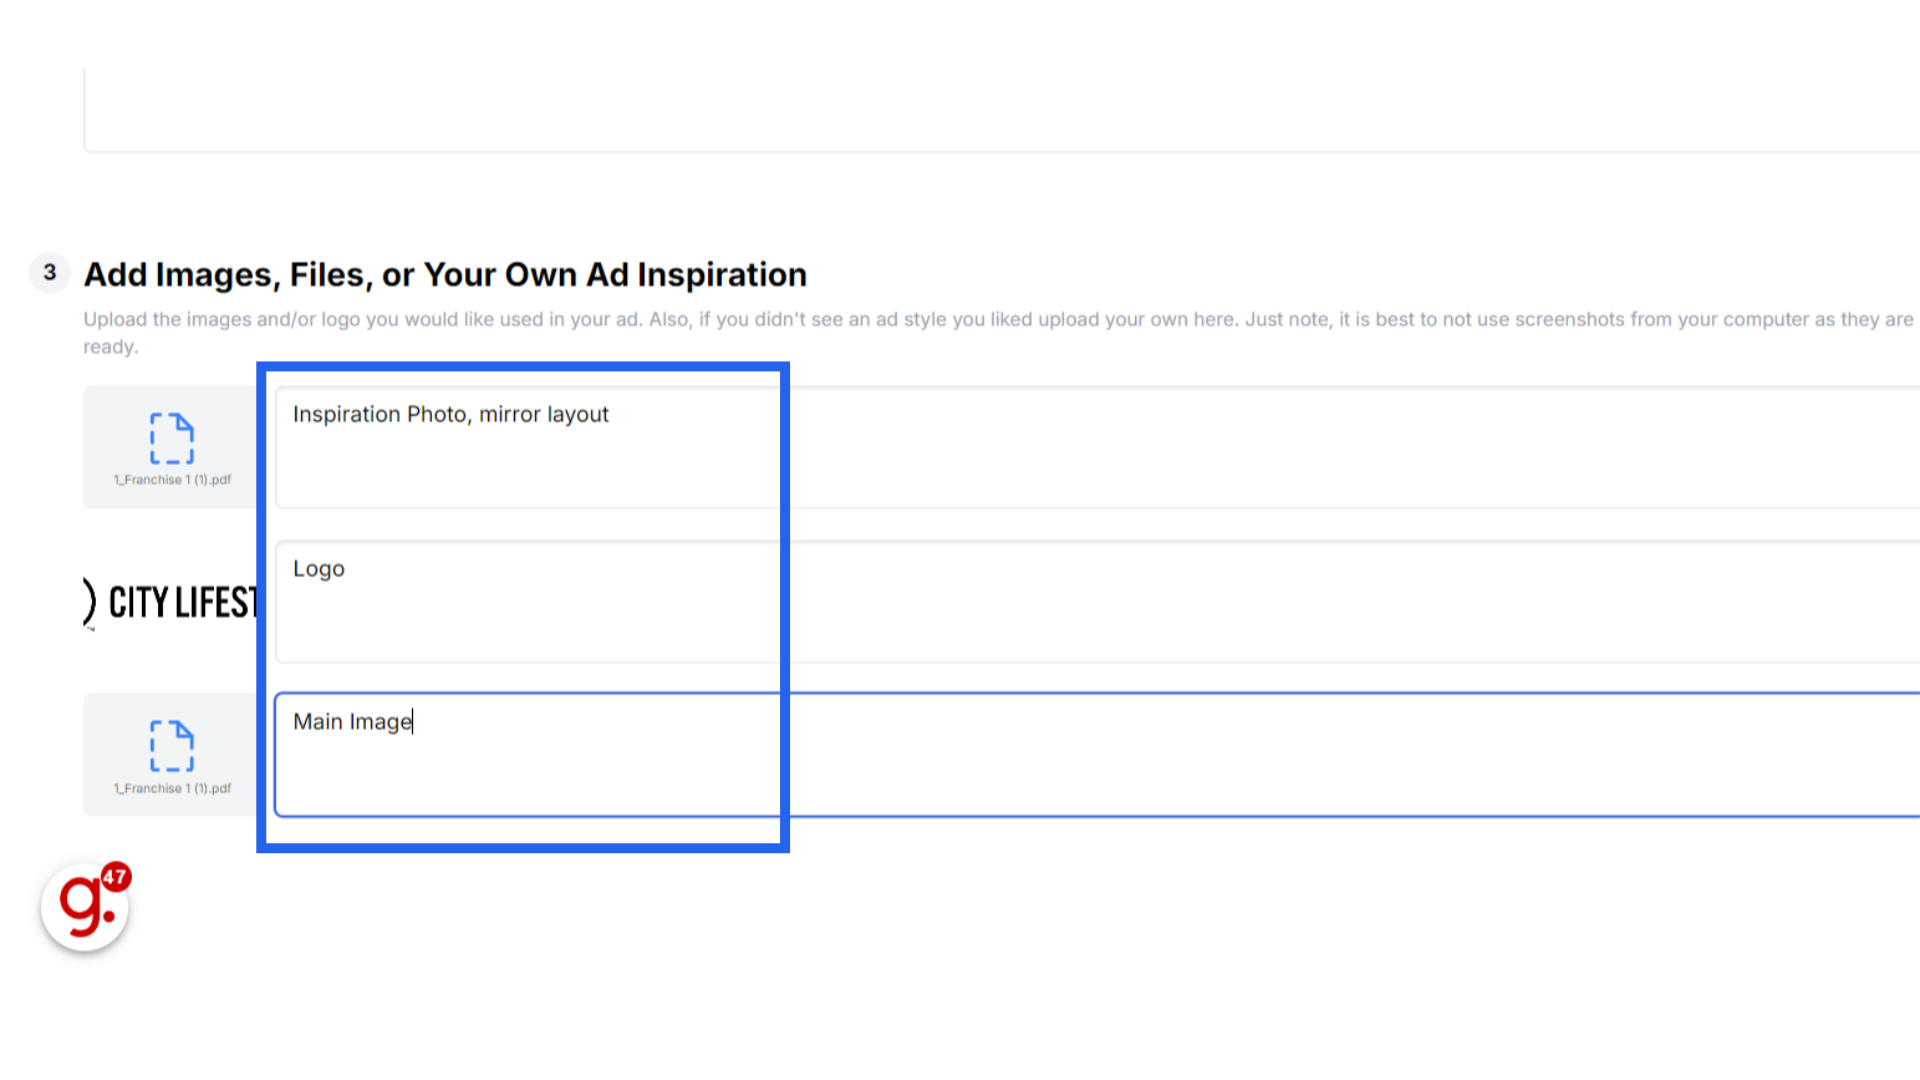
- Upload all of the client-provided files you want in your ad or referenced by the designer in this field. This includes but is not limited to: logos, high-resolution images such as main images or headshots, QR Codes, or font files.
- In this field, you can also upload any inspirational images you would like the design team to reference as a helpful tool for the design team to see what you envision for your ad. It is important to note that the designer will not be able to use elements or pull copy from inspiration images, but only use them as a visual guide to understand your intentions for the ad.
- Next to each file, there will be a section to label the file with a small note for reference, though detailed descriptions should be added in the “Final Designer Notes” field.
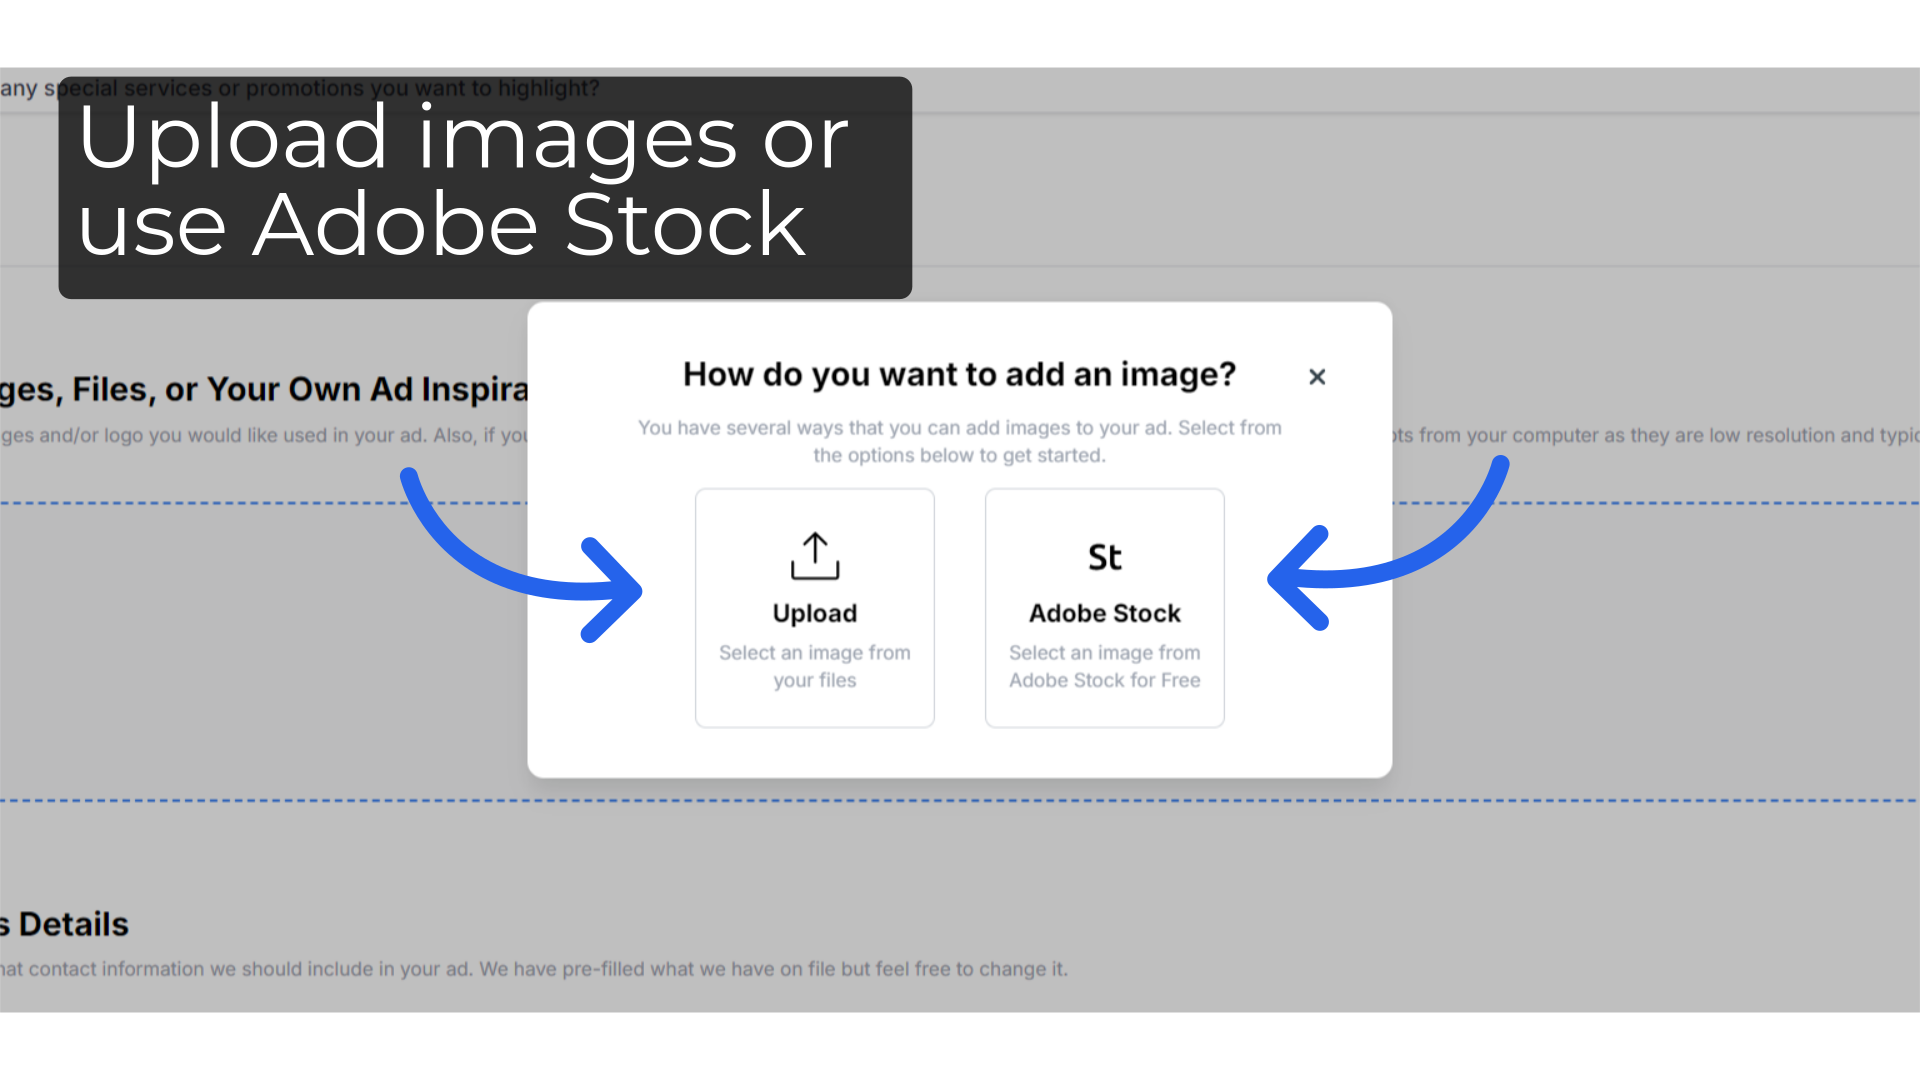
- You will have access to Adobe Stock inventory for images as well.
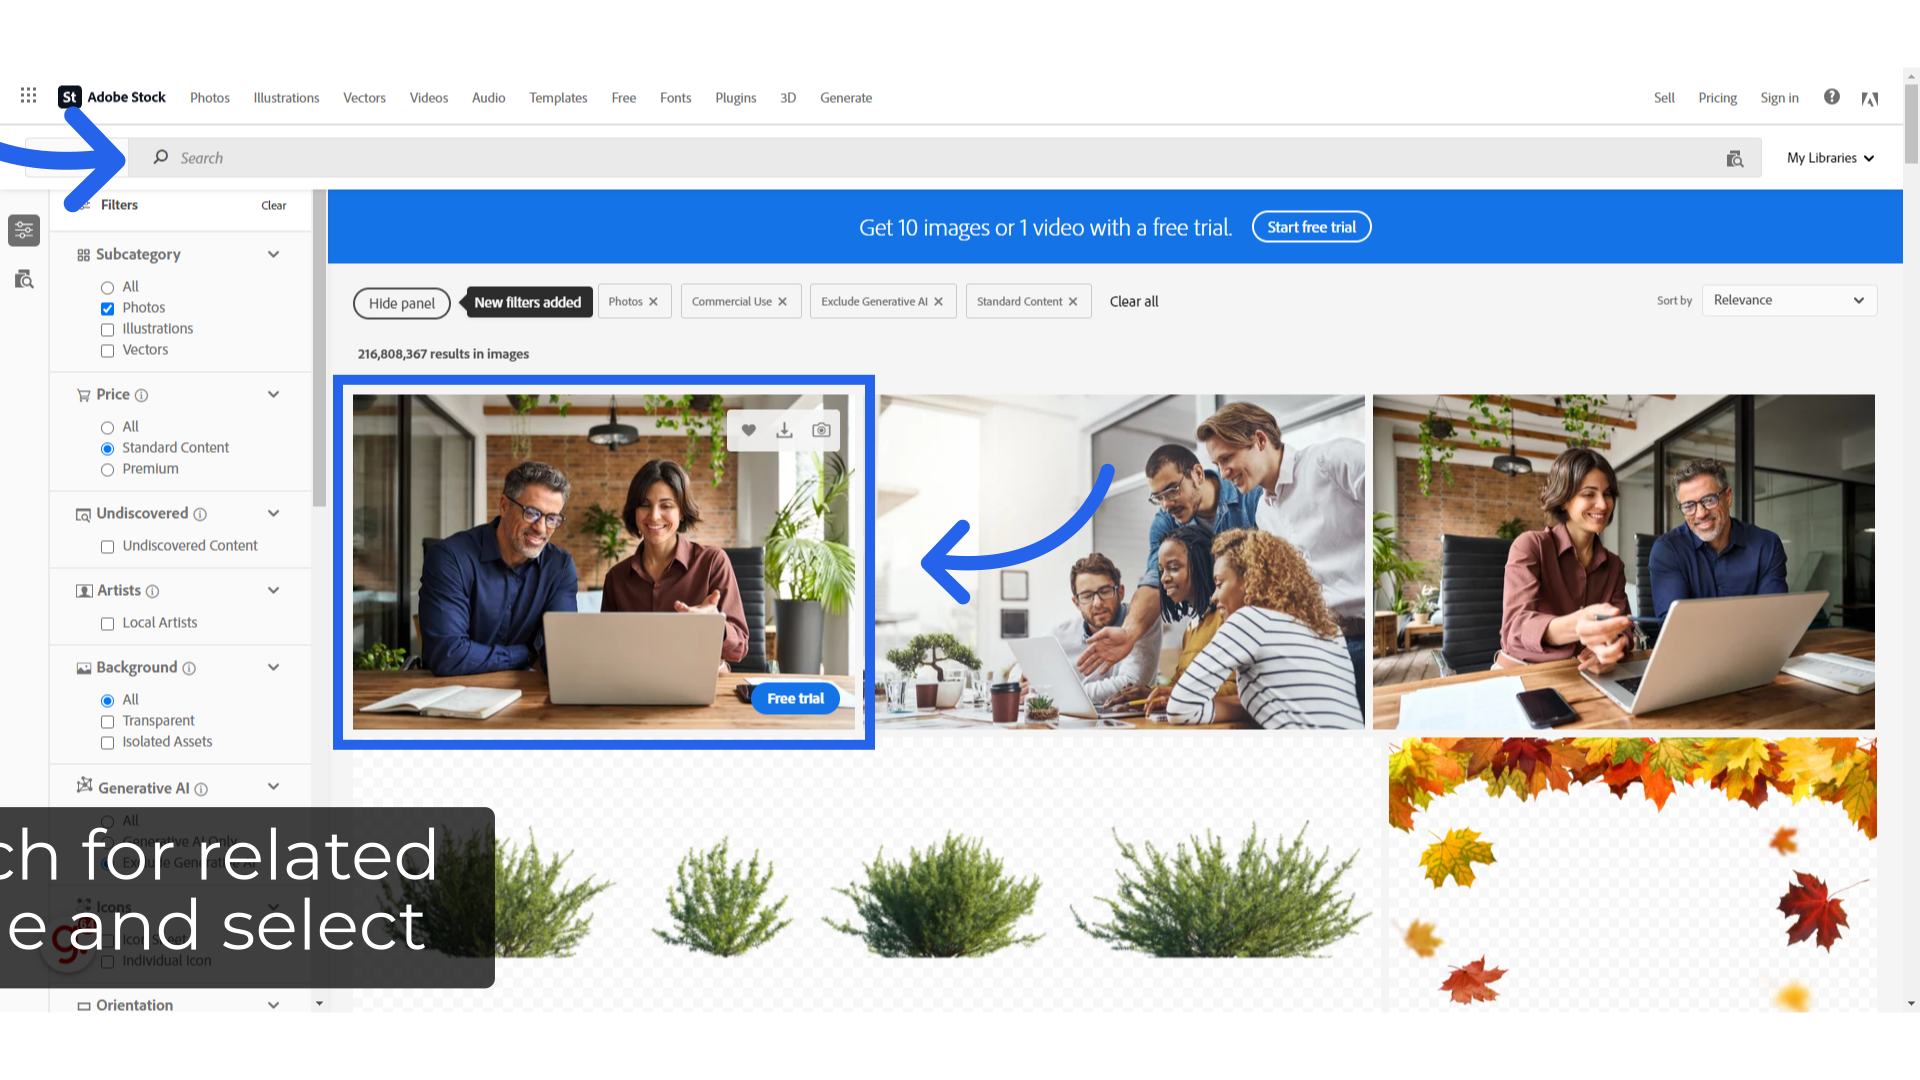
- Search for an image using a related description of what you’re looking for.
- Click on the image you want to use in your ad.
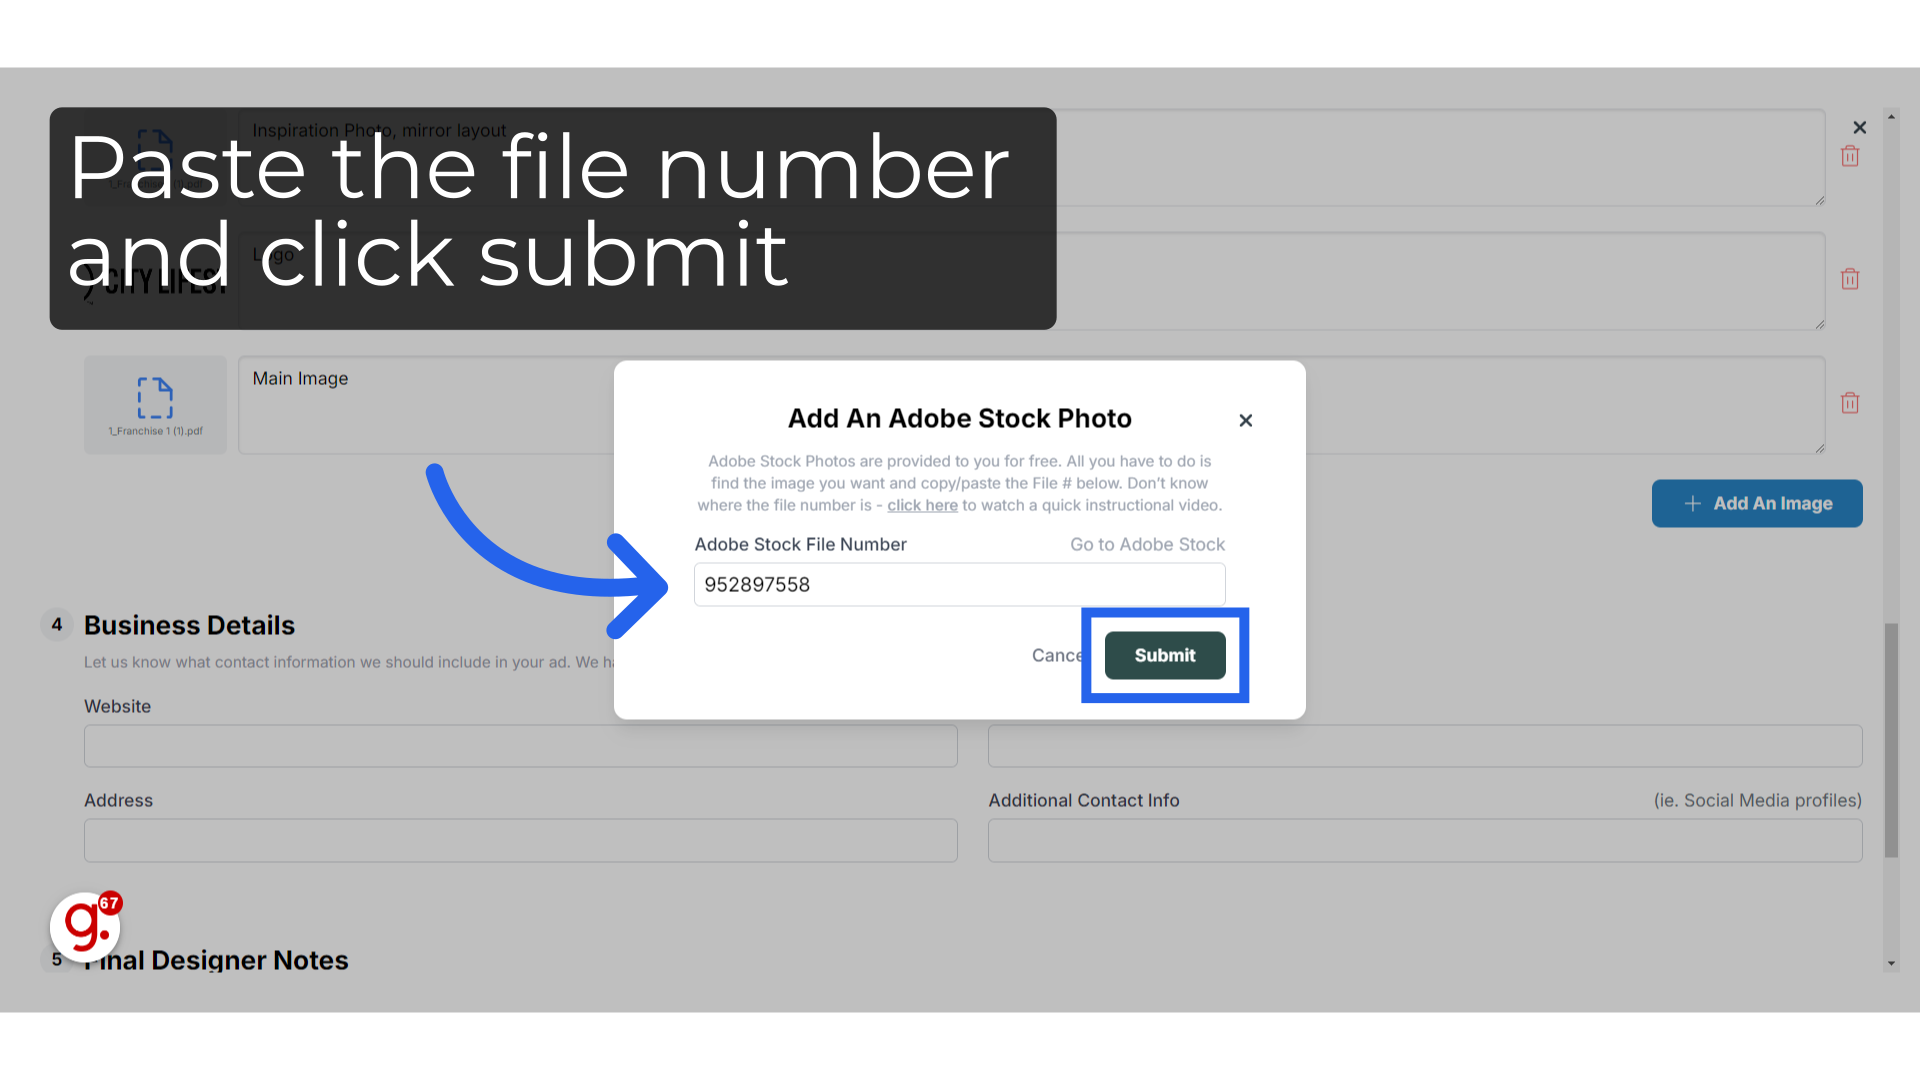
- Copy the file number.
- Paste the file number in the customer portal design request in the prompted box.
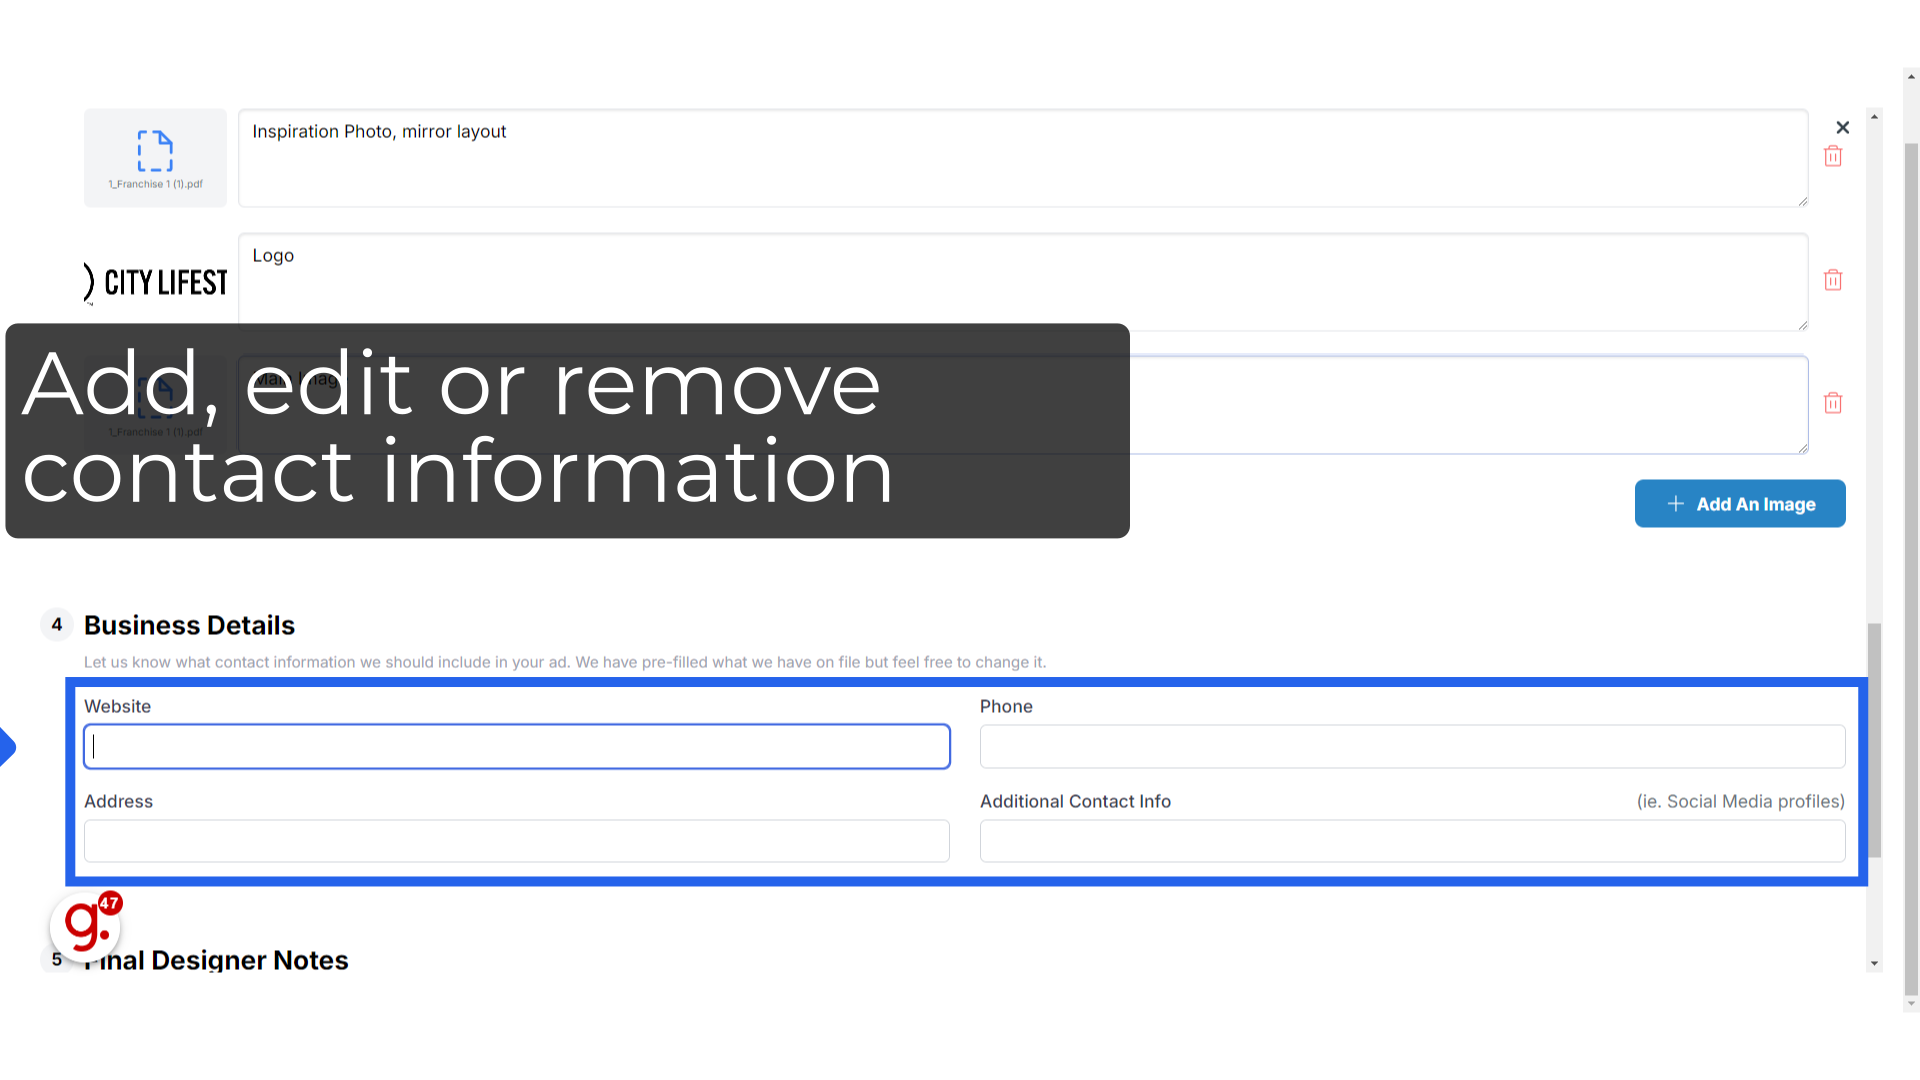
- Field 4: Business Details
- This section pulls your contact details directly from your account profile. It includes your main contact details, website, phone number, address, and additional contact information such as your social media handles.
- You can fill in any areas that are blank or need editing. Details changed here will not update what we have on file for you, so be sure to inform your publisher of any updates needed so it can be pre-filled correctly next time.
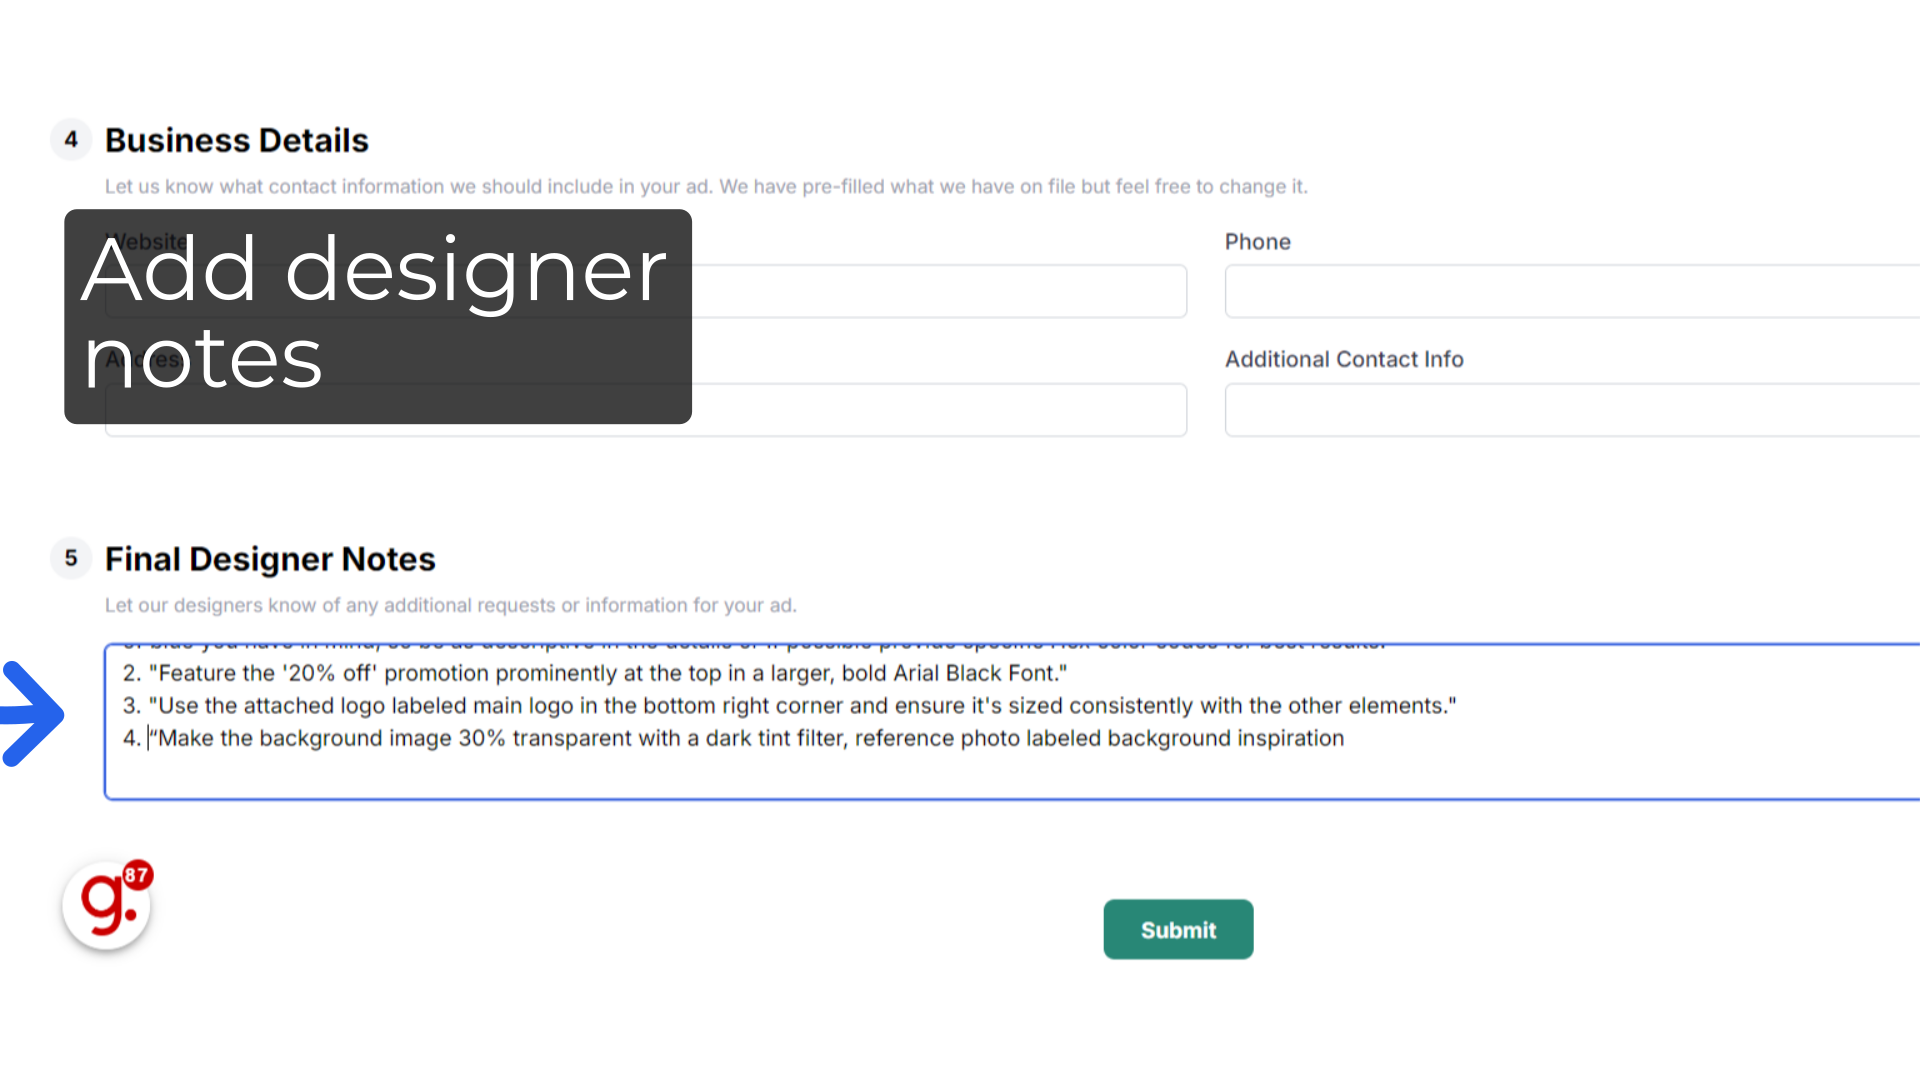
- Field 5: Final Designer Notes
- Type any notes to the designer to ensure that your ad reflects your vision, highlights your key messages, and meets your expectations. Clear and detailed notes help the designer understand your preferences, avoid miscommunication, and deliver an ad that aligns with your goals.
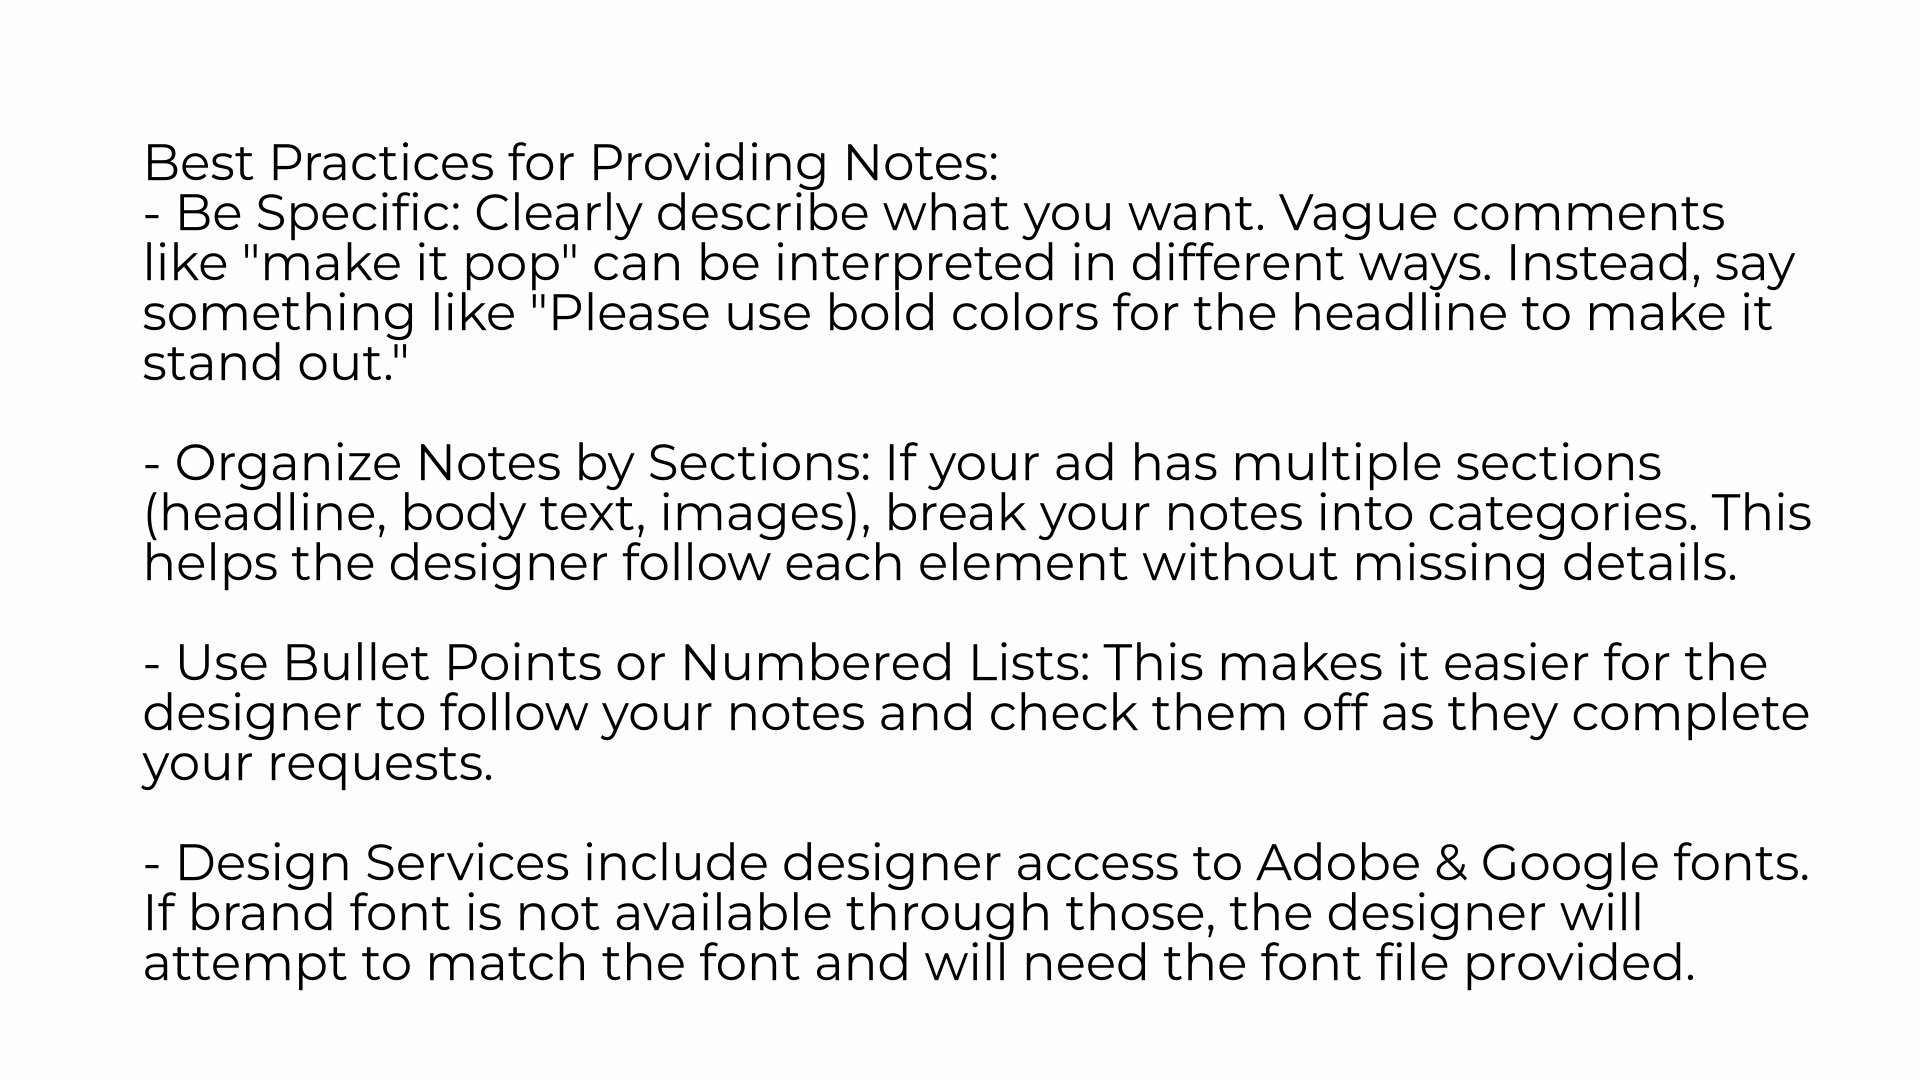
- Best Practices for Providing Designer Notes:
- Be Specific: Clearly describe what you want. Vague comments like "make it pop" can be interpreted in different ways. Instead, say something like "Please use bold colors for the headline to make it stand out."
- Organize Notes by Sections: If your ad has multiple sections (headline, body text, images), break your notes into categories. This helps the designer follow each element without missing details.
- Use Bullet Points or Numbered Lists: This makes it easier for the designer to follow your notes and check them off as they complete your requests.
- Design Services include designer access to Adobe & Google fonts. If the brand font is not available through those, the designer will attempt to match the font and will need the font file provided.
- Field 6: Realty Report Data
- Upload the MLS data in the proper CSV format by clicking “Add a CSV”. The data must be listed as:
- Neighborhood, List Price, Sold Price, %Sold/List, DOM, Bedrooms, and Baths.
- Click “Click here” to download a CSV template available for you to edit and upload if needed.
- Do not add any rows or columns as the table is not customizable.
- Upload the MLS data in the proper CSV format by clicking “Add a CSV”. The data must be listed as:
- Once each section is completed, click on the green “Submit”.
How to Submit a Realty Report Ad Design in the Customer Portal
This guide will assist you in submitting a Realty Report Ad Design from a client's perspective on Citylifestylehq
1.
The Realty Report provides a professional, branded way to showcase recent property sales in your area as an expert in your field. The report appears in the publications Table of Contents offering adding visibility to the ad. City Lifestyle manages the layout and design of the Realty Table to ensure brand consistency, while you provide the MLS data. Only Realty Reports designed by the City Lifestyle team are featured in the publication’s Table of Contents, offering added visibility. Only one Realty Report is allotted in the magazine per issue. Designs created by the client are not considered a realty report and must be in the agreement as a regular ad.
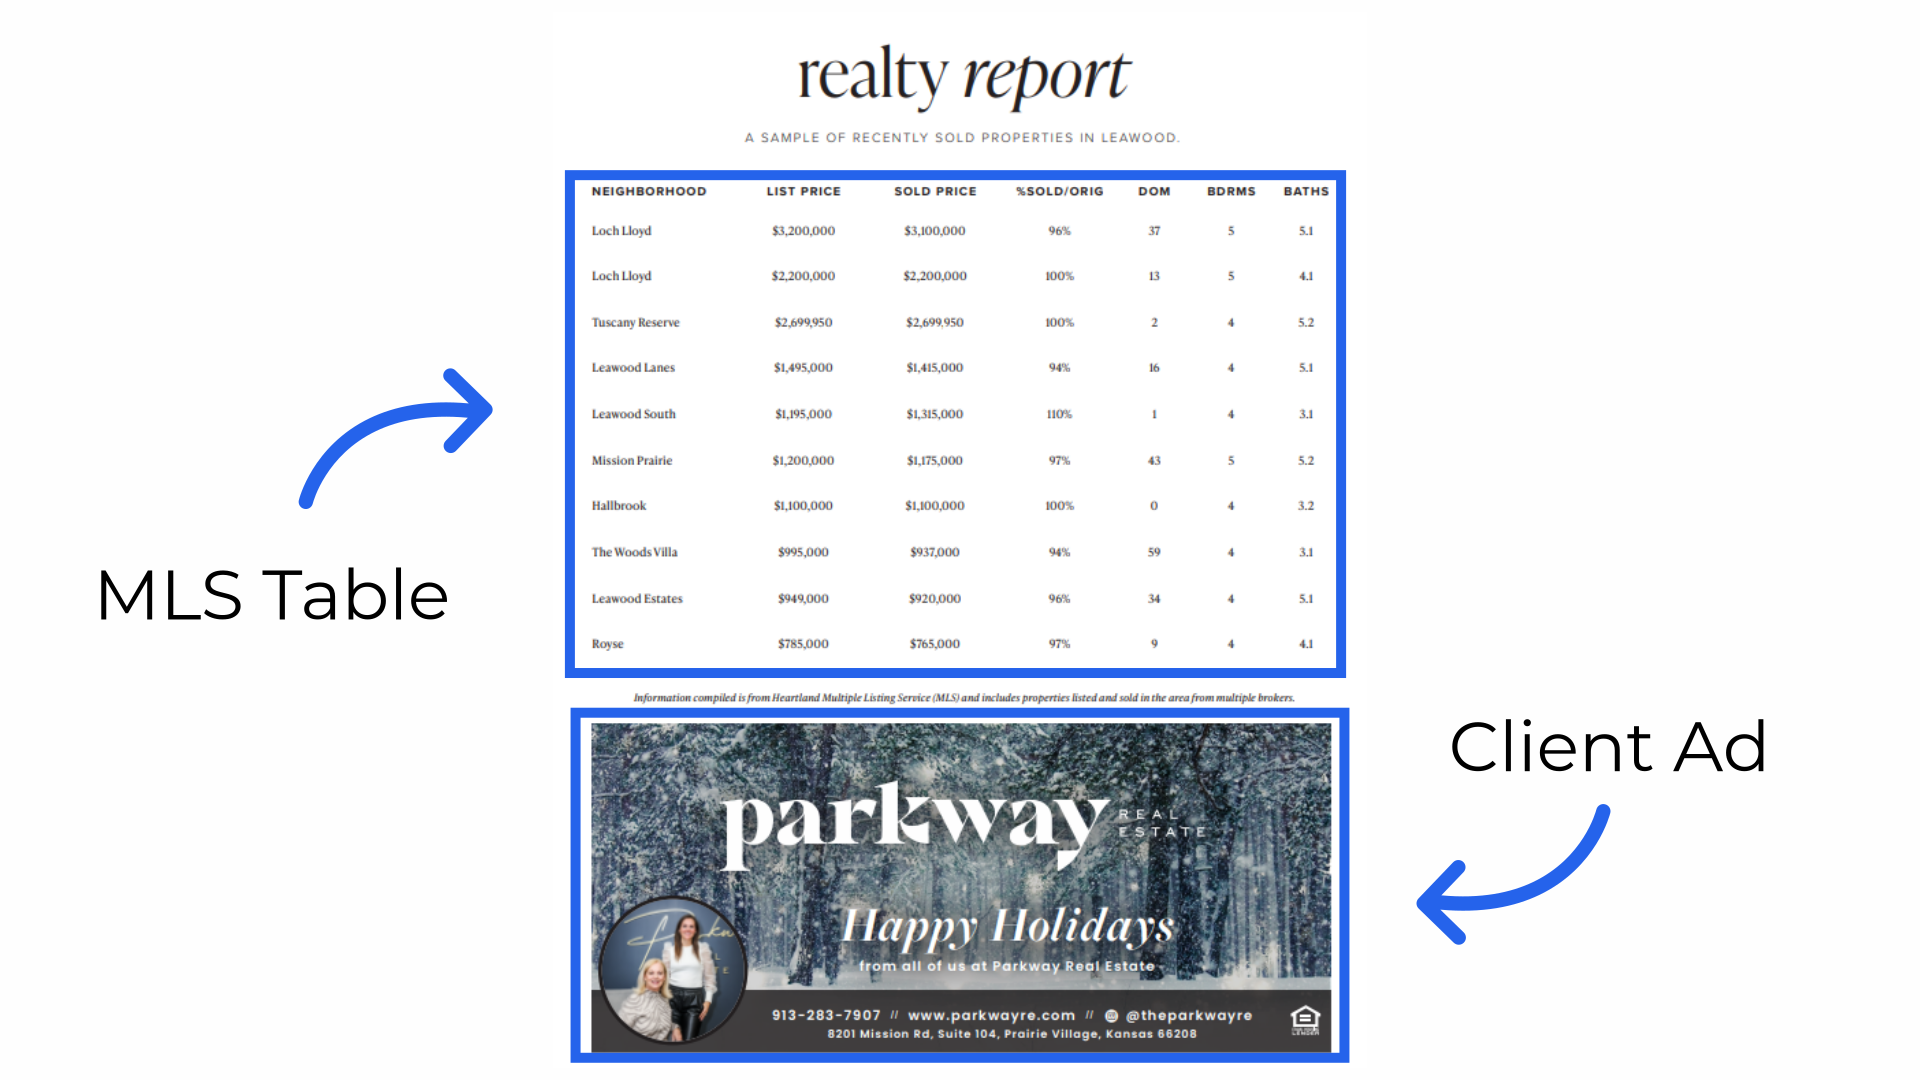
2. MLS Table
The top section of the Realty Report Ad is a table for your MLS data, and below the table, a ⅓ page ad featuring the realtor. For the ad, you may submit a print-ready design or request our team to create one using a standard template.
3. - City Lifestyle Creative Design Services are required for all Realty Reports. -All information must be submitted into the ARC system by the publication's Creative Design Request deadline.
- City Lifestyle Creative Design Services are required for all Realty Reports. -All information must be submitted into the ARC system by the publication's Creative Design Request deadline.
4. - You can submit a print-ready design for the ad at the bottom of the Realty Report, or our team can create one using a standard template. - The information for the ⅓ page ad portion must also be submitted through the Creative Design Request at the same time as the MLS data, by the Creative Design Request deadline.
- You can submit a print-ready design for the ad at the bottom of the Realty Report, or our team can create one using a standard template. - The information for the ⅓ page ad portion must also be submitted through the Creative Design Request at the same time as the MLS data, by the Creative Design Request deadline.
5. Click "Ads"
In the Customer Portal, click on the Ads tab on the left hand side.
6. Click +
Find the correct month you will be submitting an ad for, and click on the gray plus sign symbol. The upcoming, current insertion will reflect a red deadline box at the bottom of the insertion.
7. Click "Select"
In the center of the new window page, select Create An Ad.
8. Skip Field One
Field one, Select Your Ad Style, will not be available for the Realty Report as it is standardized.
9. In Field Two, enter the Ad Copy for creative (if needed)
If you would like the design team to create the 1/3 page ad that is placed under the Realty Report, please enter all text for the ad in field two under Ad Copy. If you are uploading your own Print-Ready 1/3 ad, please type N/A in this field to skip this step.
10. The "Ad Copy" field is required and where you will need to enter the exact text you want within your ad.
Keep in mind the "Ad Copy" field is required for the ad design and where you will need to enter the exact text you want within your ad. You can provide your list of services, product descriptions, a powerful headline, testimonials, or anything that you believe is important for the reader to know. All copy in this box will be copied over to your ad so please refrain from adding any additional notes for your designer here.
11. Add optional additional promotions or specials
In the next box you can provide copy for any key offers or promotions you want prominently featured, such as sales or unique services. This is optional but recommended.
12. Add files
Field 3 is where you would upload your print ready ad. If you are submitting a creative design request, this is where you will upload the client provided files you want in your ad or to be referenced by the designer. This includes but is not limited to, logos, high resolution images such as main images or headshots, QR Codes or font files.
13. Label each file uploaded
Next to each file there will be a section to label the file with a small note for the designer to reference. Any detailed descriptions should be added in the "Final Designer Notes" field later.
14. Upload images or use Adobe Stock
When uploading images for your ad, you will have the option to upload directly from your computer or to select a stock photo from Adobe.
15. Search for related image and select
If you choose to upload an Adobe stock image it will open the website for you to begin your search.
16. Copy the file number
Once you've selected your photo, click on the copy icon next to the file number
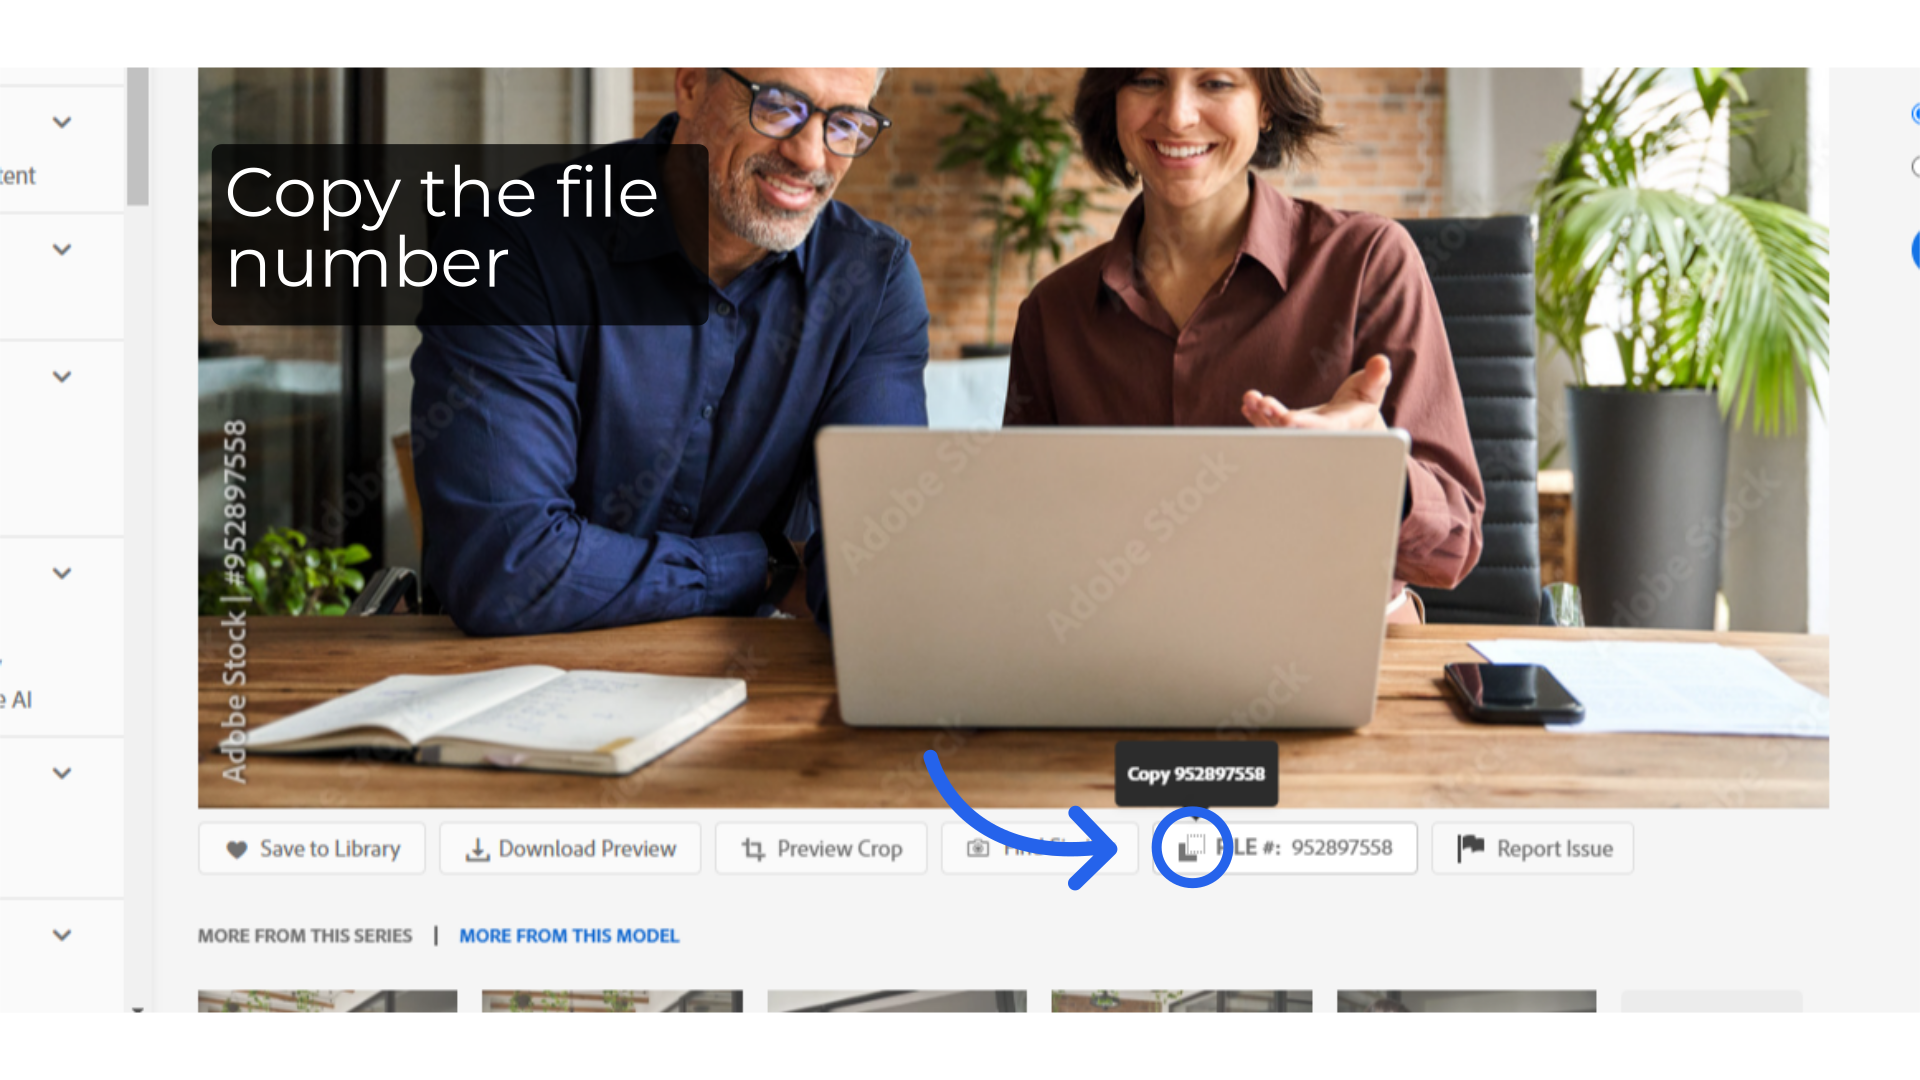
17. Paste the file number and click submit
Back in the customer portal, paste the file number for the stock image and click the "Submit" button.
18. Add, edit or remove contact information
In Field Four under Business Details your contact information will be directly imported from your account. You can fill in any areas that are blank or need edited, including removing information you do not want listed in the ad. Details changed here will not update what we have on file for you so be sure to inform your publisher of any updates needed so it can be pre-filled correctly next time.
19. Add final designer notes
Field Five is where you can enter any notes for the designer to ensure that your ad reflects your vision, highlights your key messages, and meets your expectations. Clear and detailed notes help the designer understand your preferences, avoid miscommunication, and deliver an ad that aligns with your goals.
20. Best Practices for Providing Designer Notes
A few best practices for providing notes are to be specific and clearly describe what you want. Instead of using vague comments like "make it pop" say something like "Please use bold colors for the headline to make it stand out." If your ad has multiple sections such as a headline, body text, images organize your notes into categories. This helps the designer follow each element without missing details. Organizing your notes in bullet points or a numbered lists makes it easier for the designer to follow and check them off as they complete your requests. Our designers have access to Adobe & Google fonts. If your brand font is not available through either of those, you will need to provide your font file for the designer to attempt to match the font to their best of their ability.
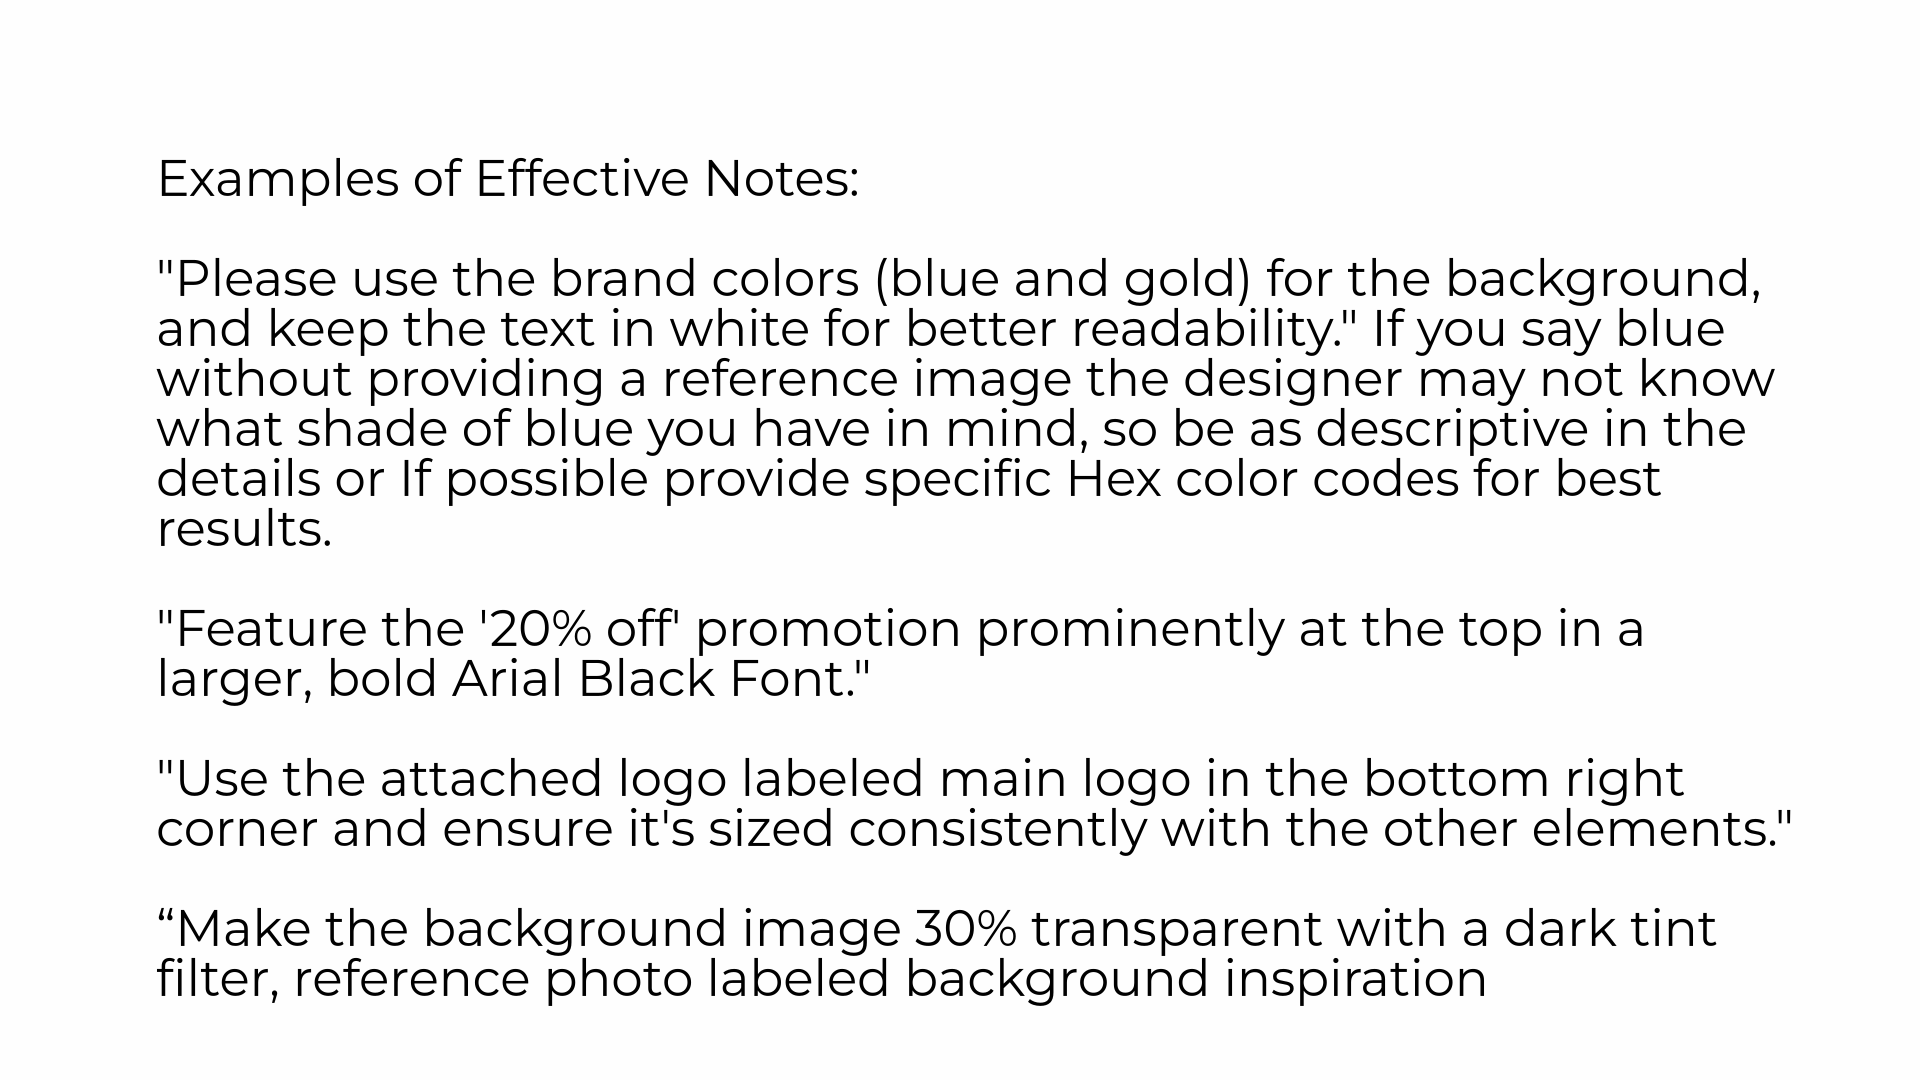
21. Examples of Effective Designer Notes
Here are a few examples of Effective Notes. "Please use the brand colors (blue and gold) for the background, and keep the text in white for better readability." If you say blue without providing a reference image the designer may not know what shade of blue you have in mind, so be as descriptive in the details or If possible provide specific Hex color codes for best results. "Feature the '20% off' promotion prominently at the top in a larger, bold Arial Black Font." "Use the attached logo labeled main logo in the bottom right corner and ensure it's sized consistently with the other elements." "Make the background image 30% transparent with a dark tint filter, reference photo labeled background inspiration
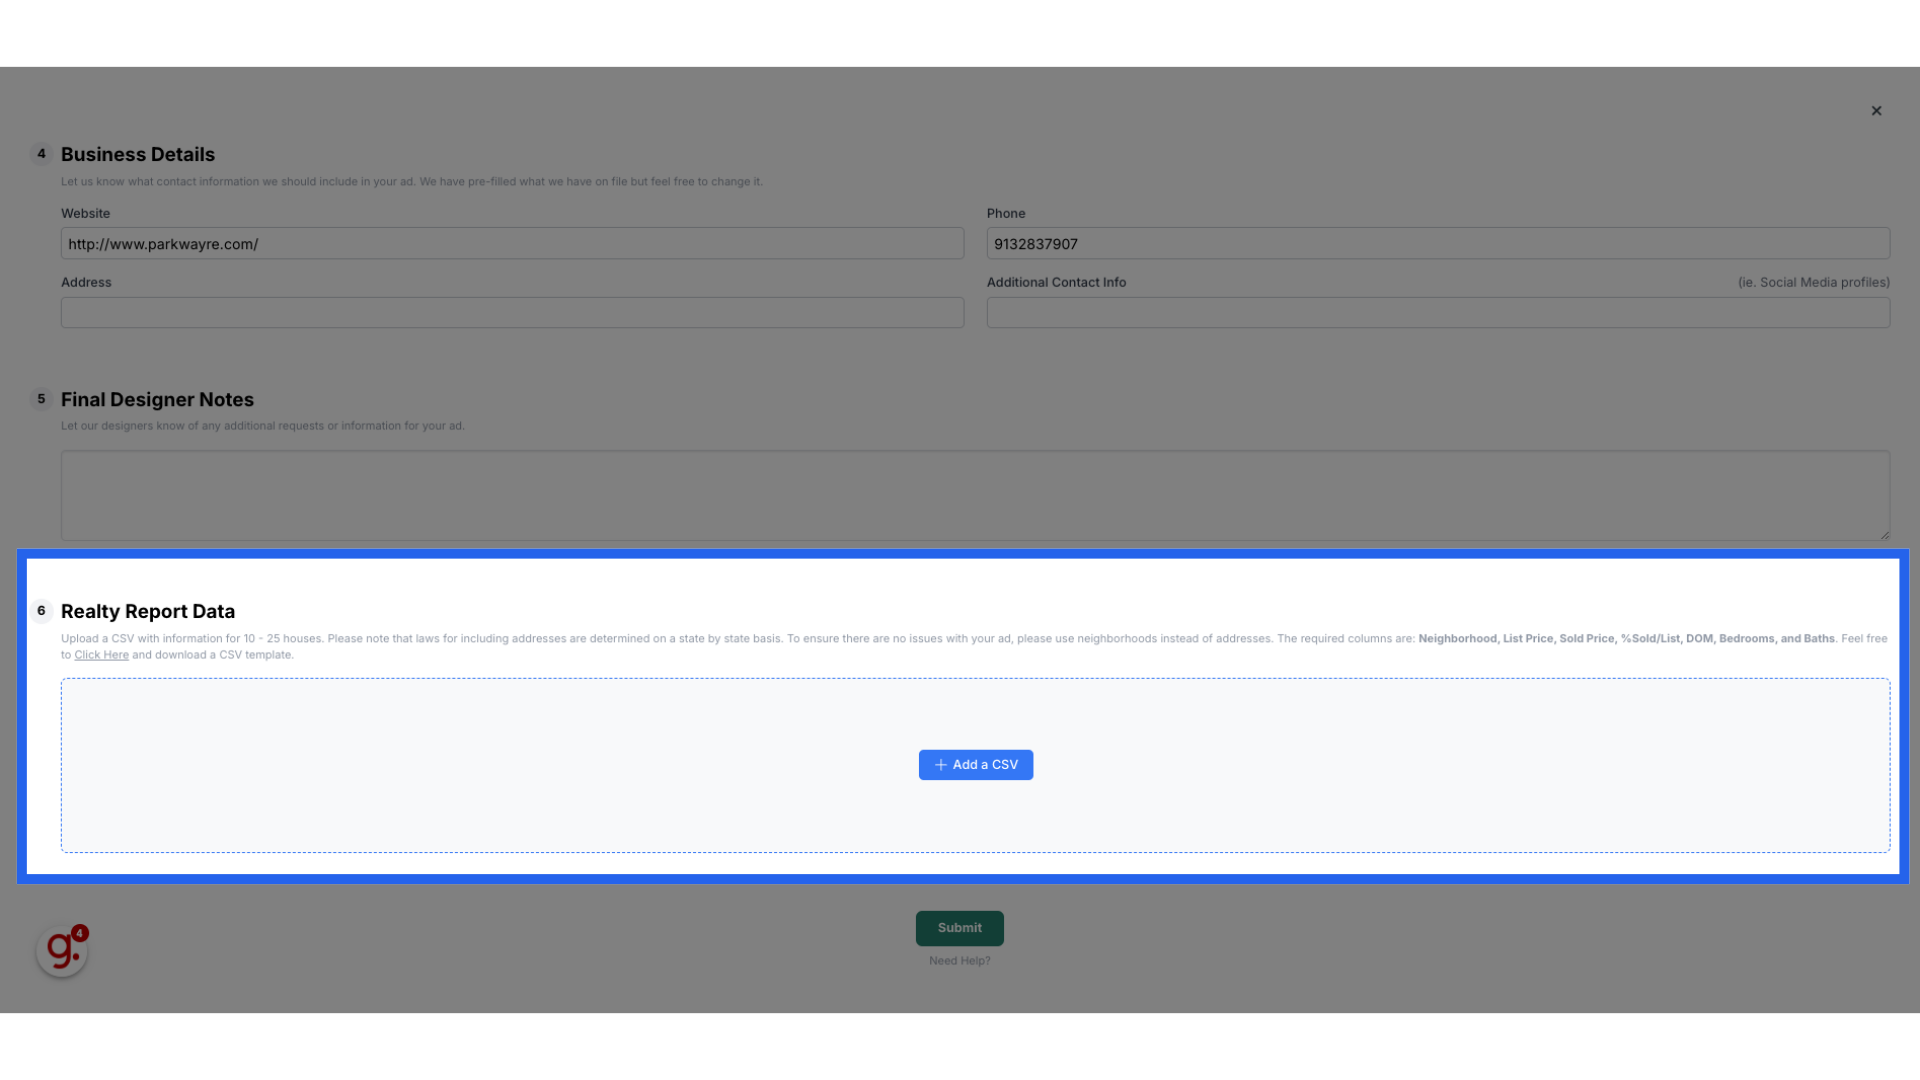
22. Upload Realty Report Data
Lastly, in Field Six is where you will upload a CSV file for the Realty Report. With a minimum of 10 and a maximum of 25 listings, the realty data must be listed in the file as Neighborhood, List Price, Sold Price, Percentage Sold/List, DOM, Bedrooms and Baths.
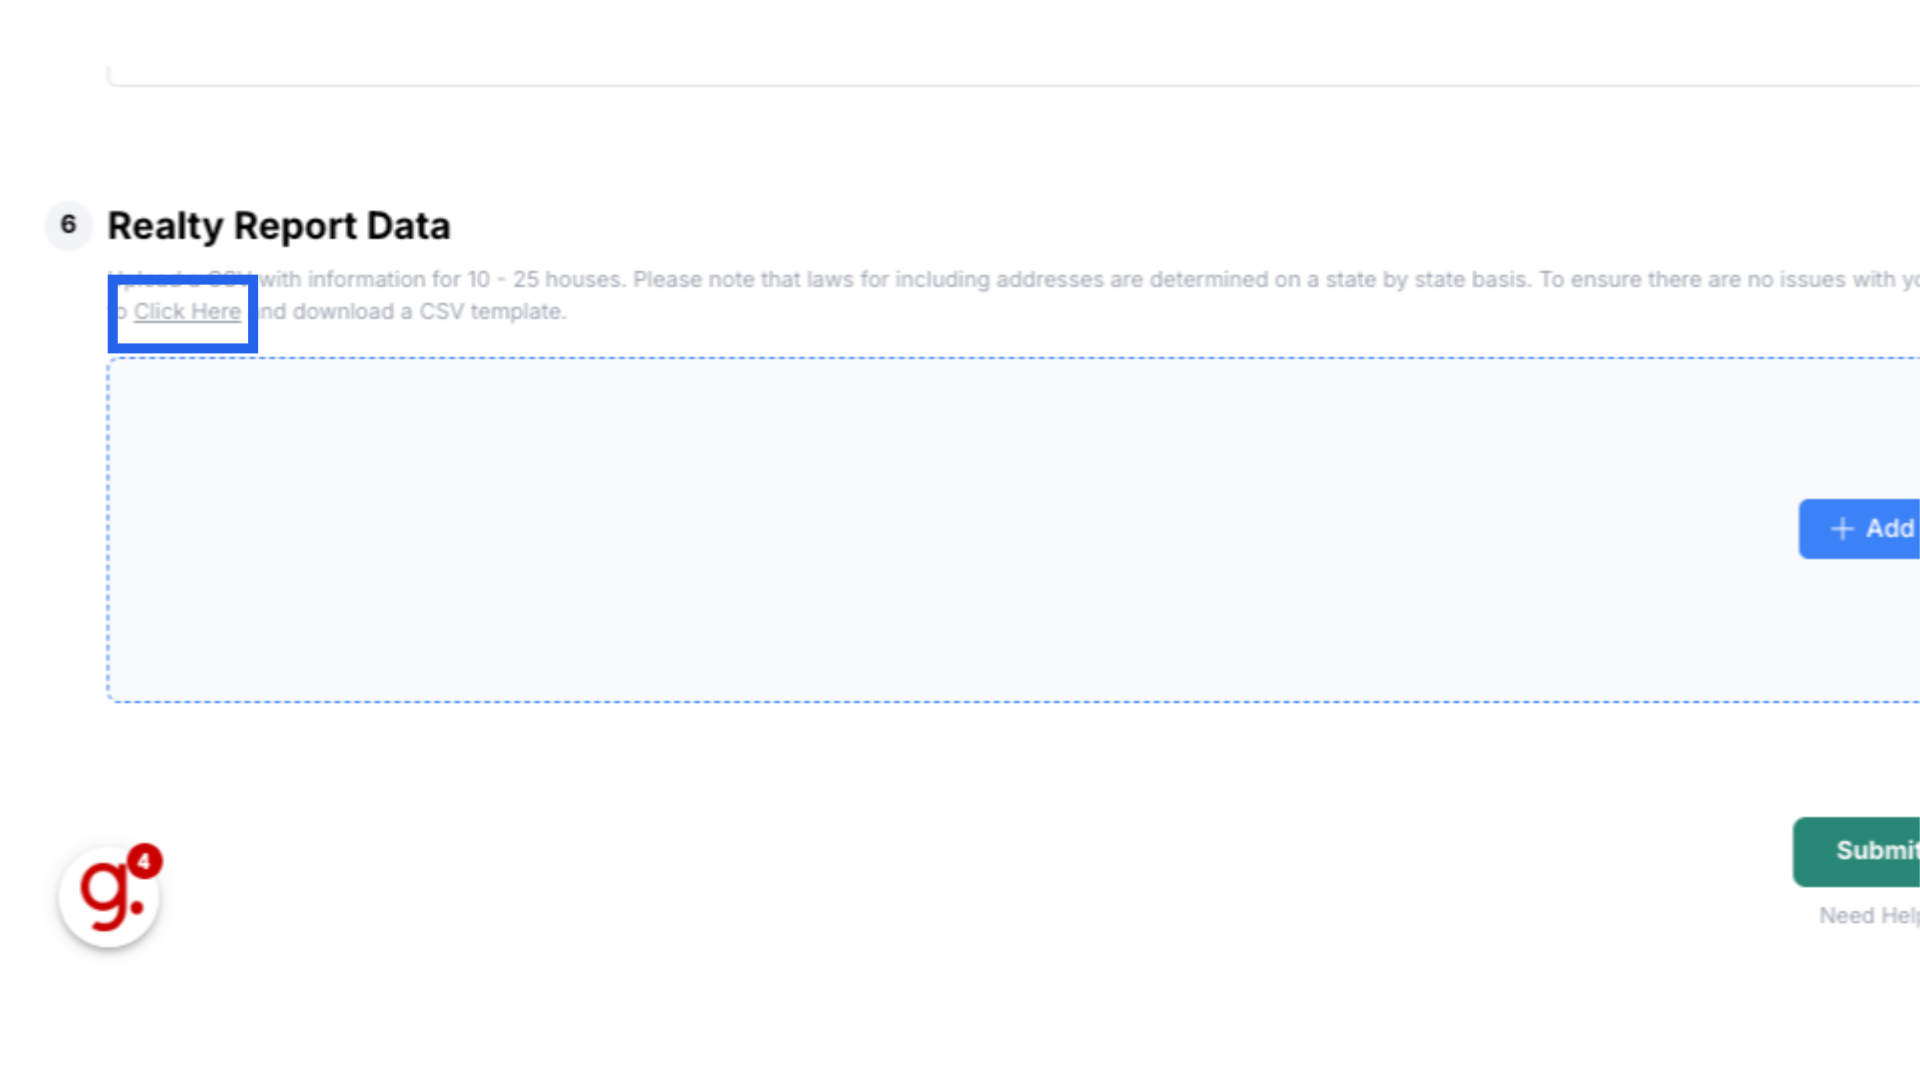
23. Realty Report Template
There is also a CVS template available to download and edit if needed. Do not add any rows or columns as the table is not customizable.
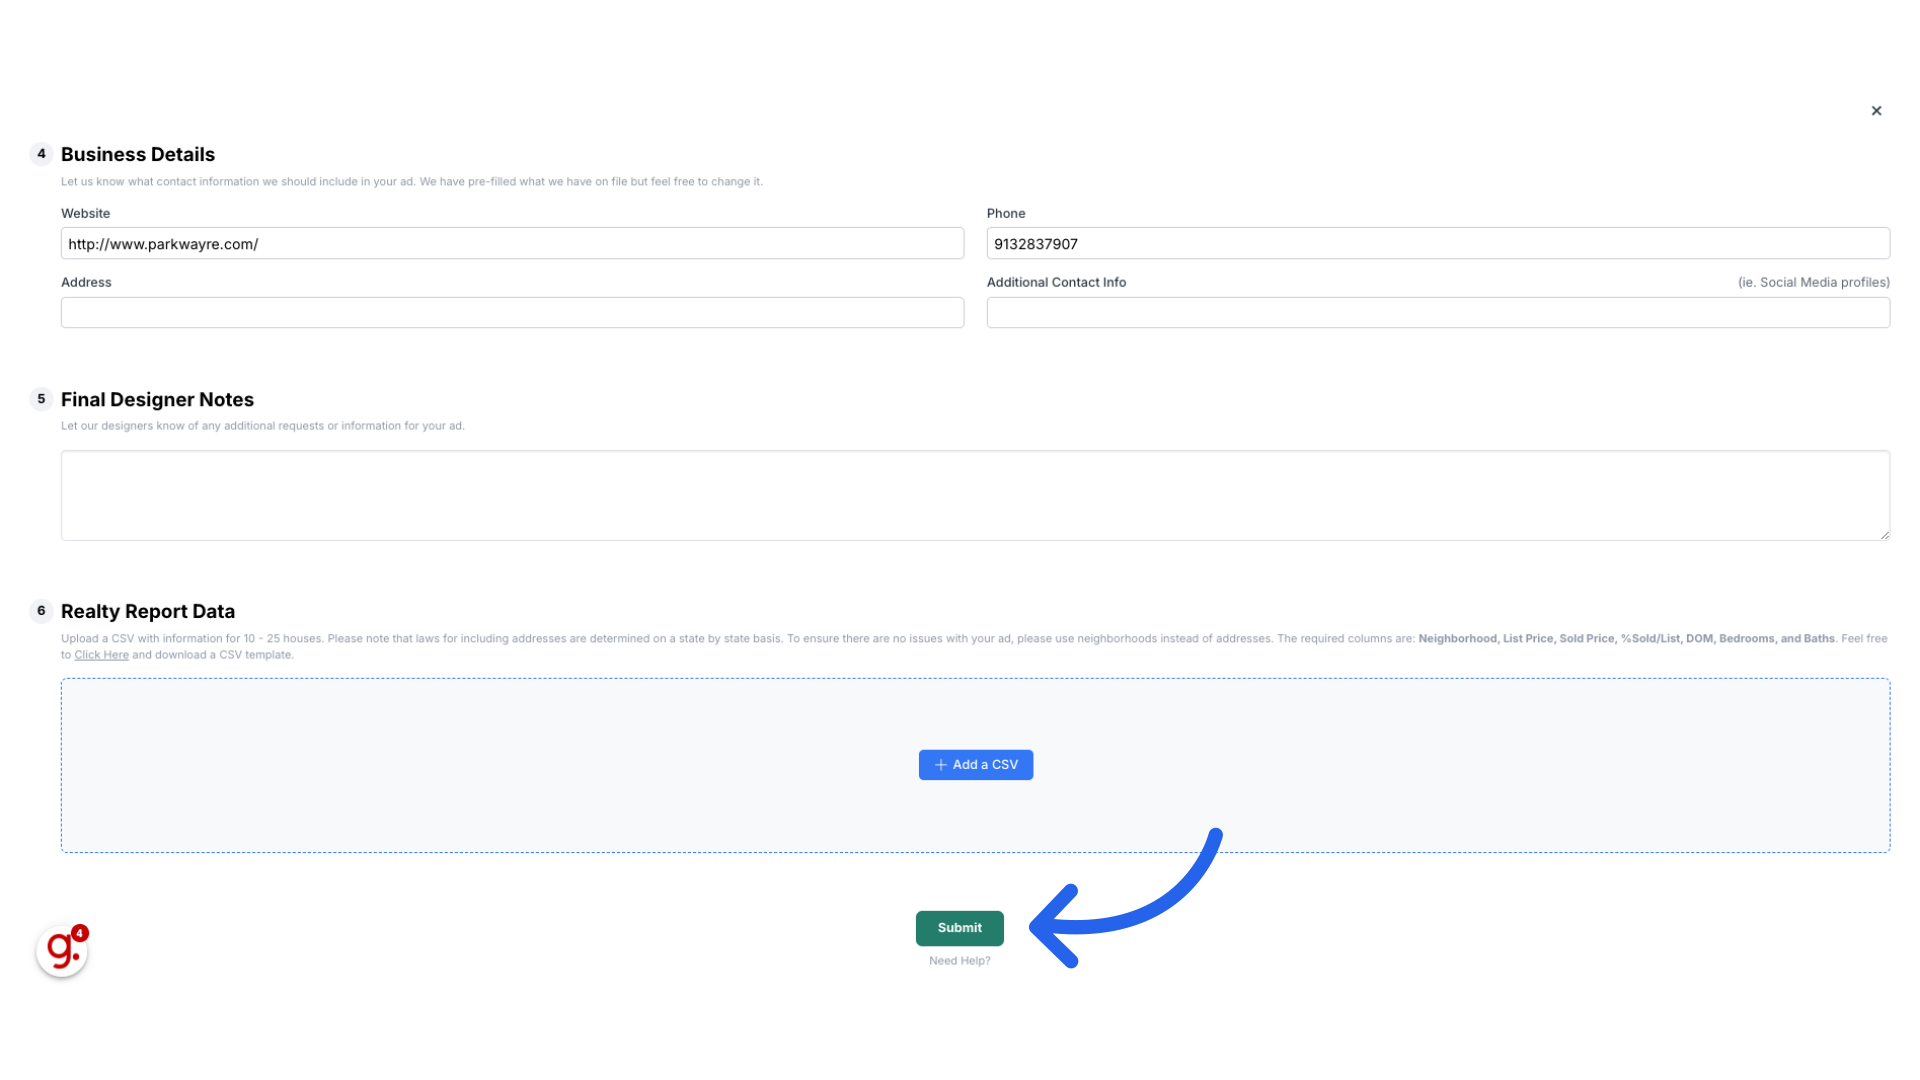
24. Click Submit
Click Submit once all information has been uploaded.
This guide covered the steps required to submit a Realty Report Ad Design on Citylifestylehq, including selecting ad styles, adding images, files, and uploading a CSV with house information