How to Set Up a Digital Listing Profile in the Customer Portal
Setting up your digital listing profile customizes your business information for potential customers. A complete profile makes your business more accessible, helps build your brand online, and ensures all business details are accurate and engaging. The details you provide in your profile are optimized for search engines and linked to Google, making your business more visible in search results and improving its discoverability through SEO.
- Log in to your customer portal via https://citylifestylehq.com.
- On the left-hand side, click the “Digital” tab.
- From the submenu, select “Profile”.
Profile Images:
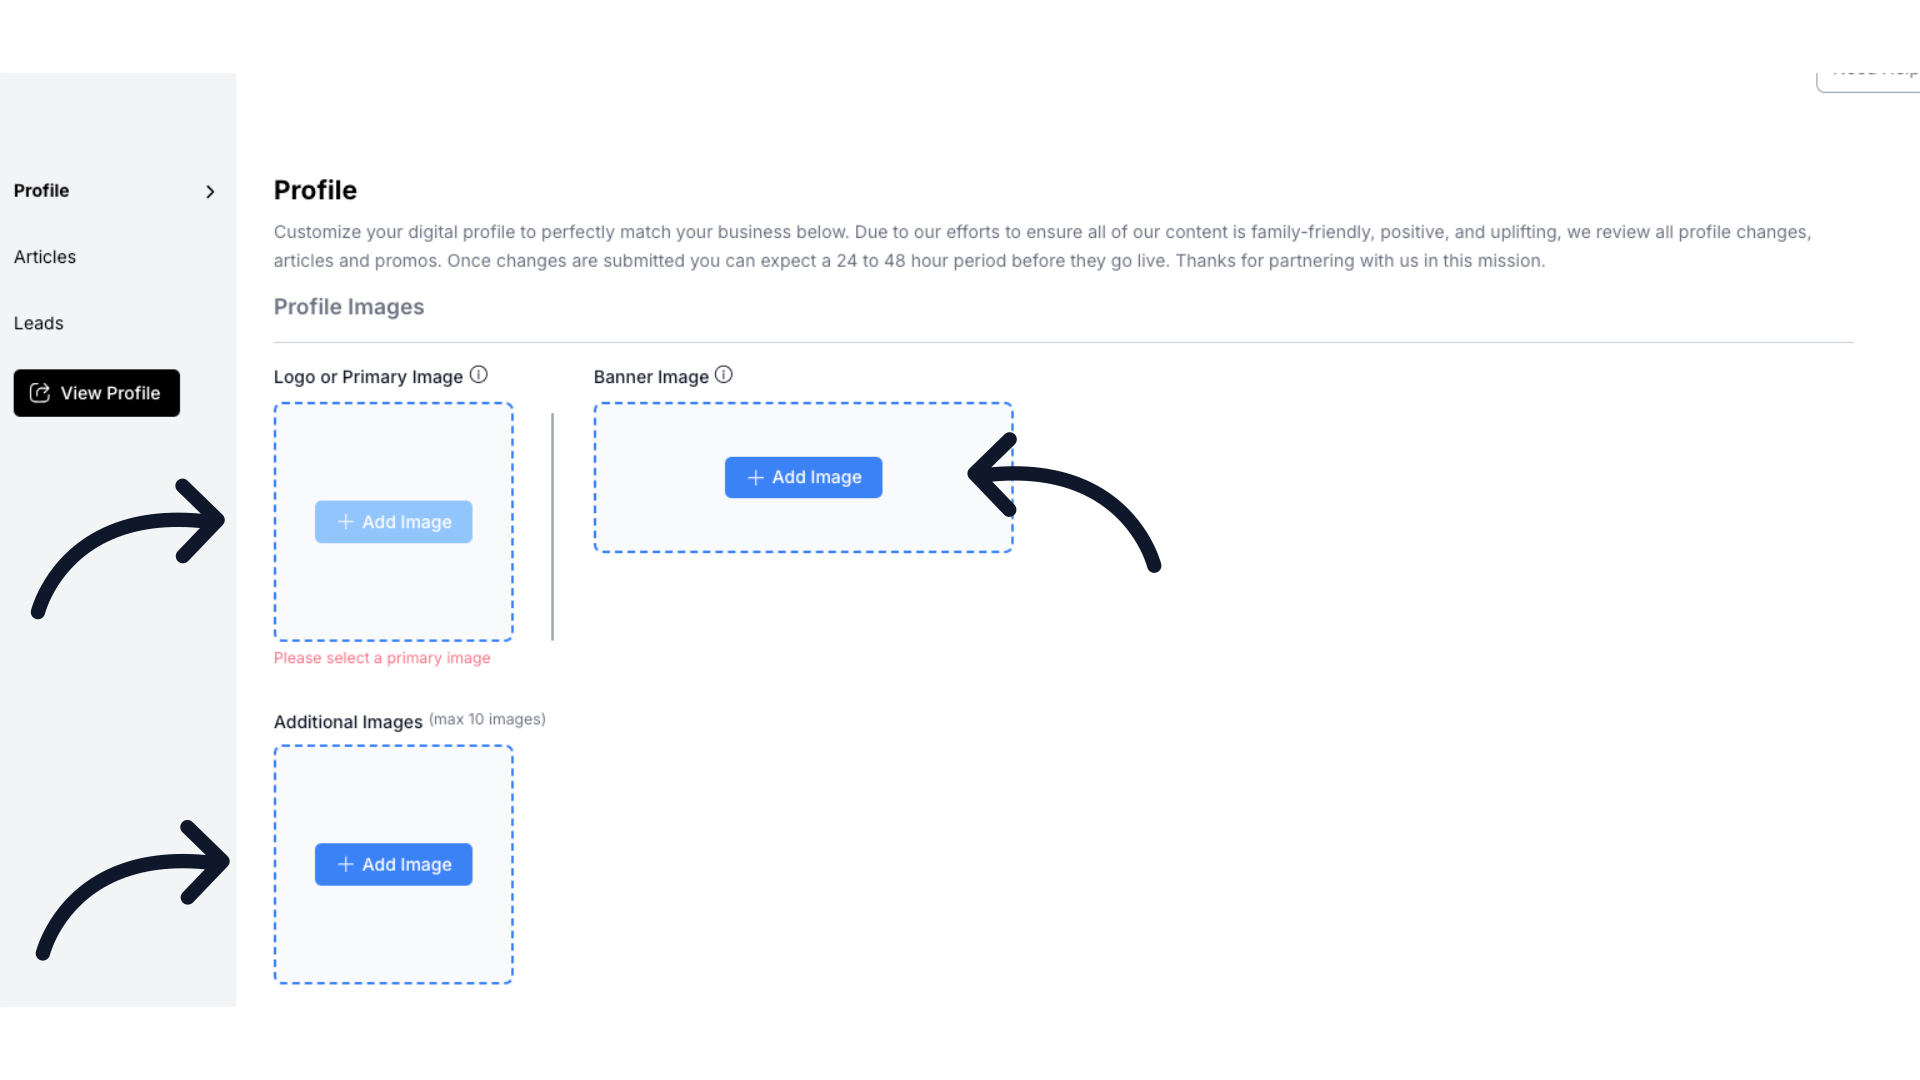
- Click “Upload New” to add a Logo or Primary Image (recommended size: 500x500 pixels).
- Choose one of the following upload options:
- My Files: Drag and drop a file or browse from your device.
- Web Address: Enter the URL of a public image.
- Camera: Capture a picture using your device’s camera and click Capture.
- Dropbox: Upload from your Dropbox account.
- Choose one of the following upload options:
- Add a Banner Image using the same process (recommended size: 1155x300 pixels).
- Add any Additional Images using the same process (up to 10 images).
Business Details:
- Enter your Business Name.
- Select a Business Category from the drop-down menu.
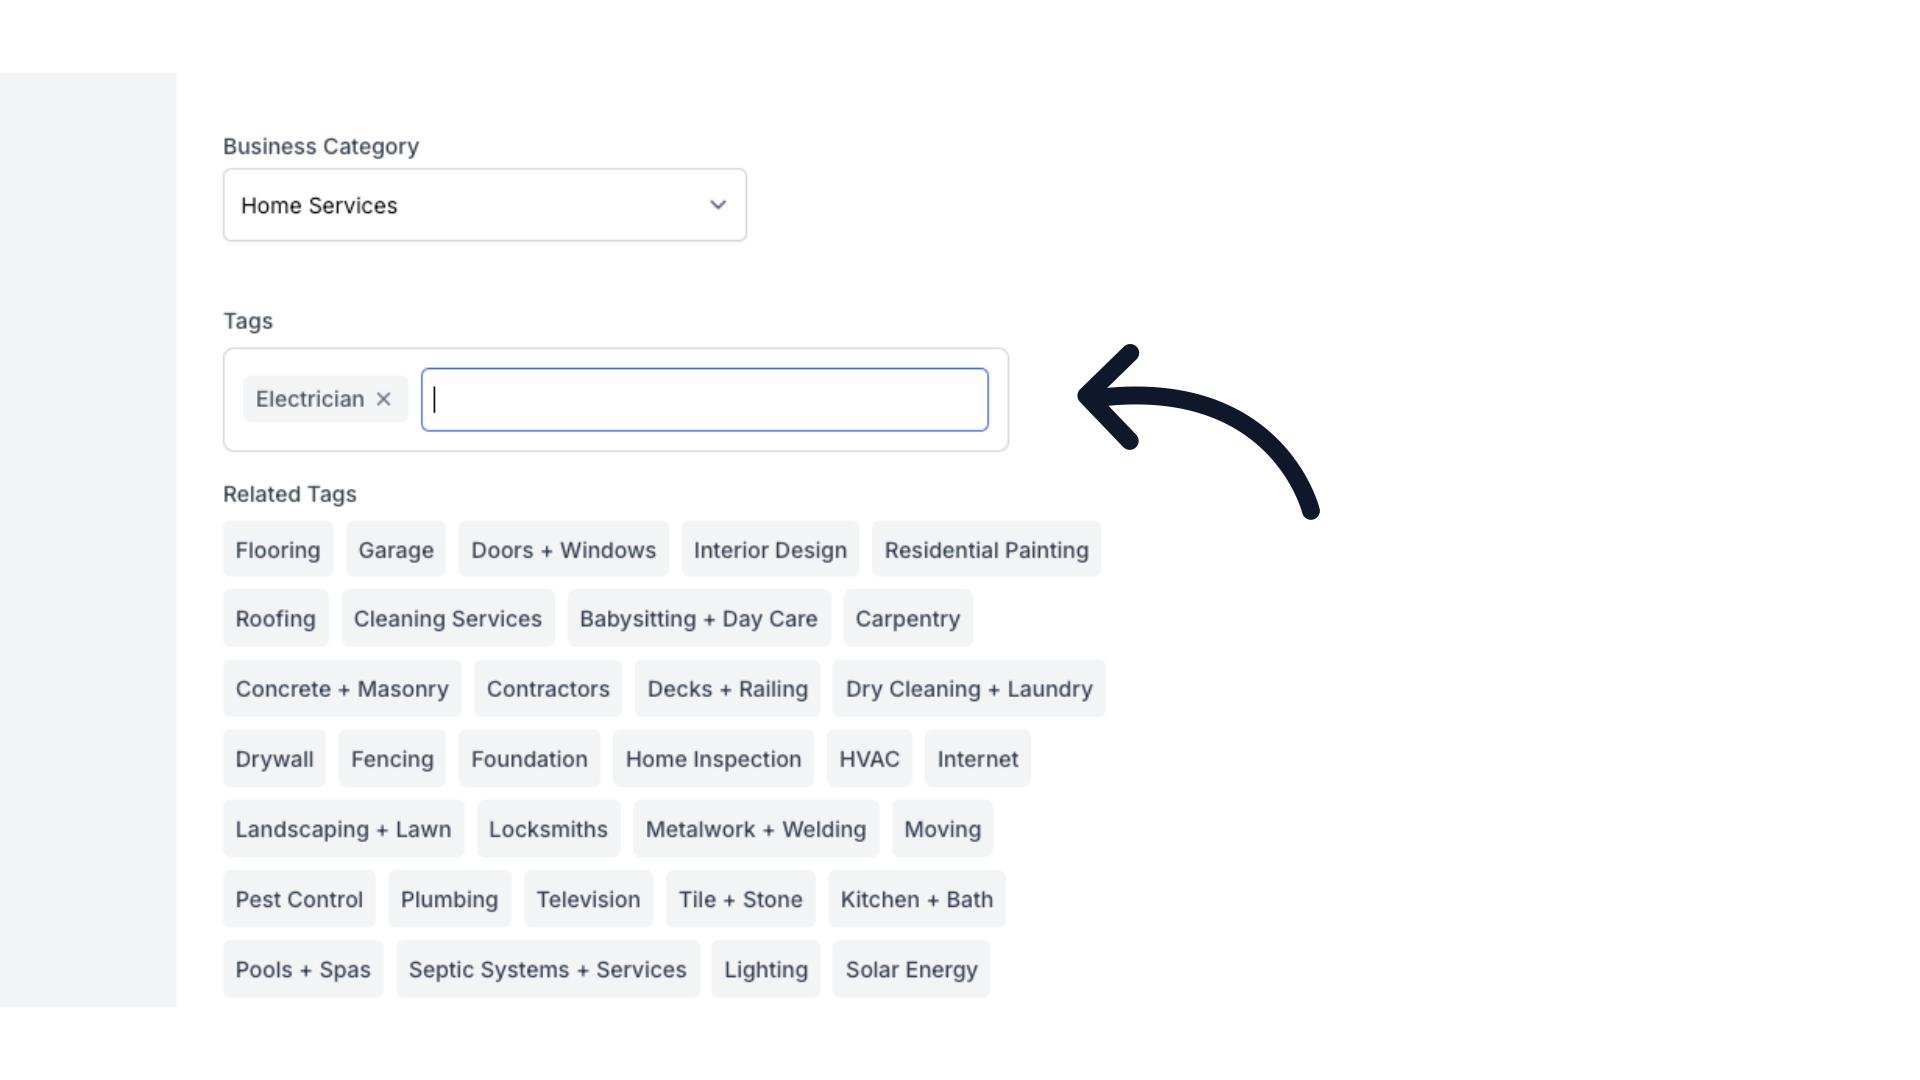
- Add relevant Tags to categorize your business.
- Begin typing to search the list of pre-registered tag options and select from the available list. If a tag does not appear, it is not available.
- Recommended tags may be provided for certain business categories.
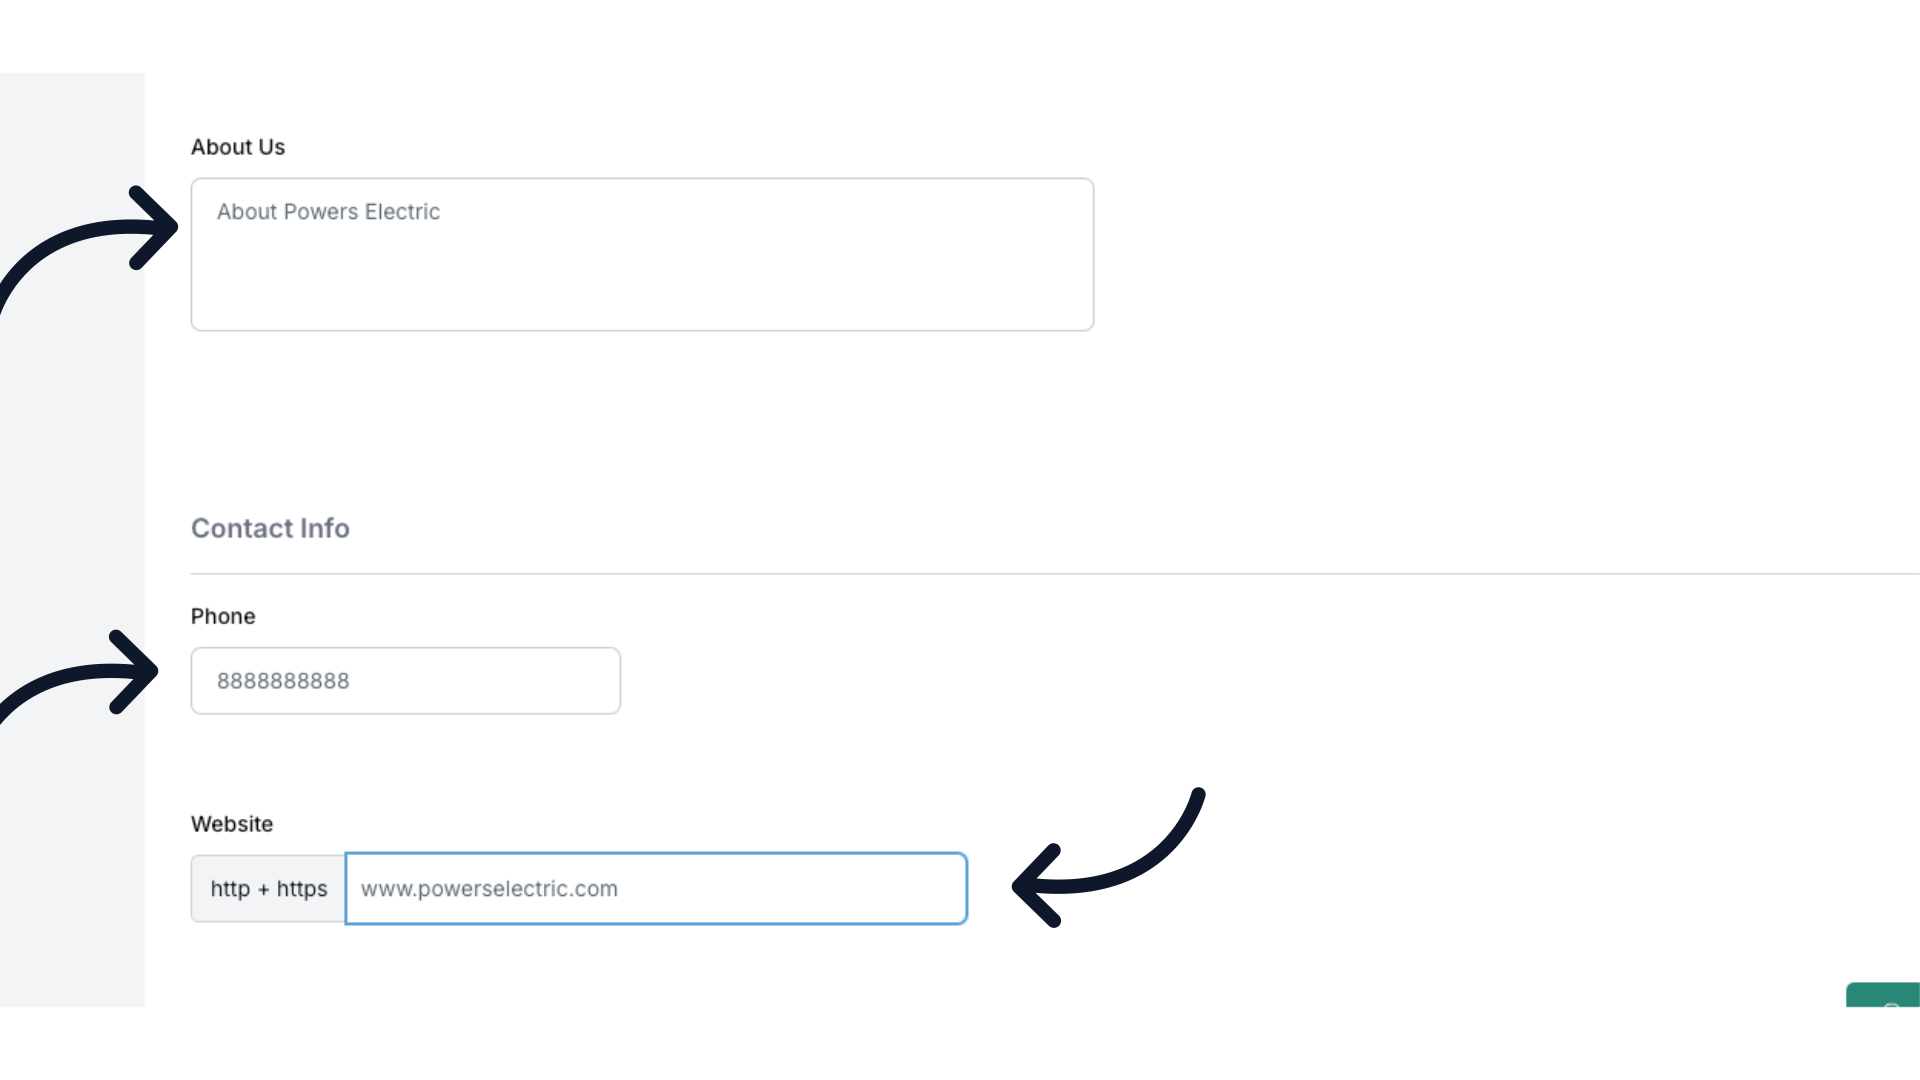
- Fill in the About Us section with a description of your business and provided services.
Contact Information:
- Enter your Phone Number.
- Enter your Website URL.
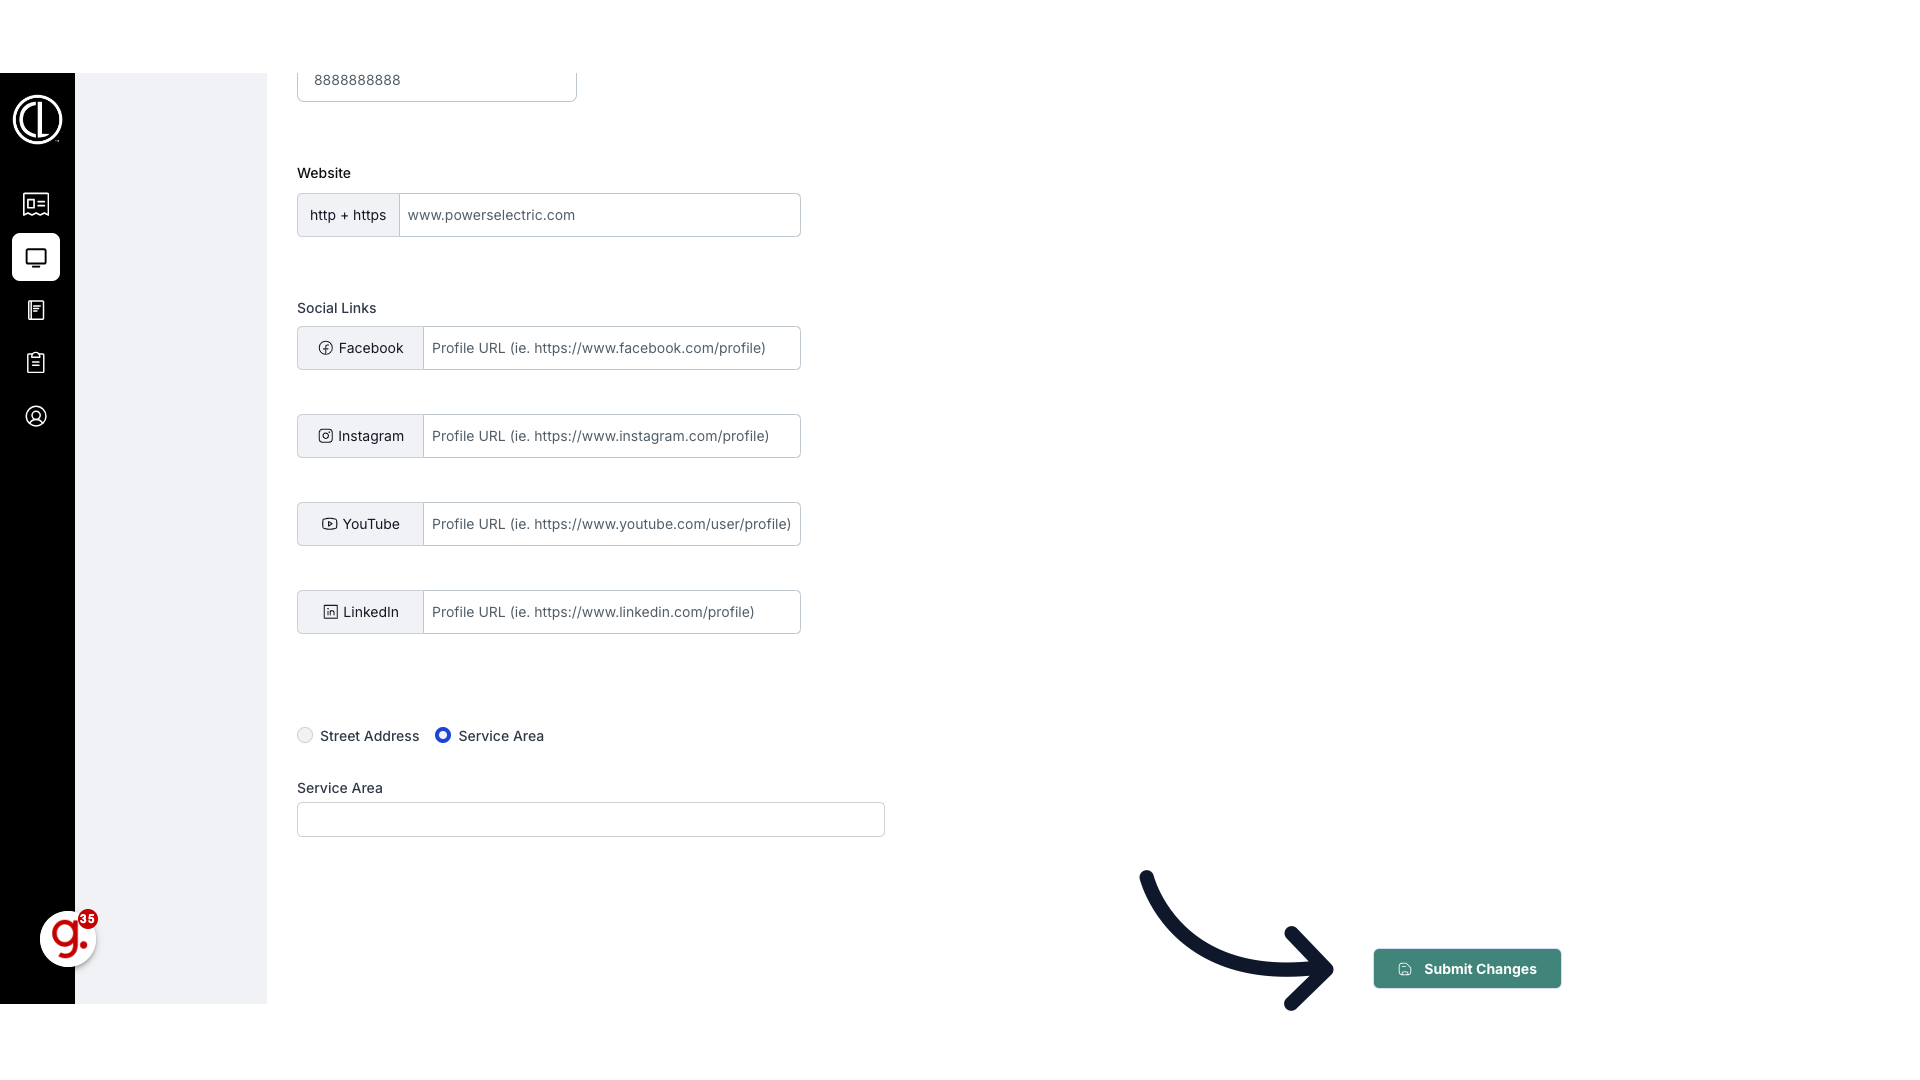
- Add any relevant Social Links by entering the profile's full HTTPS:// URLs for Facebook, Instagram, YouTube, or LinkedIn business accounts.
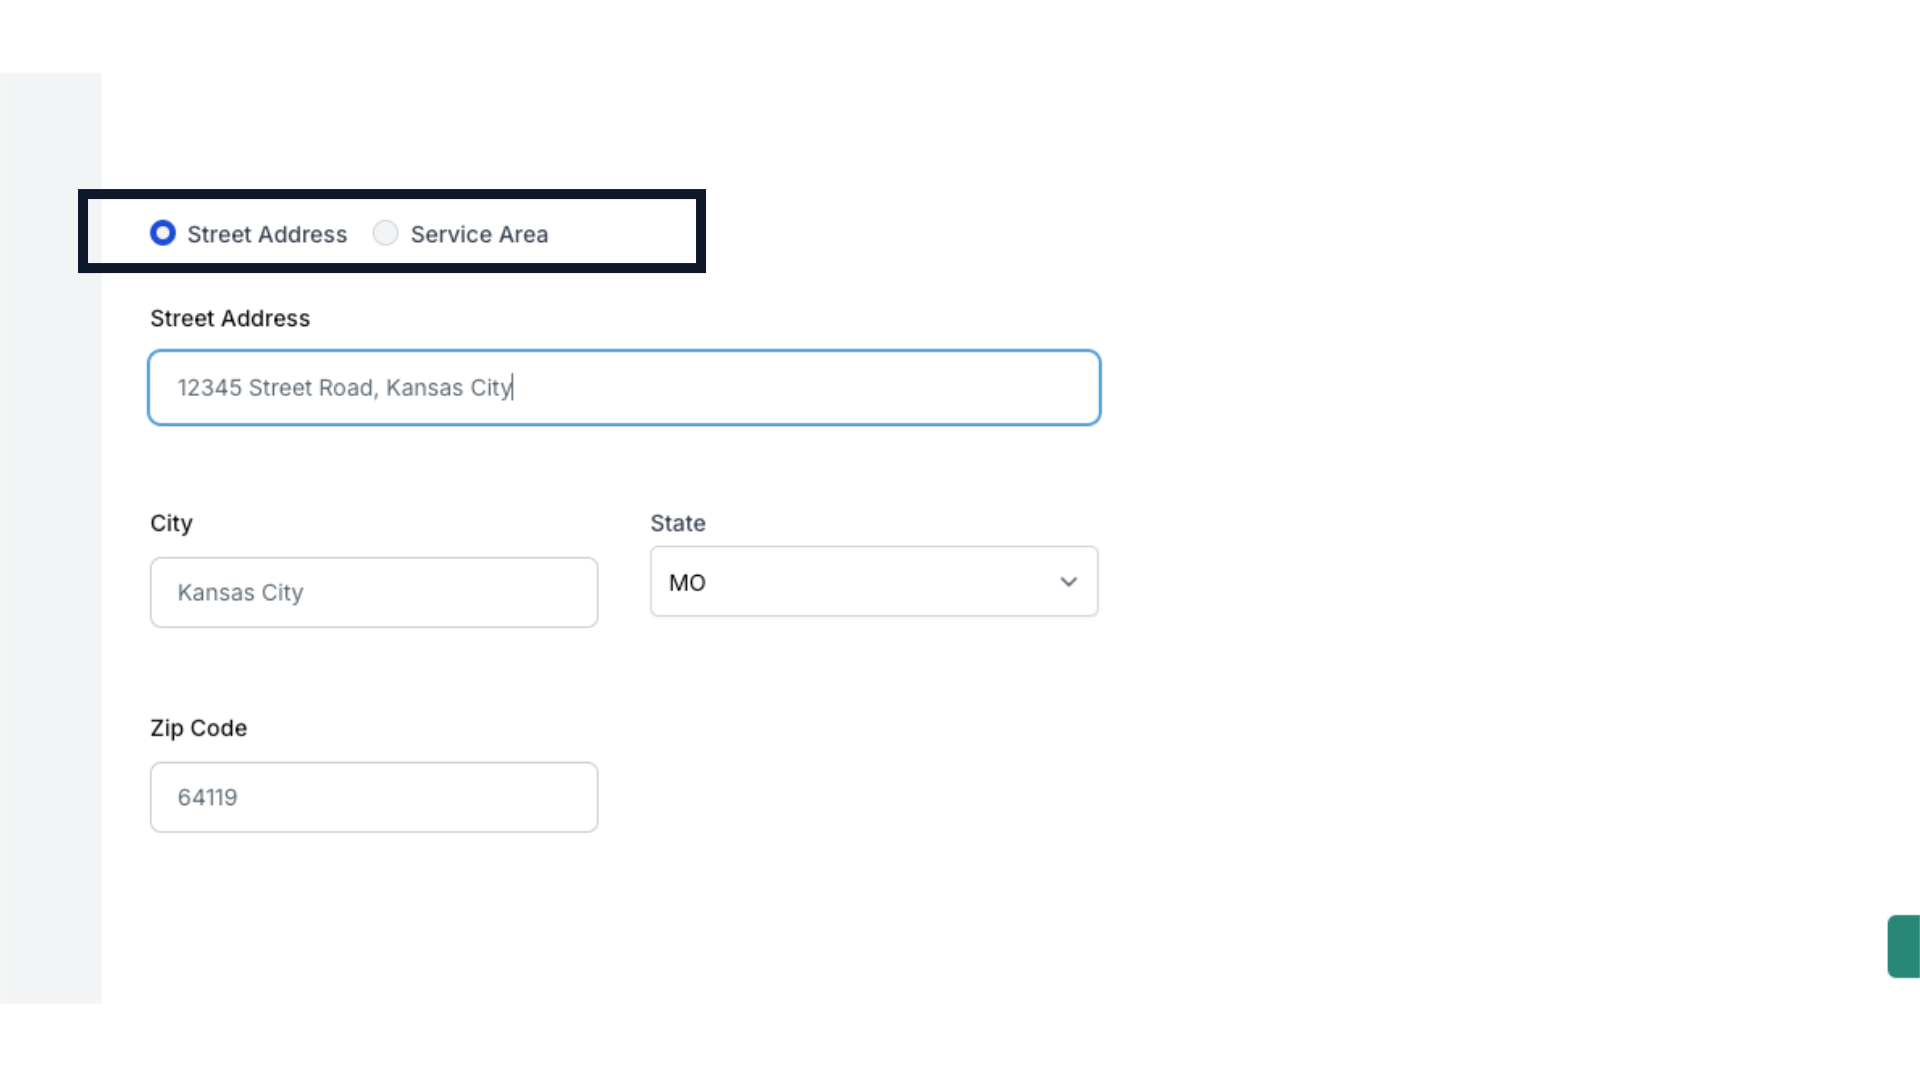
- Choose between a Street Address or Service Area for your business address.
- Click “Submit Changes” to finalize and publish your digital profile. Details can be updated at any time.
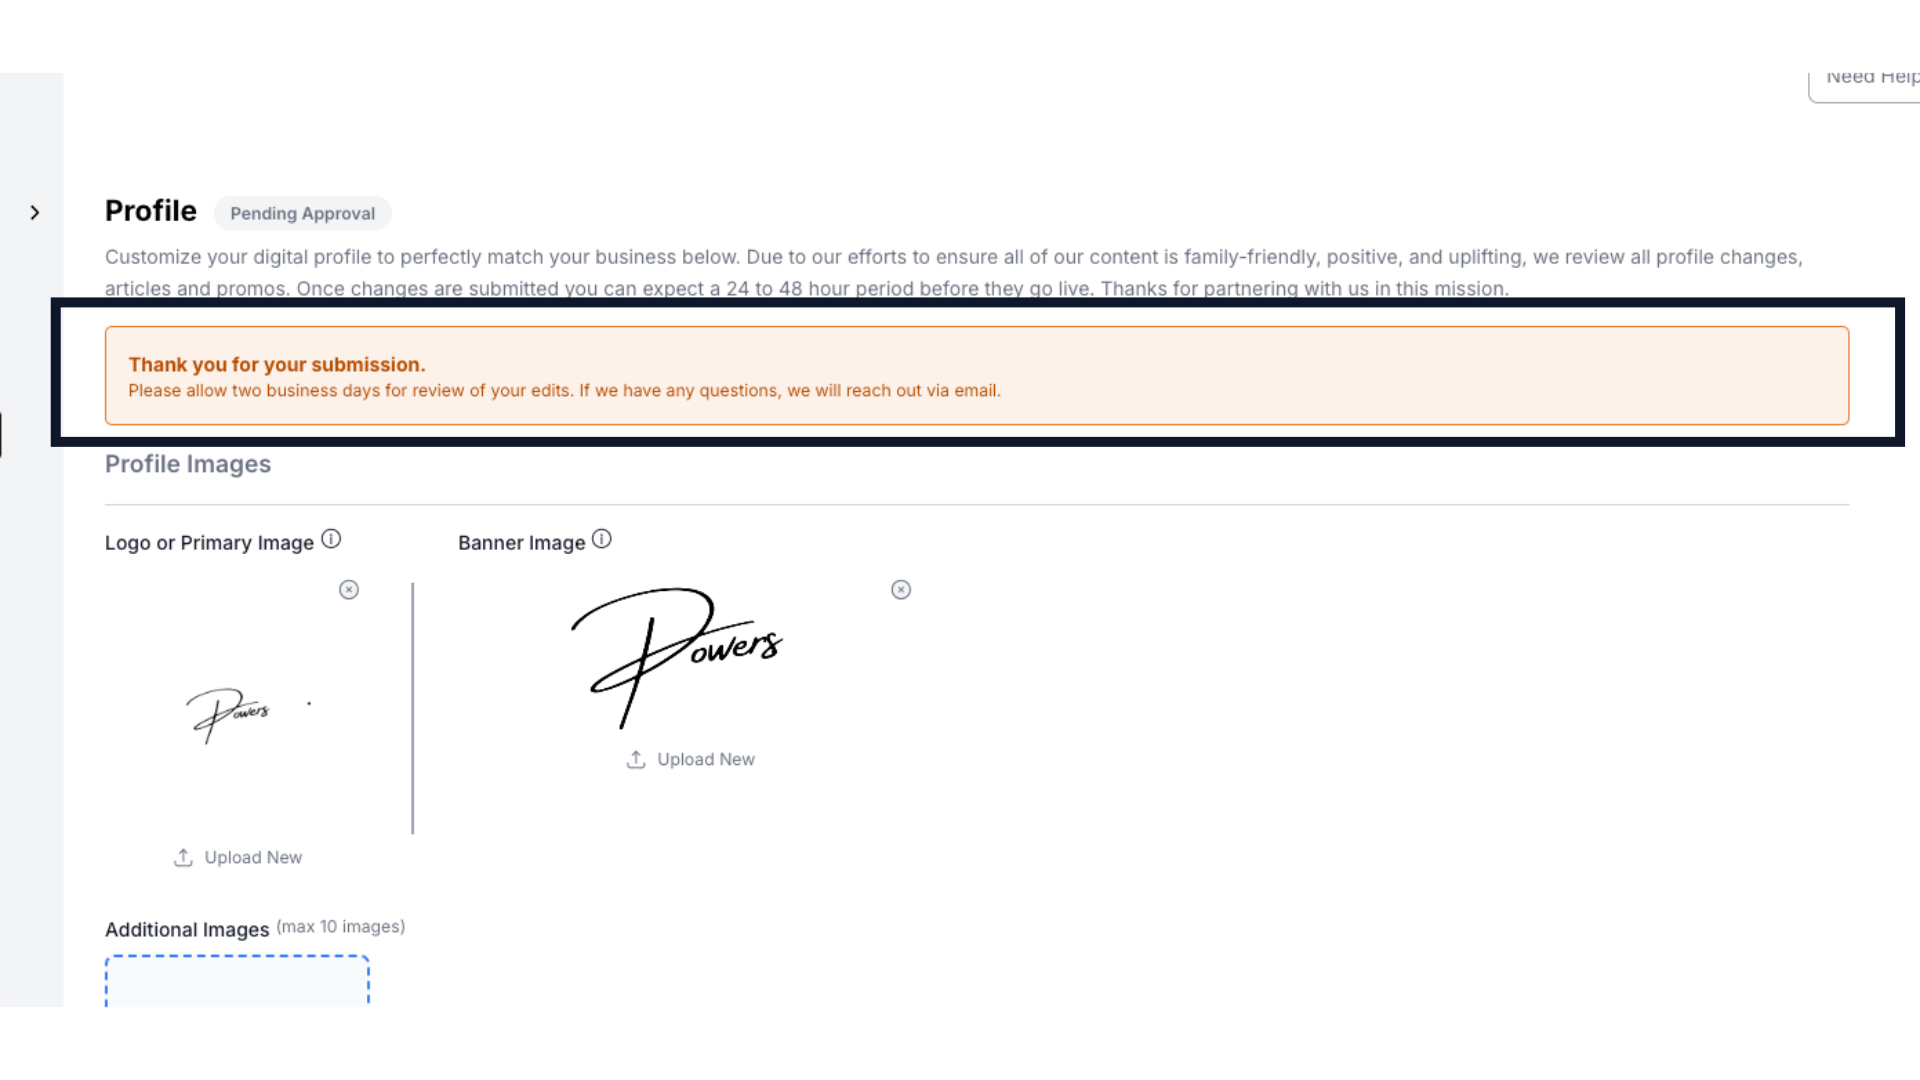
- All submissions and changes will go live after review within 24-48 hours.
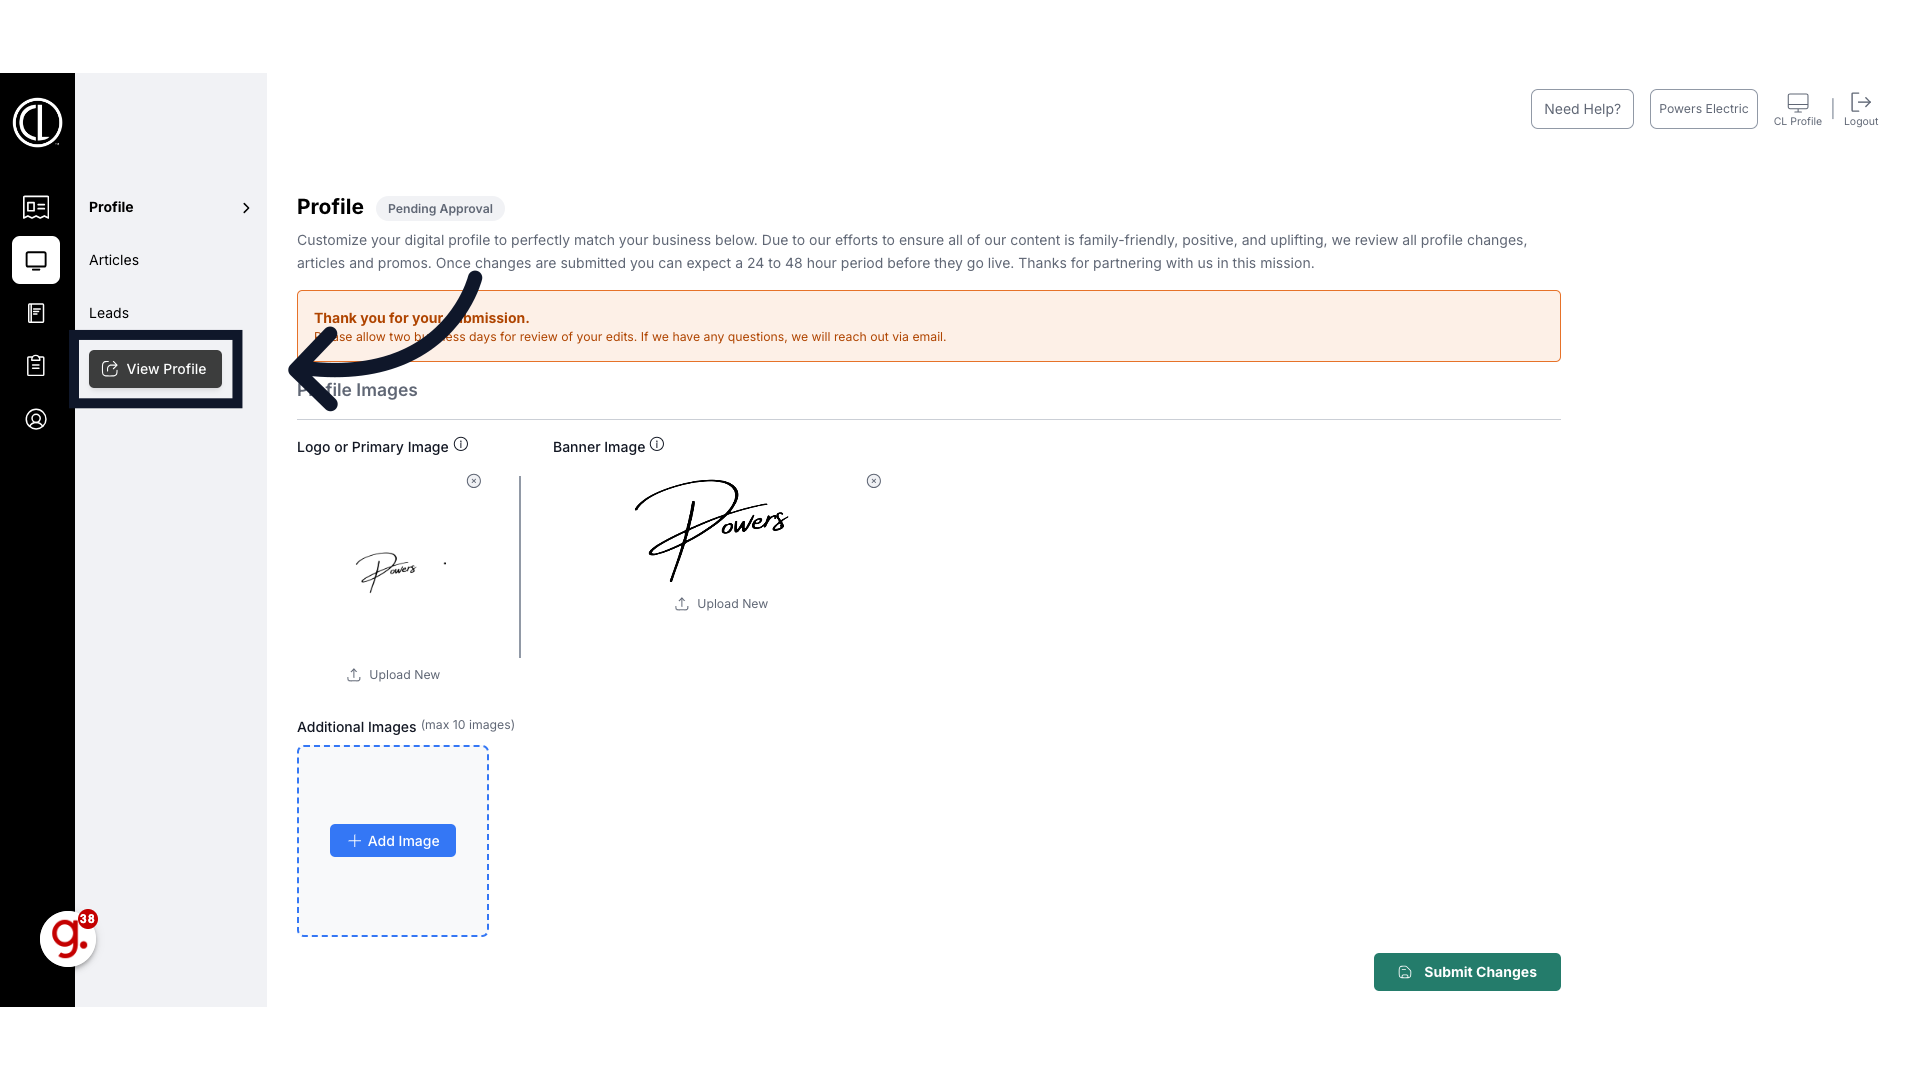
- Select “View Profile” in the submenu for a preview of your profile.
How to Set Up a Digital Listing Profile in the Customer Portal
This guide will walk you through setting up a digital listing profile in the Customer Portal.
Go to citylifestylehq.com
1. Setting up a Digital Listing Profile in the Customer Portal
Setting up your digital listing profile makes your business more accessible, helps build your brand online, and ensures all business details are accurate and engaging. The details you provide in your profile are optimized for search engines and linked to Google, making your business more visible in search results and improving its discoverability through SEO.
2. Click "Digital"
Open the customer portal and navigate to the digital tab on the left side bar
3. Click "Profile"
Navigate to the "Profile" tab.
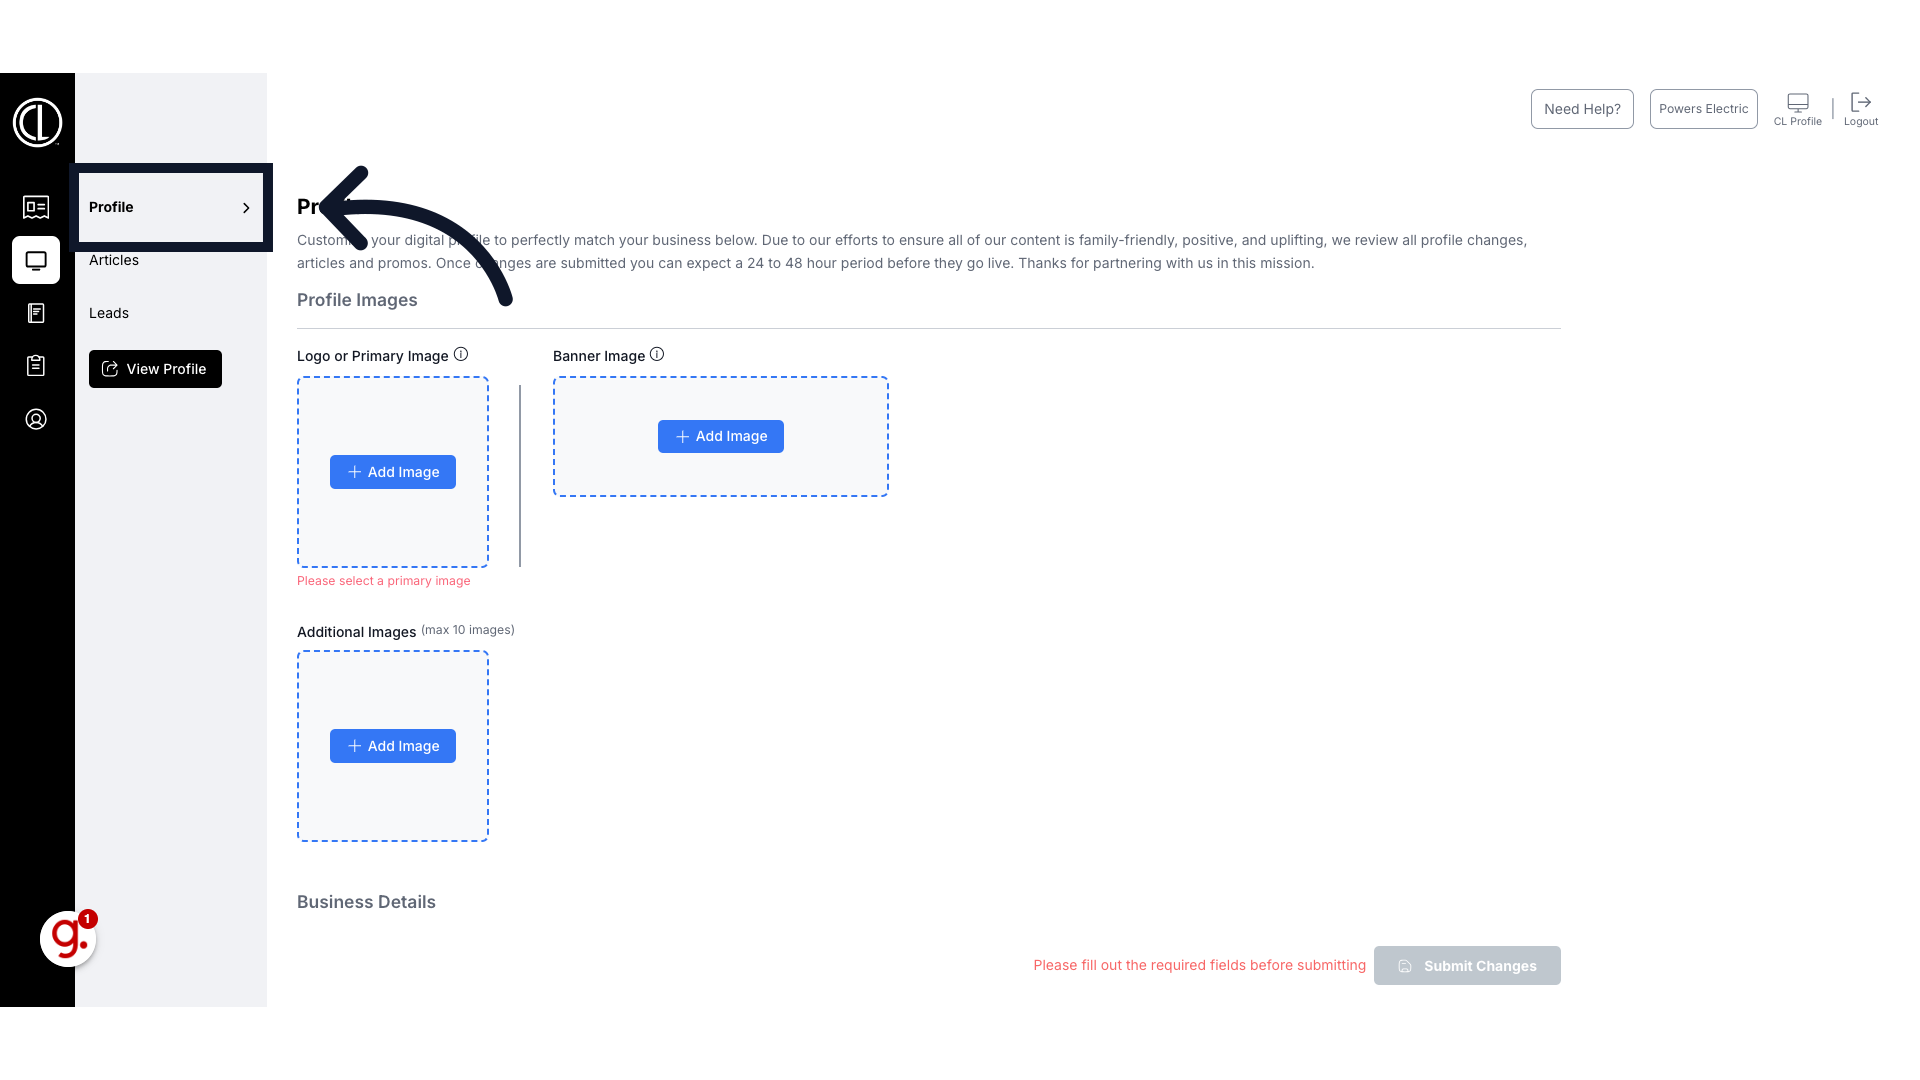
4. Upload Profile Images
This page is where you will enter your business information. First upload your logo and banner image as well as any additional photos. Here are the recommended photo sizes
5. Enter Business Name and select a Category
Scroll down and enter your business name and select a business category from the drop down menu
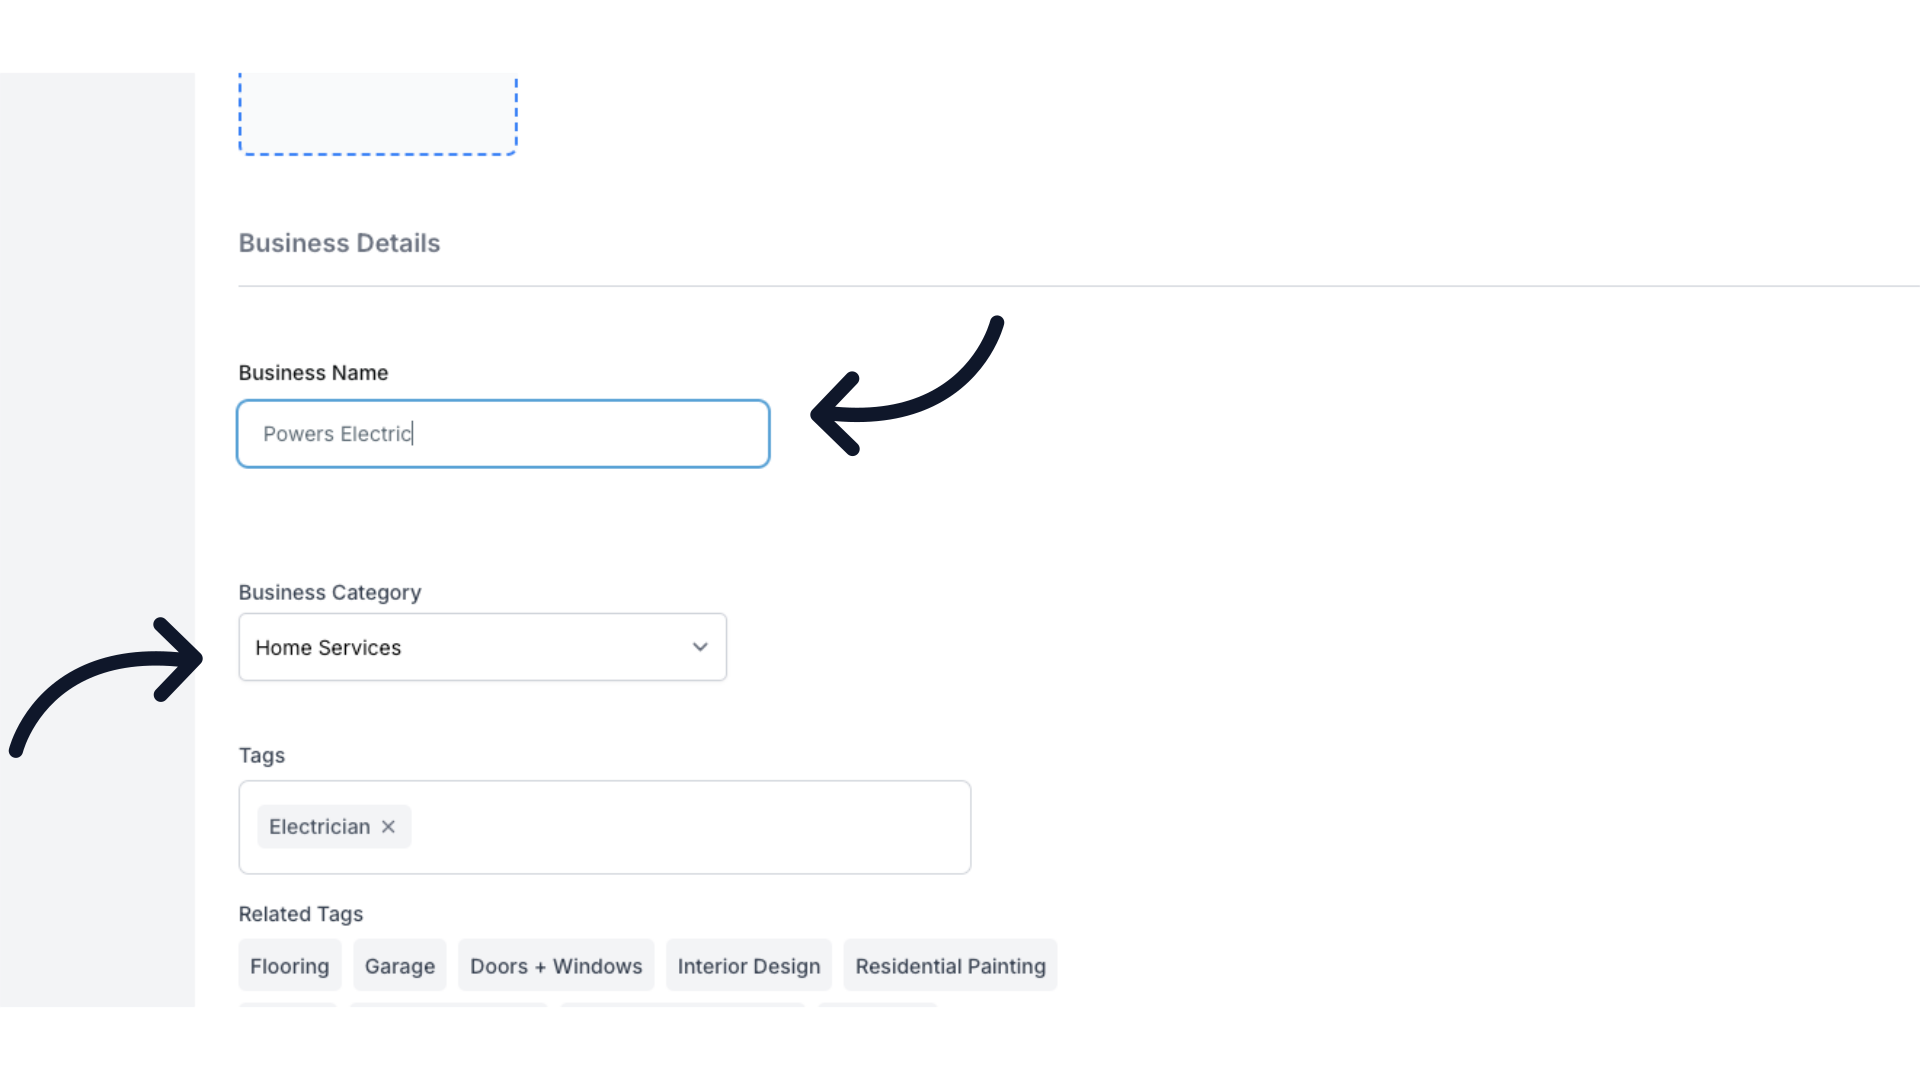
6. Add relevant tags
Next type in relevant tags for your business. These tags are pre-registered and will populate as you type. If a tag does not appear, it is not available.
7. Fill in the About Us section & Contact Information
Scroll down to continue. Enter a blurb about your business in the About Us section as well as contact information to display in the listing.
8. Link social profiles
Next link your social profiles.
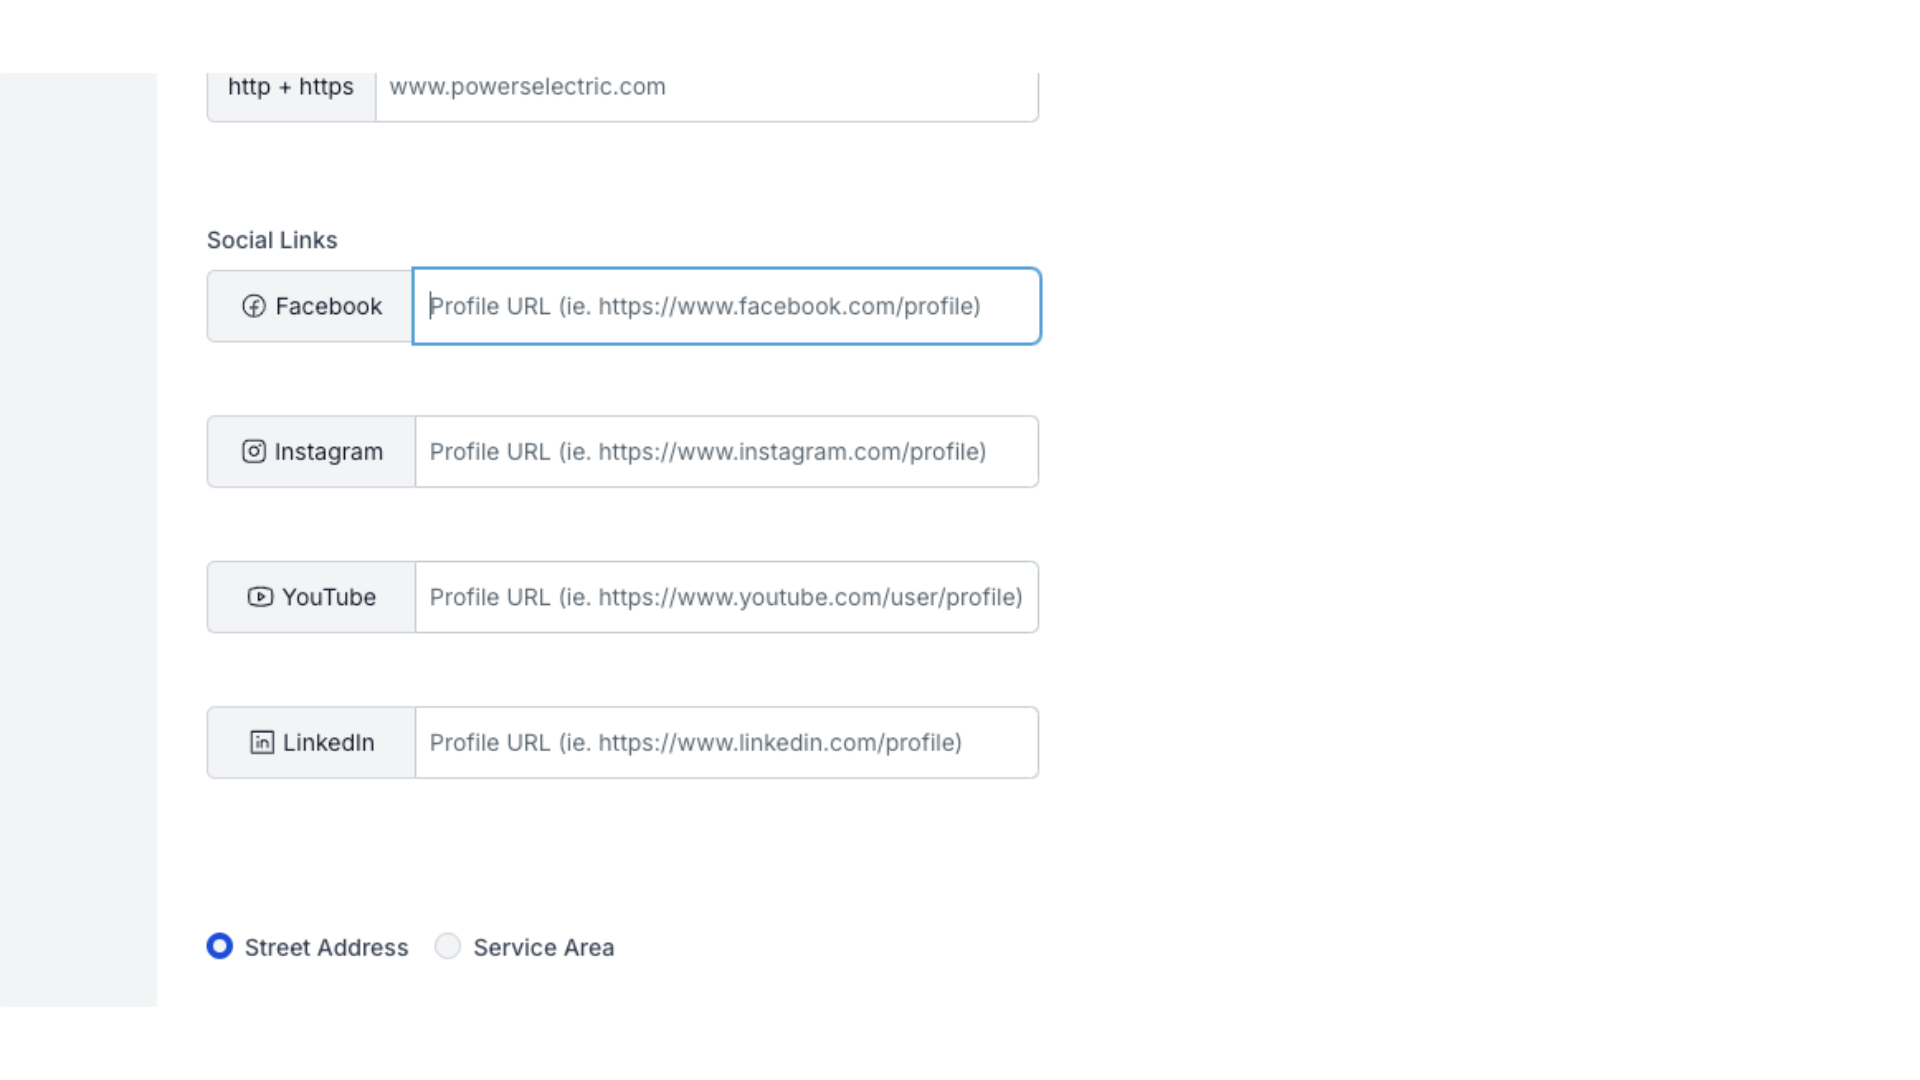
9. Enter business address or service area
Below you can choose between entering your business's physical address or a service area.
10. Submit changes
Click the green "Submit Changes" button in the bottom right corner to save
11. Please allow two business days to review edits
At the top of the page you will see a confirmation of your edits. Please allow two business days for our team to review and publish.
12. View Profile
To preview your profile click "View Profile" in the left side bar
This guide covered the steps to set up a digital listing profile in the Customer Portal.