How to Create a Digital Article in the Customer Portal
Creating digital articles helps you connect with your audience, establish authority in your industry, and increase your brand’s visibility online. Publishing engaging, informative content improves SEO, driving more organic traffic to your digital listing and business. It allows you to share valuable insights, promote your business and industry, and build a loyal following while also enhancing credibility and trust with your readers.
- Log in to your customer portal via https://citylifestylehq.com.
- On the left menu, click the “Digital” tab.
- From the submenu, select “Articles”.
- On the right-hand side, click “New Article”.
- Please note that all of the following text and image fields are required to move forward with saving or submitting your draft.
- Upload an image using one of the following options (recommended size: 1600x900 pixels).
- My Files: Drag and drop a file or browse from your device.
- Web Address: Enter a URL for a public image.
- Camera: Capture an image using your device.
- Dropbox: Upload from Dropbox.
- Enter the article Title.
- Enter a Subtitle.
- Enter the original author's name.
- Enter the photographer's name.
- Enter and format the article content using the provided tools.
- You can use formatting options like bold, underline, bullet points, etc, to enhance your content.
- Include links to external resources.
- Incorporate text, images, or videos to create a visually engaging and dynamic article.
- For a more interactive layout, you can alternate between text and media, such as placing an image between sections of text to break up content and improve flow.
- Once the content is created, save the draft or click “Next” to proceed. If this option is not visible, please ensure that all text and image fields contain content.
- Next, fill in the general setting of the article.
- Target Publish Date: Choose a specific date for publishing (optional).
- The article will be published on this date once it is approved. If no date is selected or if the target date is in the past, the article will automatically be published the day after it is approved. You will receive an email confirmation of the article’s approval and a second email when it is live on the site.
- Primary Category: Select the main category for your article from the drop-down list.
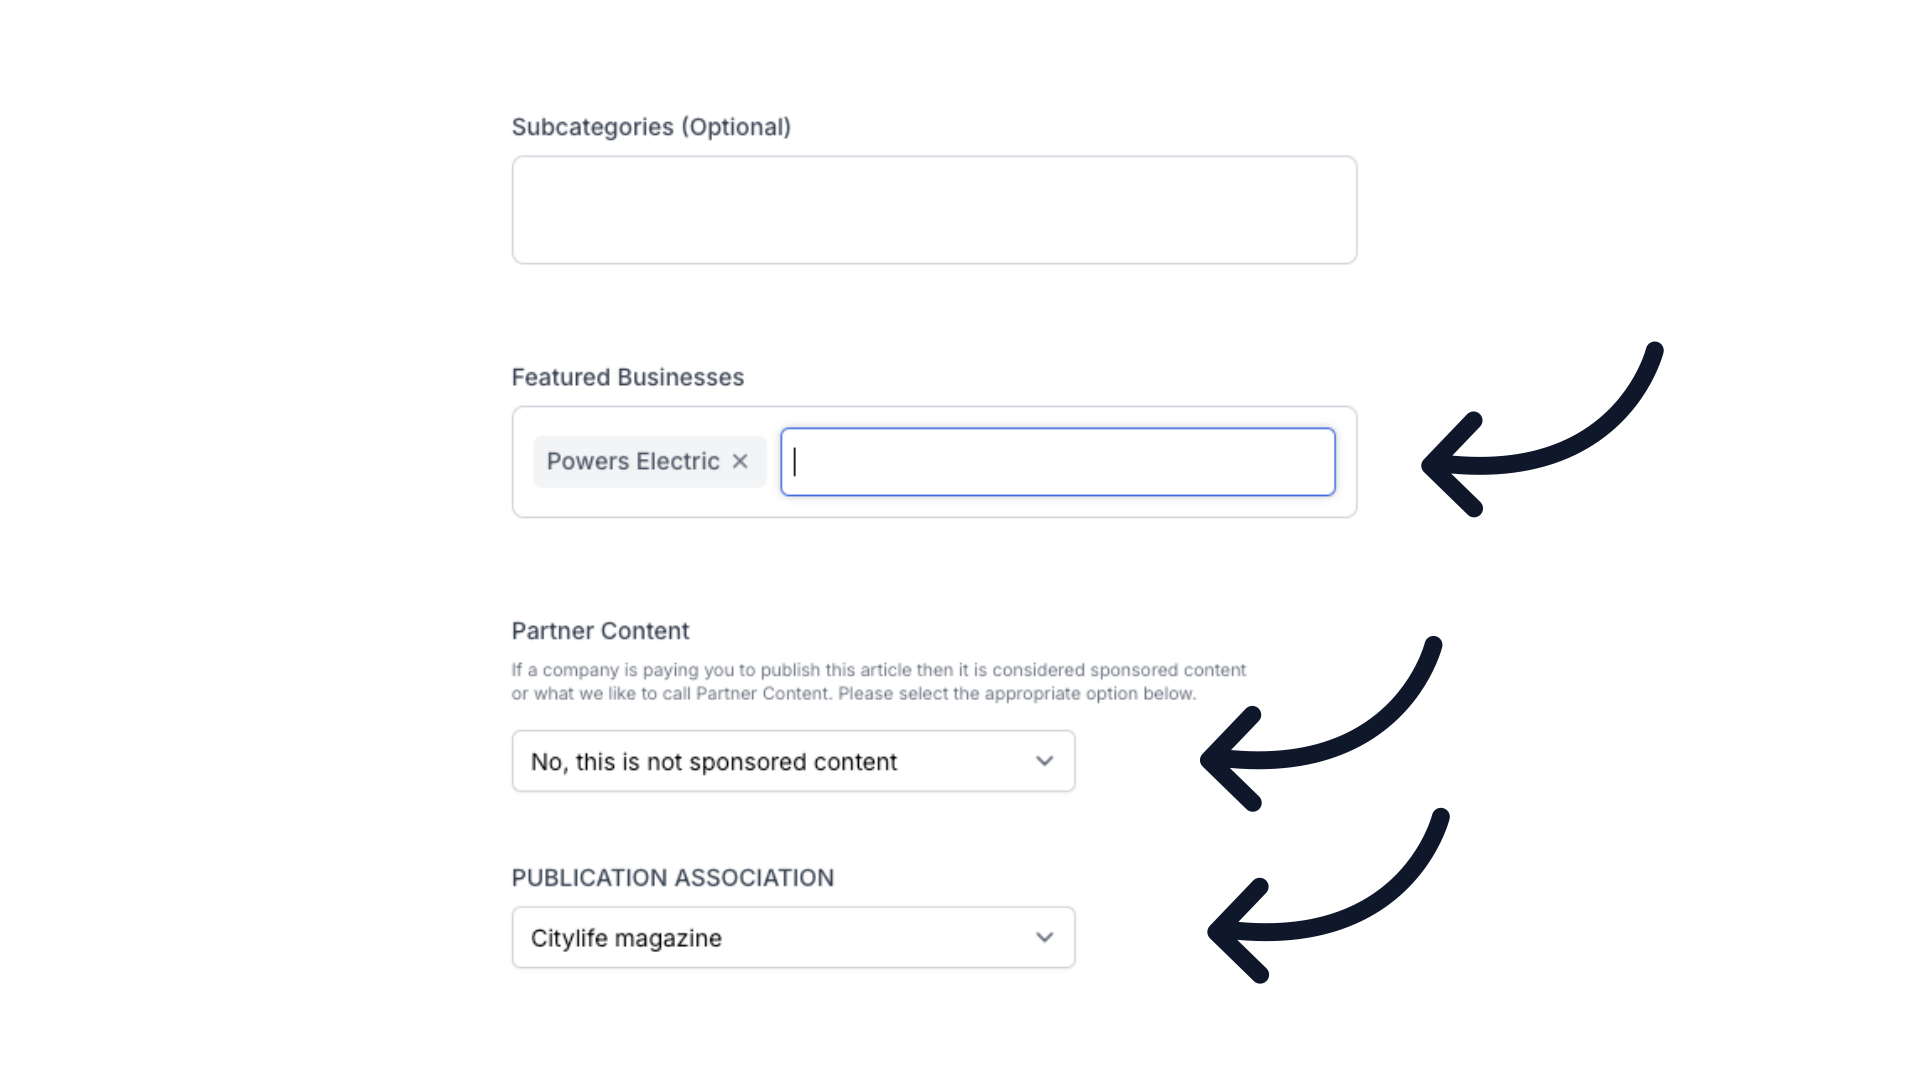
- Subcategories: Choose additional relevant categories (optional).
- Tag Search: Add relevant tags for searchability.
- Featured Businesses: Your business will be pre-generated in this field.
- Partner Content: Indicate if the article is sponsored content or not from the drop-down options.
- If a company is paying you to publish this article, then it is considered sponsored content, or what we like to call Partner Content.
- Publication Association: Select the associated publication from the drop-down menu.
- Target Publish Date: Choose a specific date for publishing (optional).
- Lastly, fill in the SEO (search engine optimization) settings.
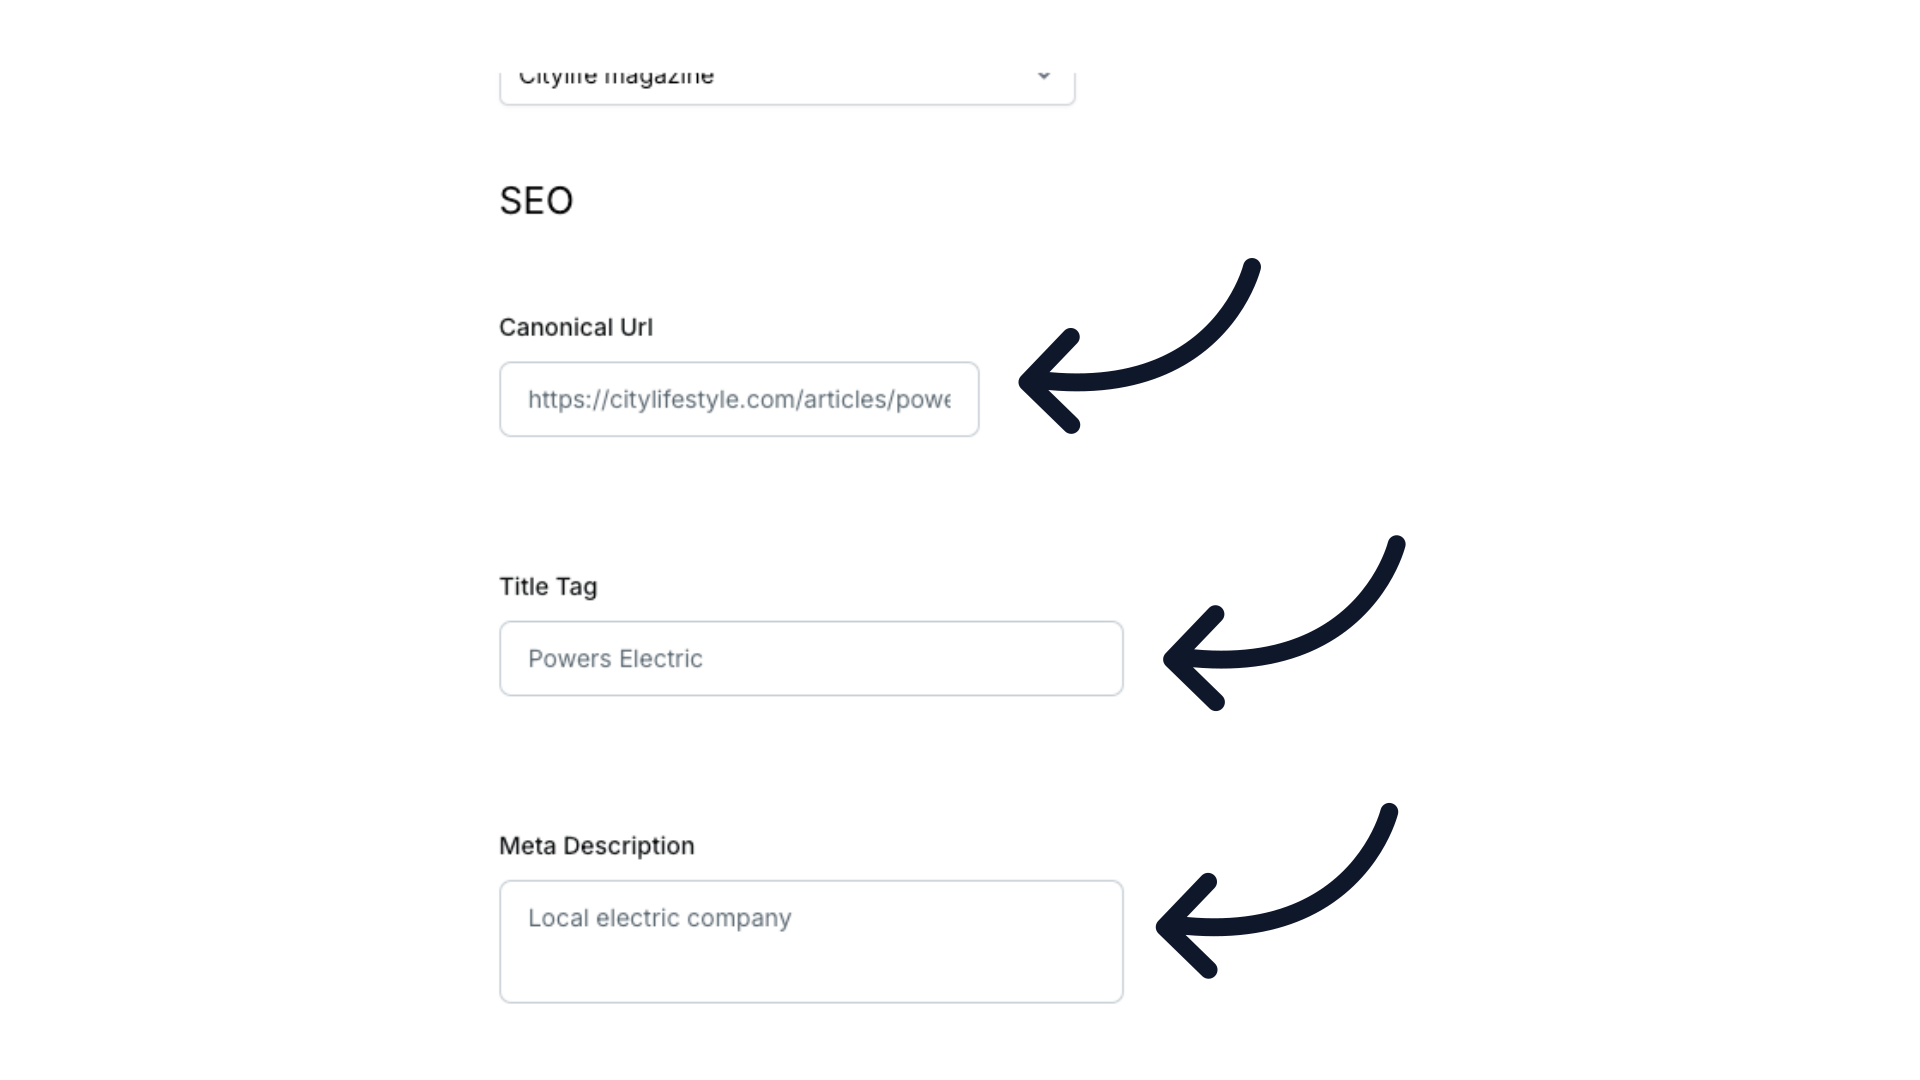
- Canonical URL: This field will automatically pre-populate with your title at the end of the URL.
- If you want your URL to be different from the title, please type it in the following format. http://www.citylifestyle.com/articles/[name-of-url-here].
- If you are fine with the URL showing the default title, no changes are needed.
- Title Tag: Enter a concise, descriptive title that will appear in search engine results.
- This should include relevant keywords and accurately describe the content of your article.
- Meta Description: Write a summary (Approx. 160 characters) that provides a clear overview of the article's content.
- This description will appear in search engine results and should entice users to click on the article.
- Canonical URL: This field will automatically pre-populate with your title at the end of the URL.
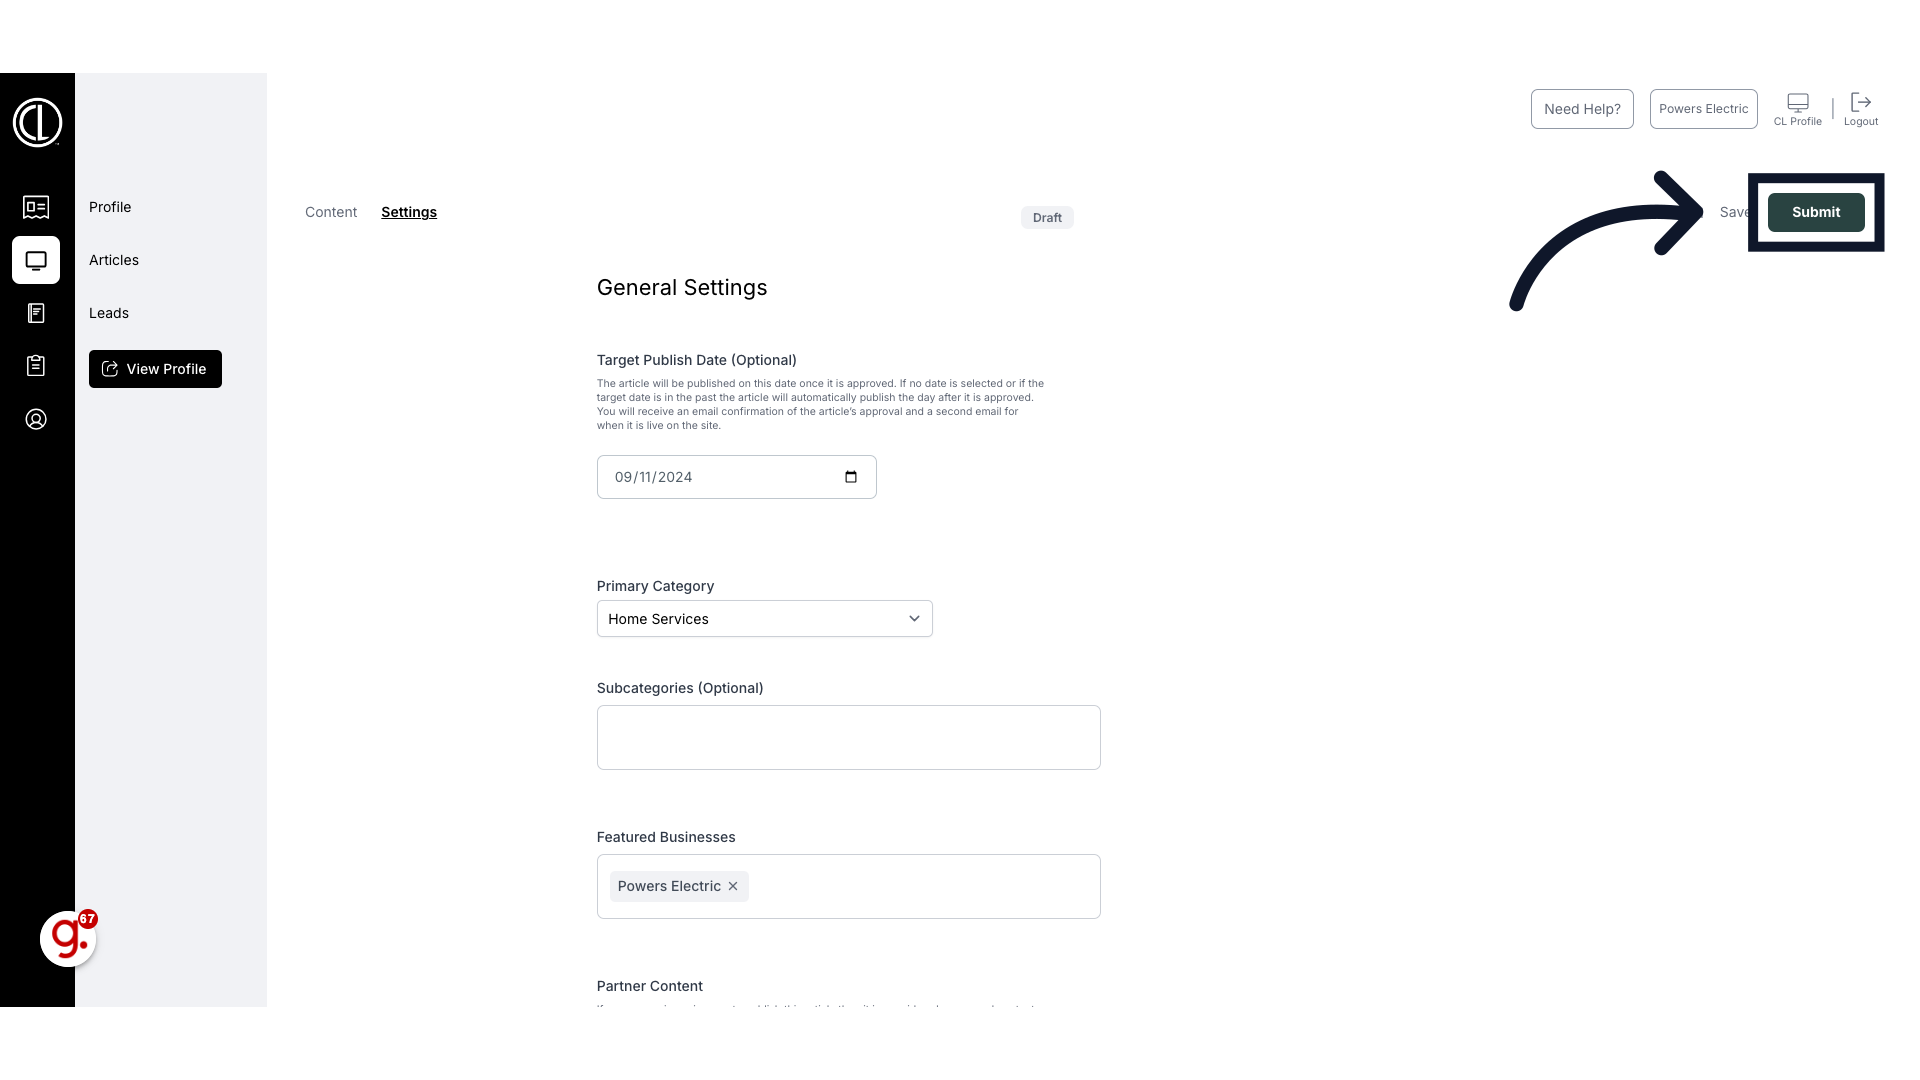
- Once completed, click “Submit” on the top right side of the screen. If this option is not visible, please ensure that all text and image fields contain content.
- Your article will be reviewed and published within 24-48 hours after approval.
How to Create a Digital Article in the Customer Portal
This guide will walk you through the process of creating a digital article in the Customer Portal.
Go to citylifestylehq.com
1. Benefits to Publishing Digital Articles
Publishing digital articles is a great way to connect with your audience, boost your brand's online visibility, and establish authority in your industry. By sharing engaging, informative content, you can improve SEO, driving more organic traffic to your site. It also helps you share valuable insights, promote your business, and build a loyal following, all while enhancing credibility and trust with your readers.
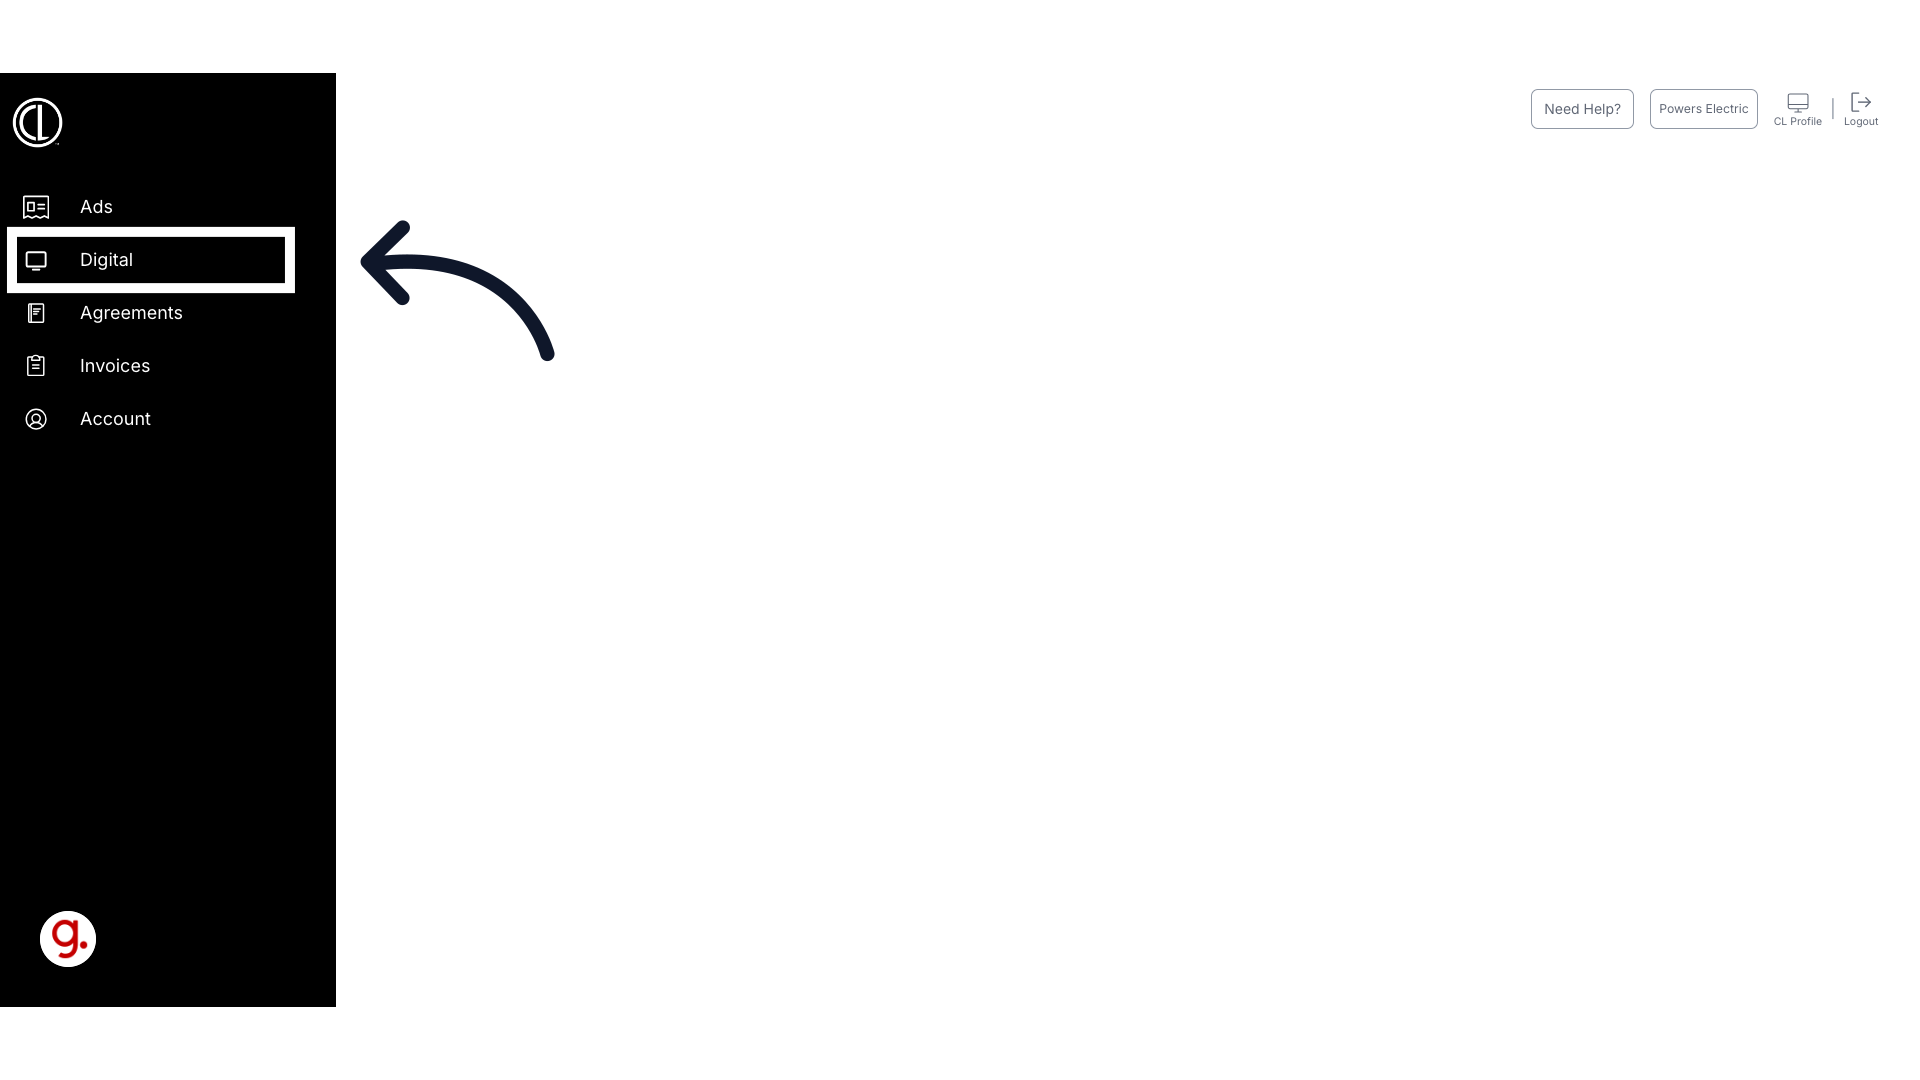
2. Click "Digital"
Click on the Digital tab on the left hand side
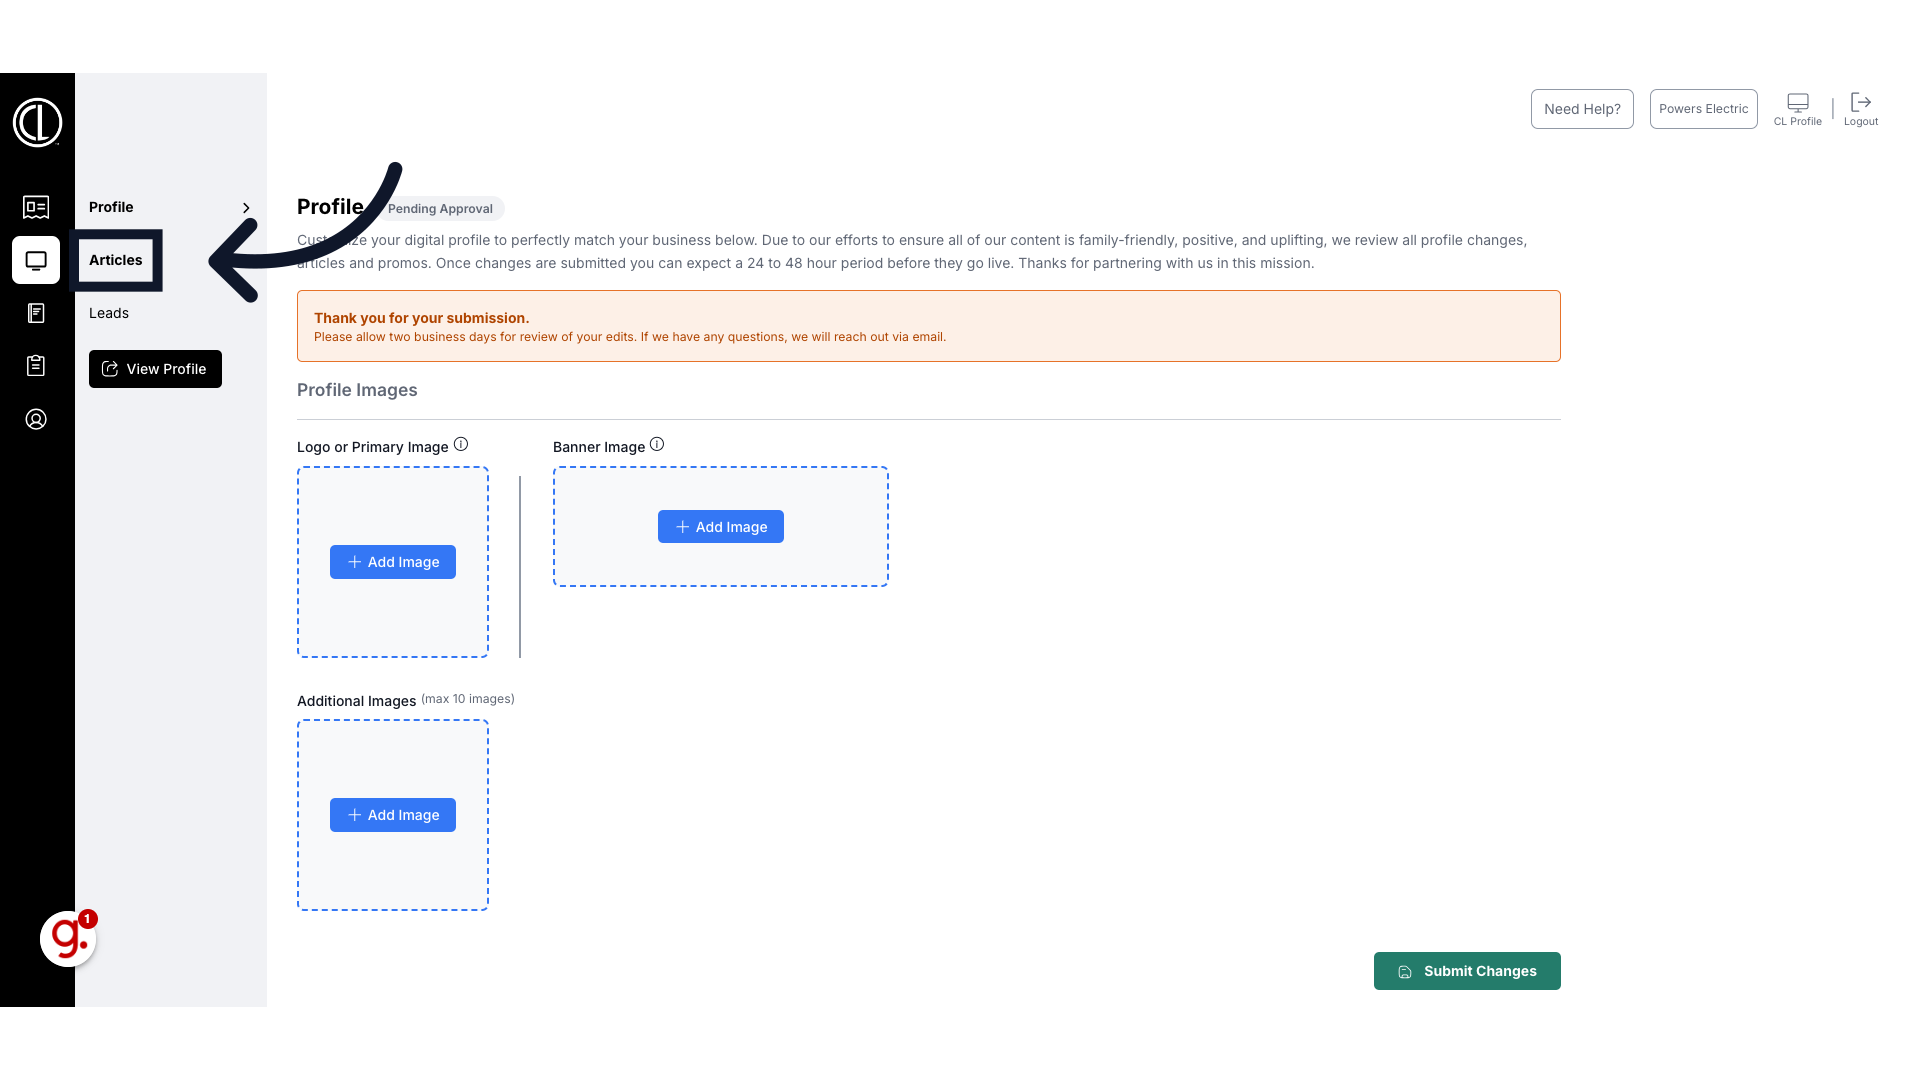
3. Click "Articles"
Access the articles section.
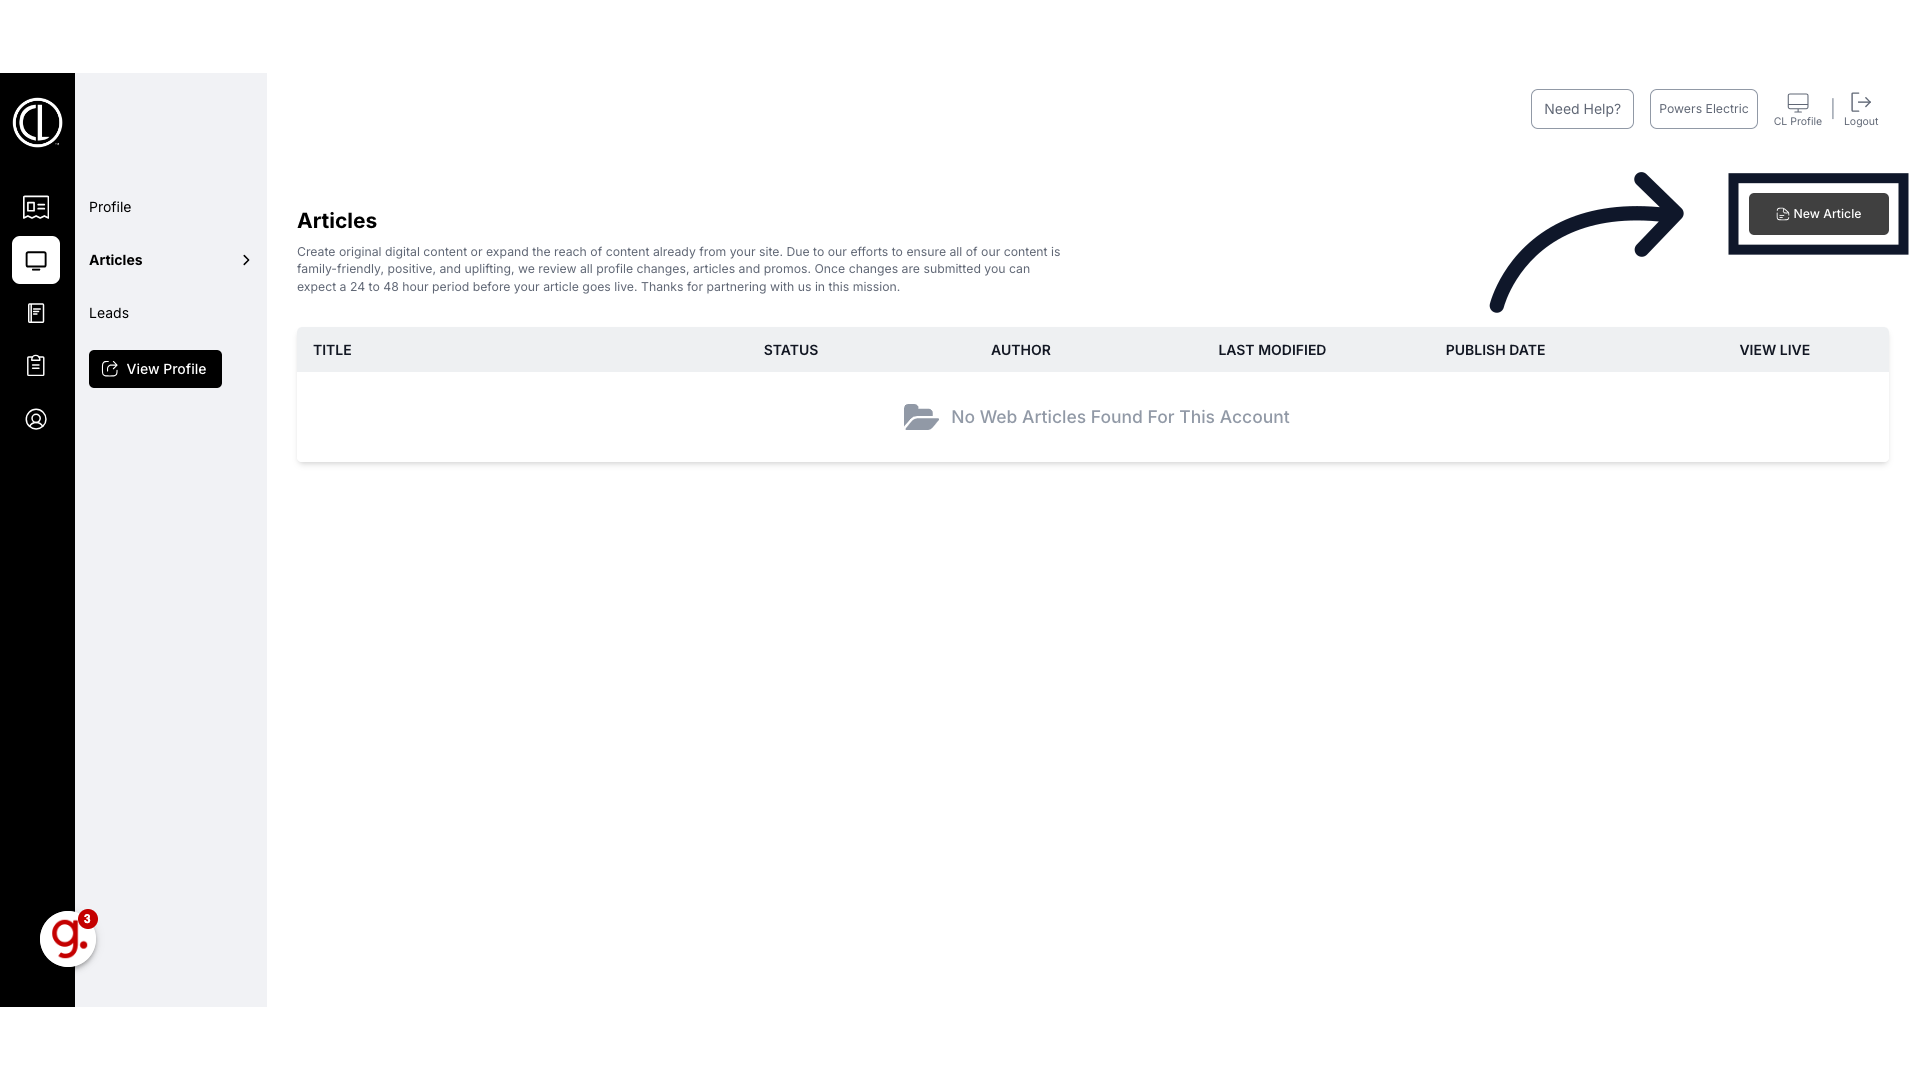
4. Click "New Article"
Click "New Article" in the top right corner
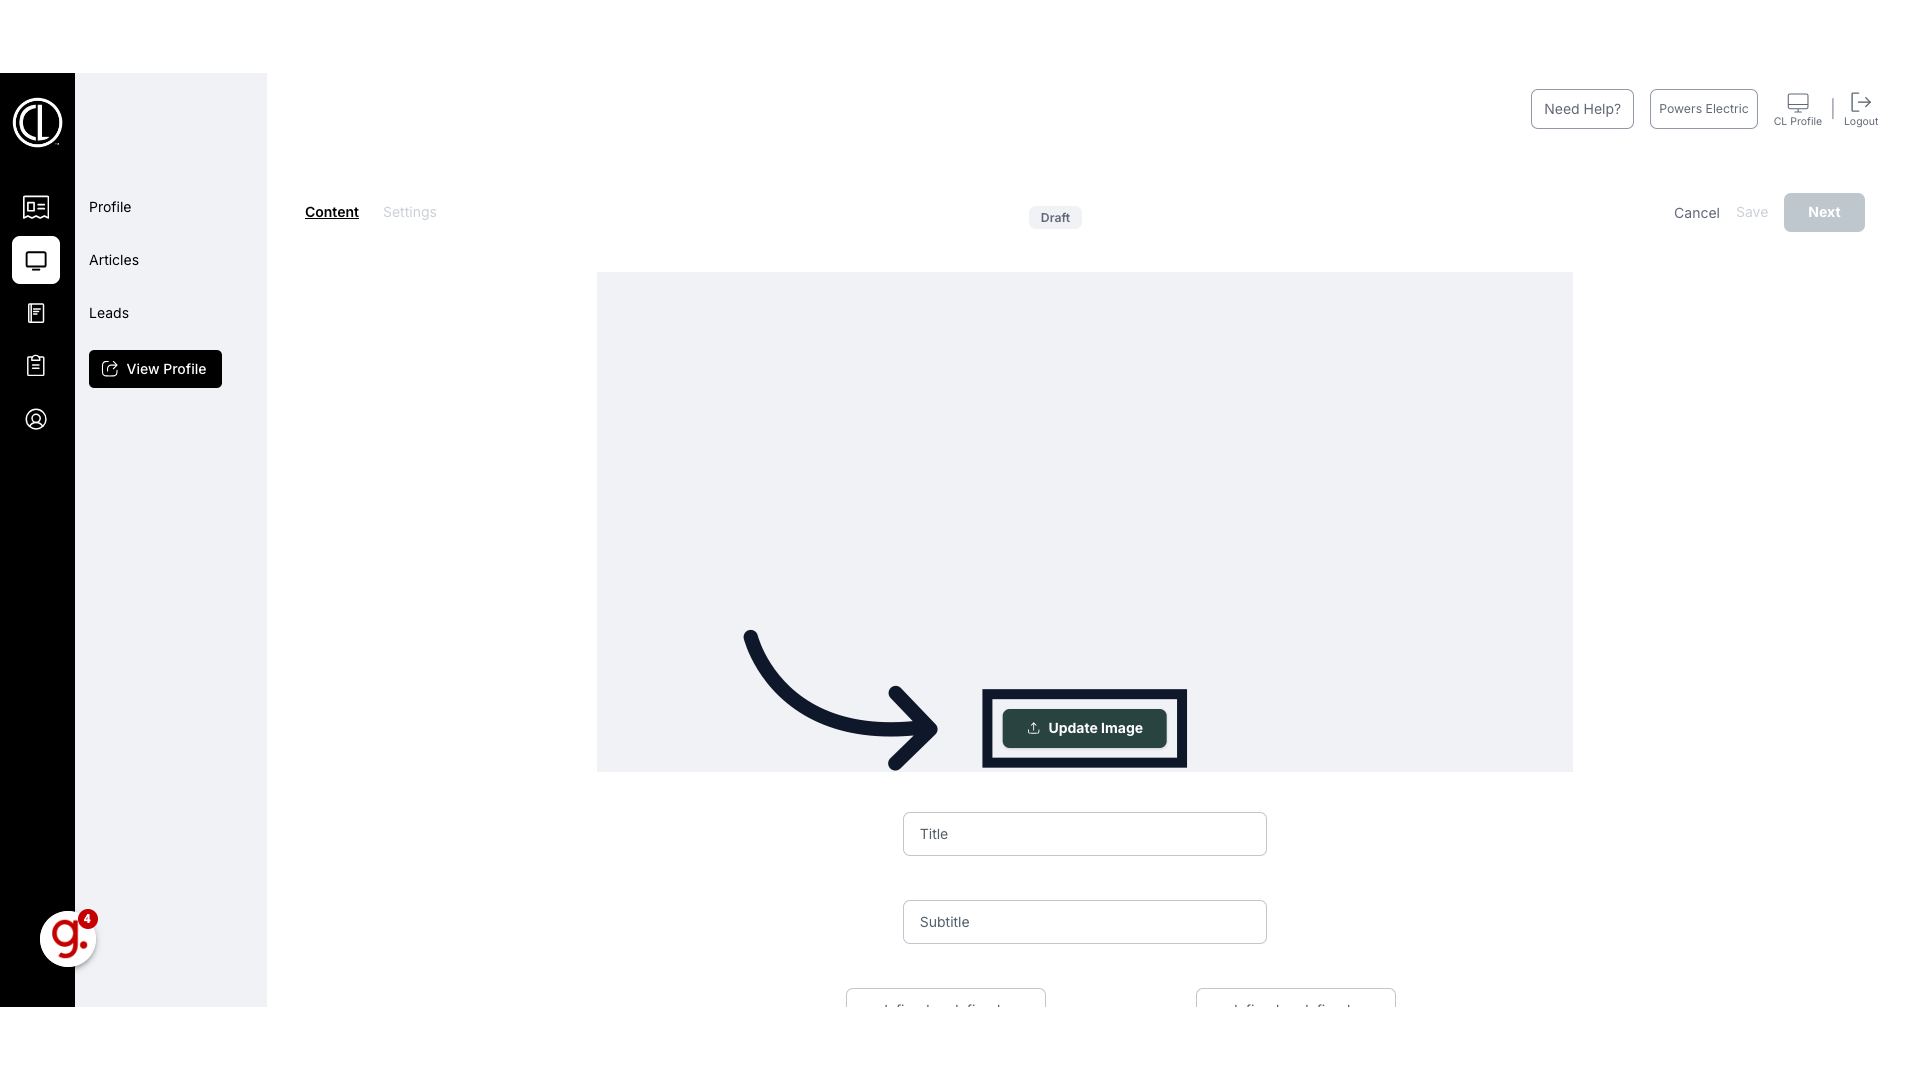
5. Click "Update Image"
First, upload the image you want to display at the top of the article
6. Fill in the title, subtitle, author and photographer
Enter the title, subtitle, author and photographer.

7. Enter content
Scroll down to enter the article content. You can format the content with the tools above.
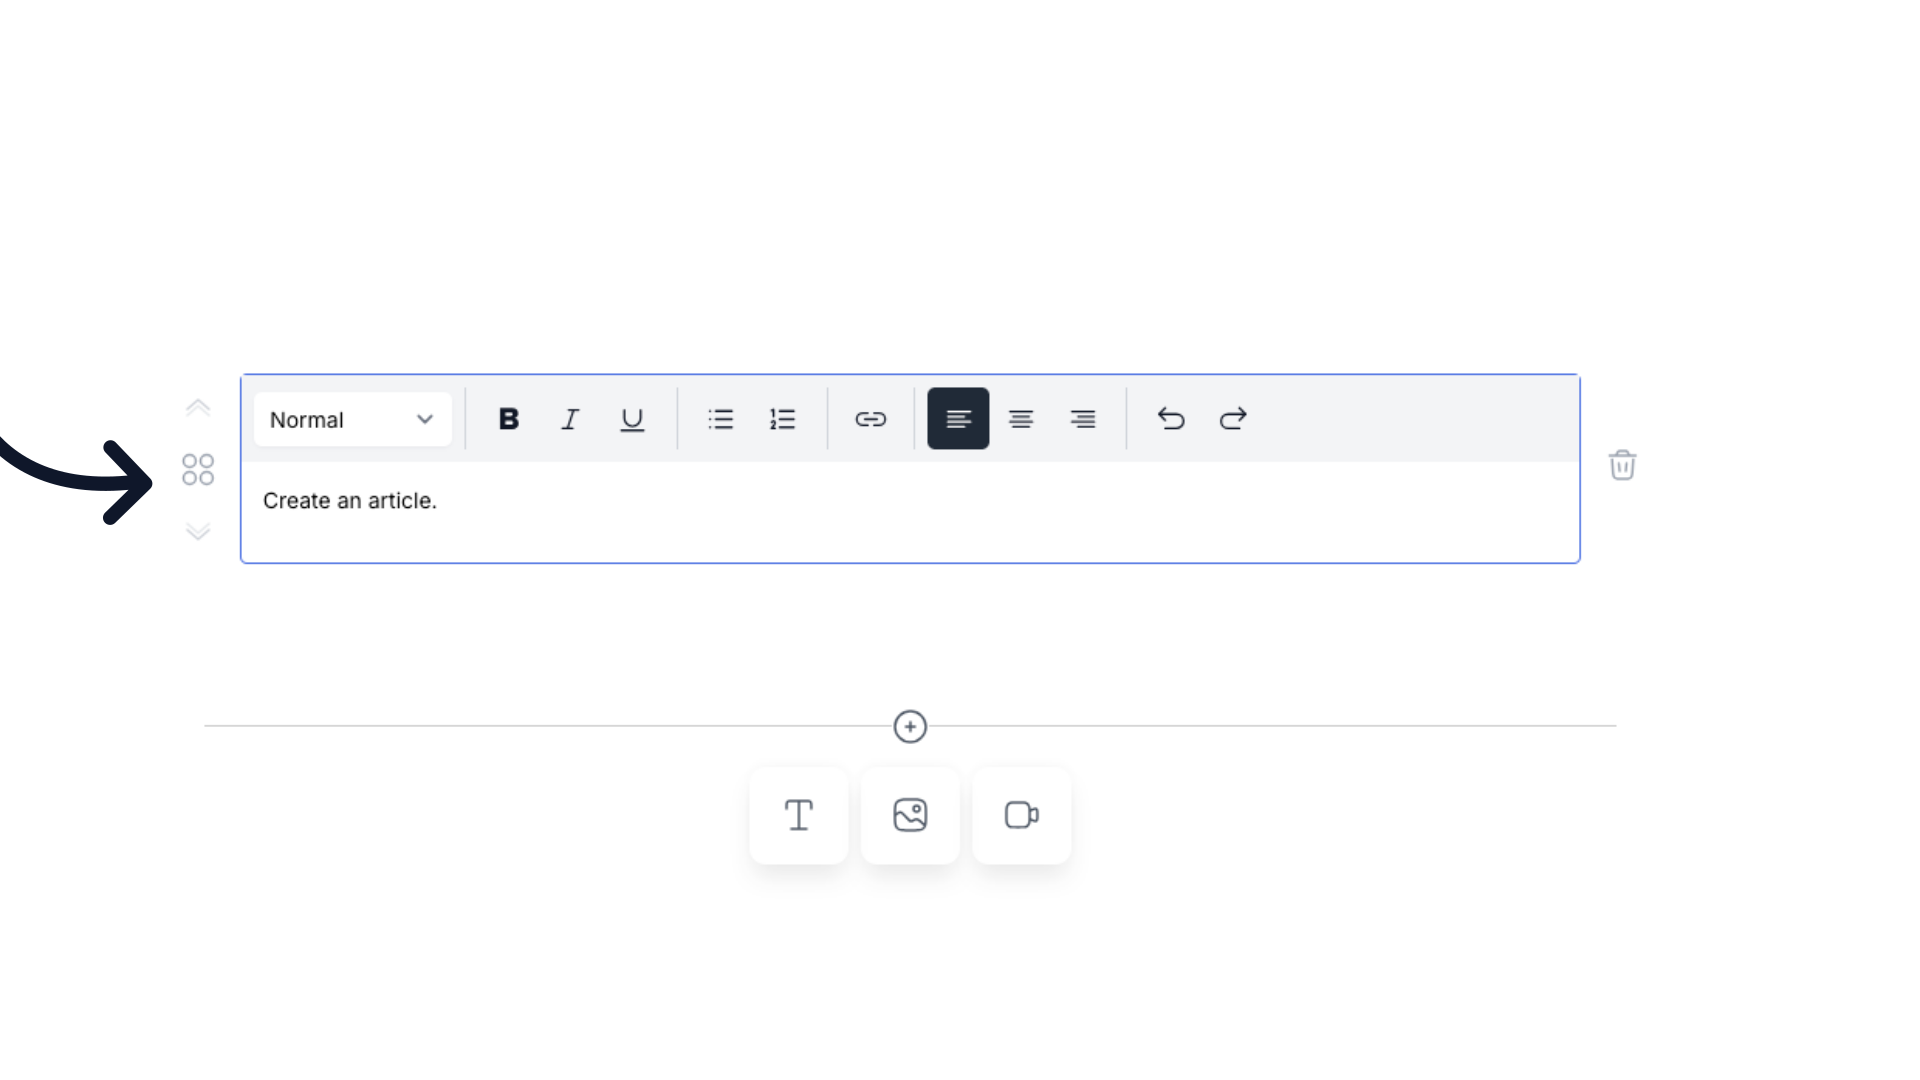
8. Add additional content
Below you can add additional content such as a new text box, photos or even video footage to create a more engaging article.

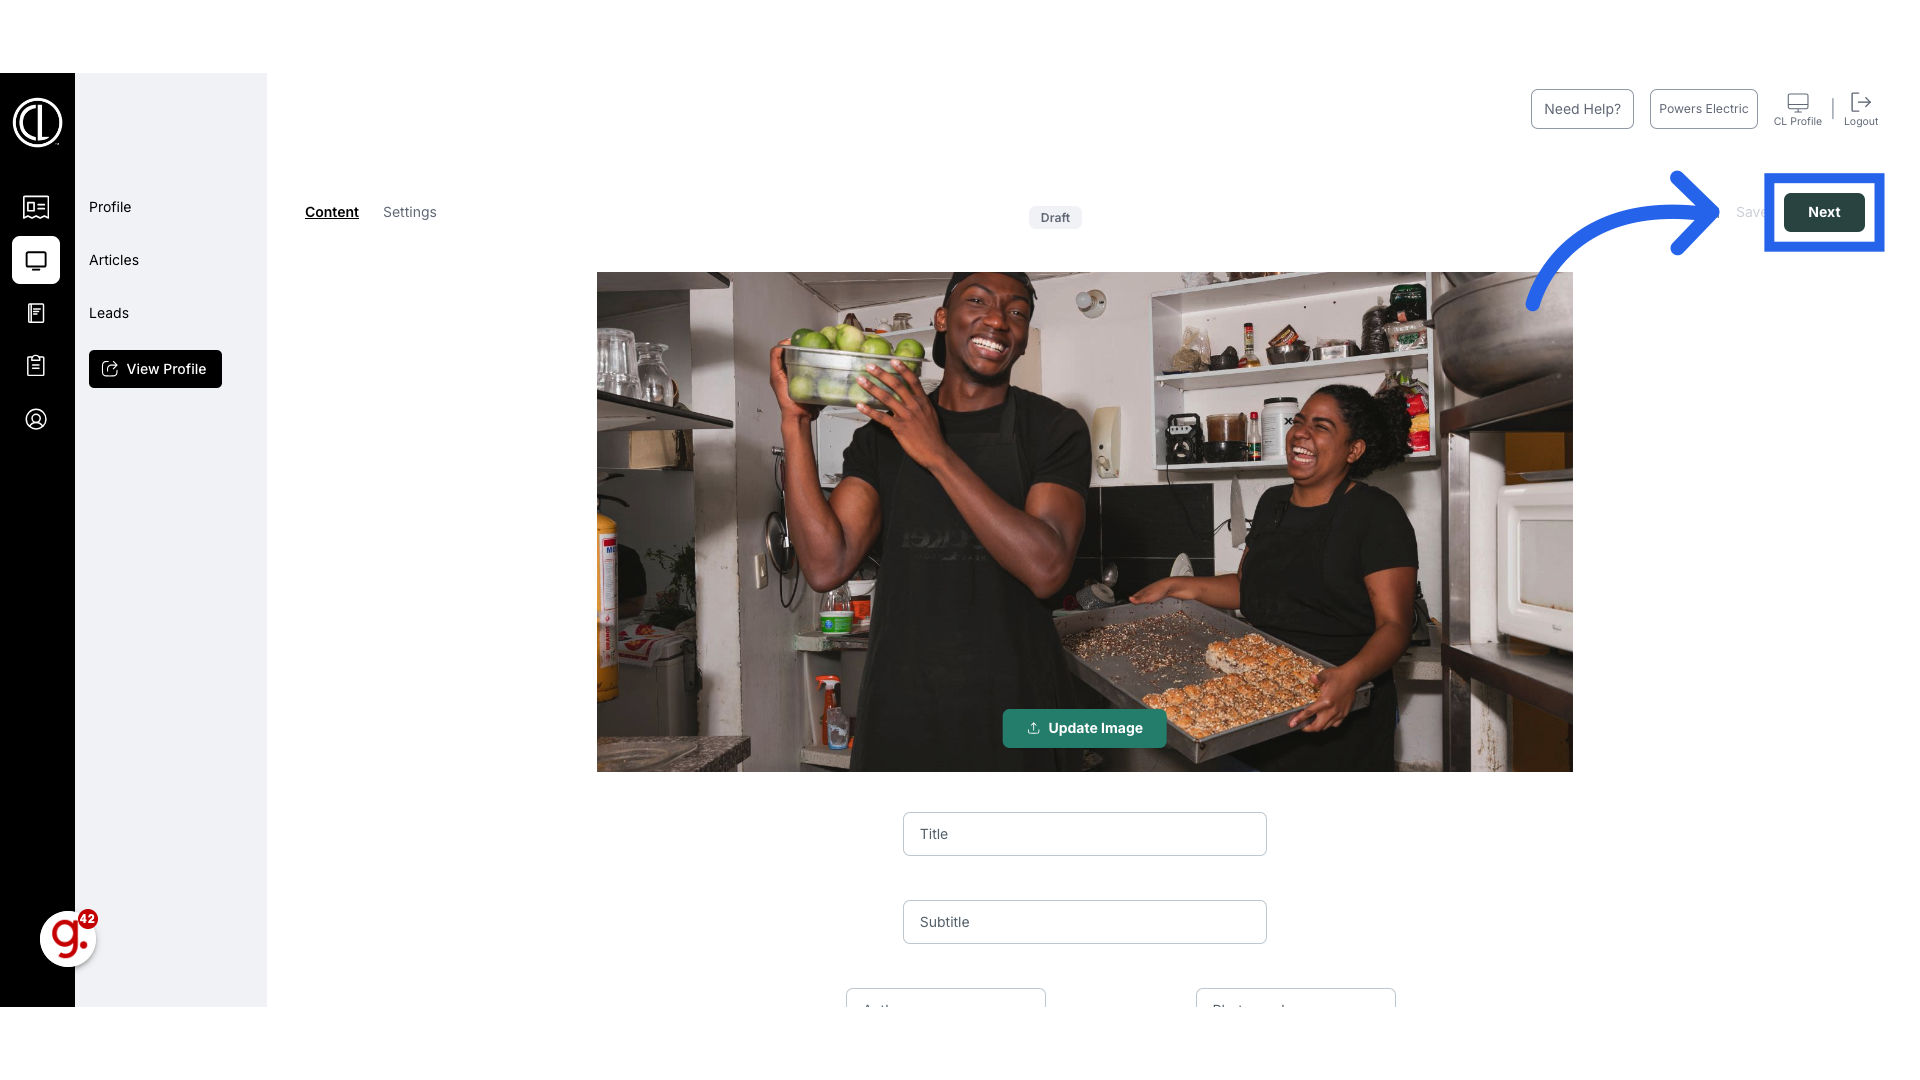
9. Click "Next"
When your article is complete, click Next in the top right corner
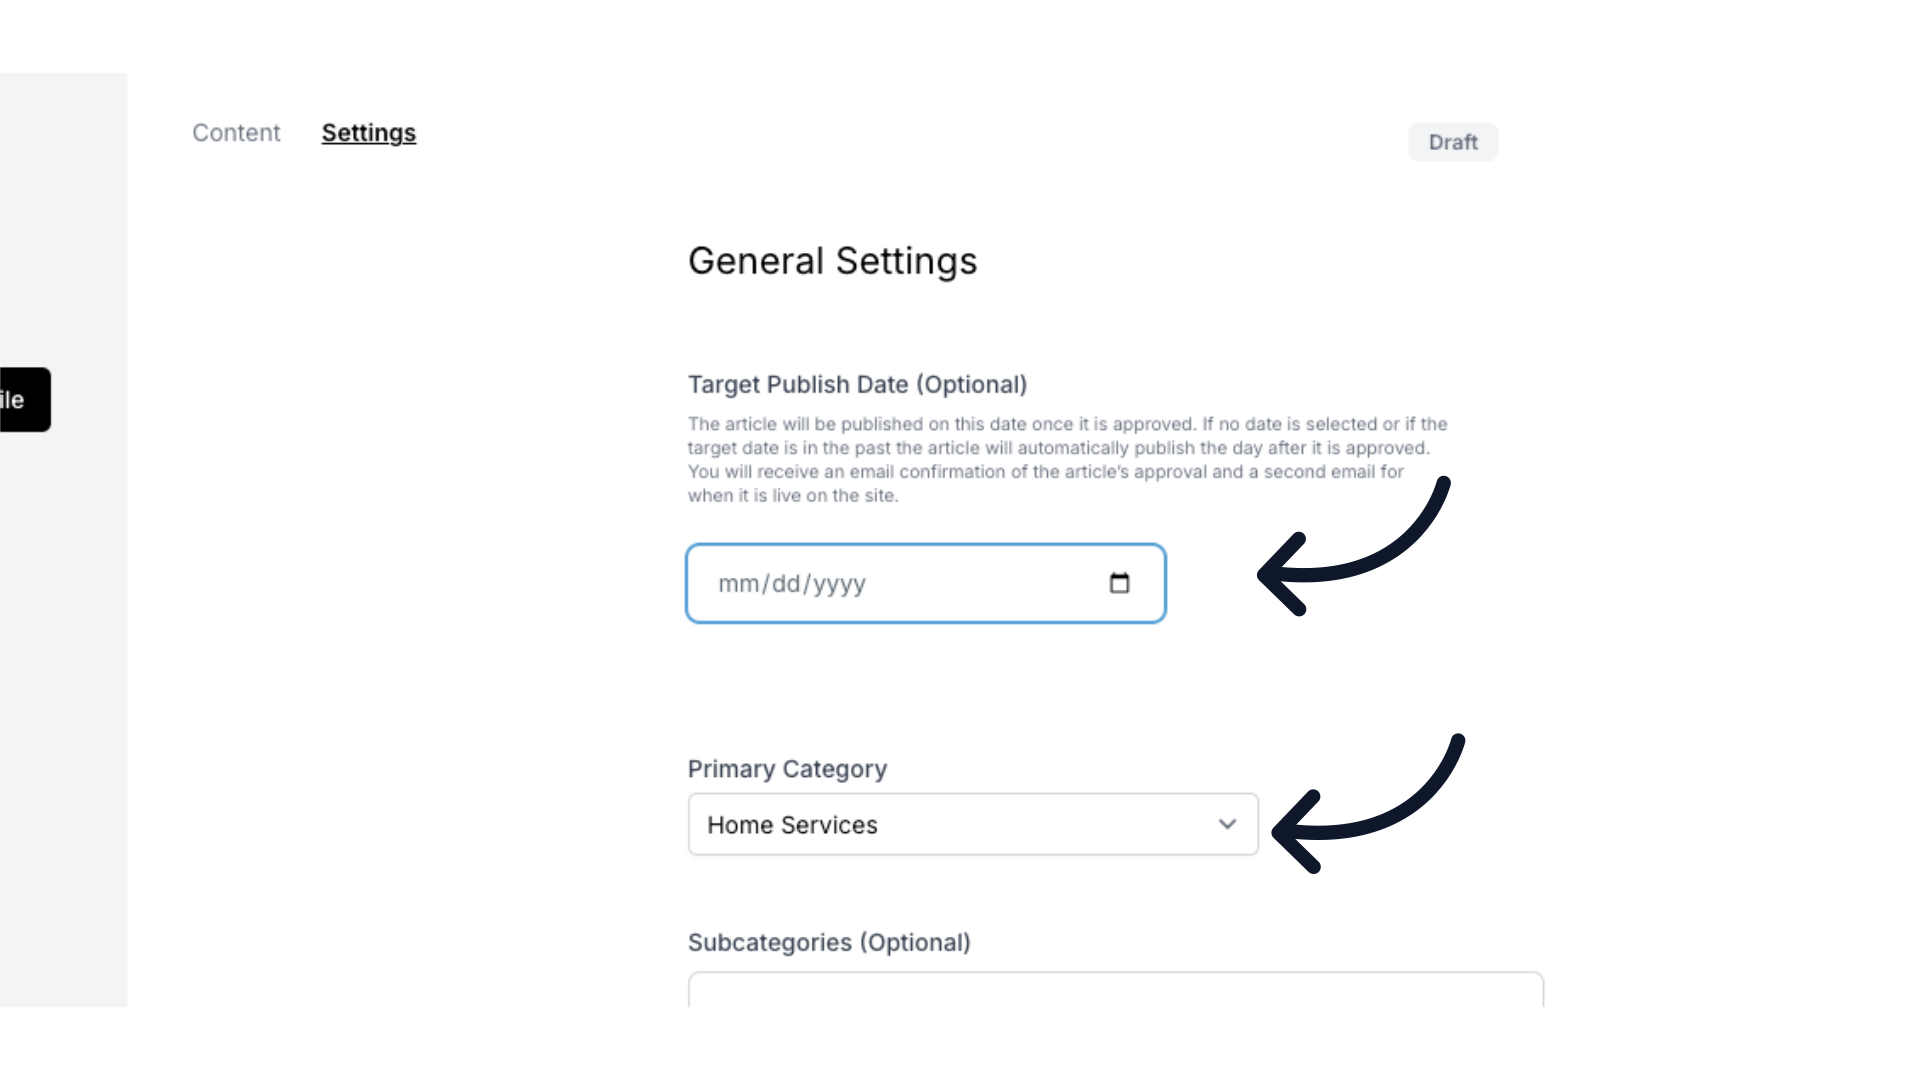
10. Select a target publish date and business category
This will take you to the settings tab. First you can select a target publish date if you would like. The article will be published on this date once it is approved. If no date is selected the article will automatically publish the day after it is approved. You will receive an email confirmation of the article’s approval and a second email for when it is live on the site. Next select the business category your article relates to.
11. Tag business, acknowledge partner content and select publication
Scroll down to add subcategories if you would like. Tag the business the article is featuring and if a company is paying for the article to be published you will select "sponsored content". Select the publication the article is in association with as well.
12. Fill in SEO information
In the SEO settings the Canonical URL will automatically populate with your title but you can edit it here if you would like. Enter a concise, descriptive title tag that will appear in search engine results. This should include relevant keywords and accurately describe the content of your article. Next write a brief summary (Approx 160 characters) that provides a clear overview of the article's content. This description will appear in search engine results and should entice users to click on the article.
13. Click "Submit". Your article will be reviewed and published within two business days.
At the top of the page click submit to submit the article for review. Your article will be reviewed and published within two business days after approval.
This guide covered the comprehensive process of creating a digital article in the Customer Portal.