Sending a Bulk Email to Contacts in ARC
Sending a bulk email enables you to efficiently reach all of your Primary Contacts on any account with a consistent message, ensuring that important information, updates, or promotional content is delivered to all relevant recipients simultaneously.
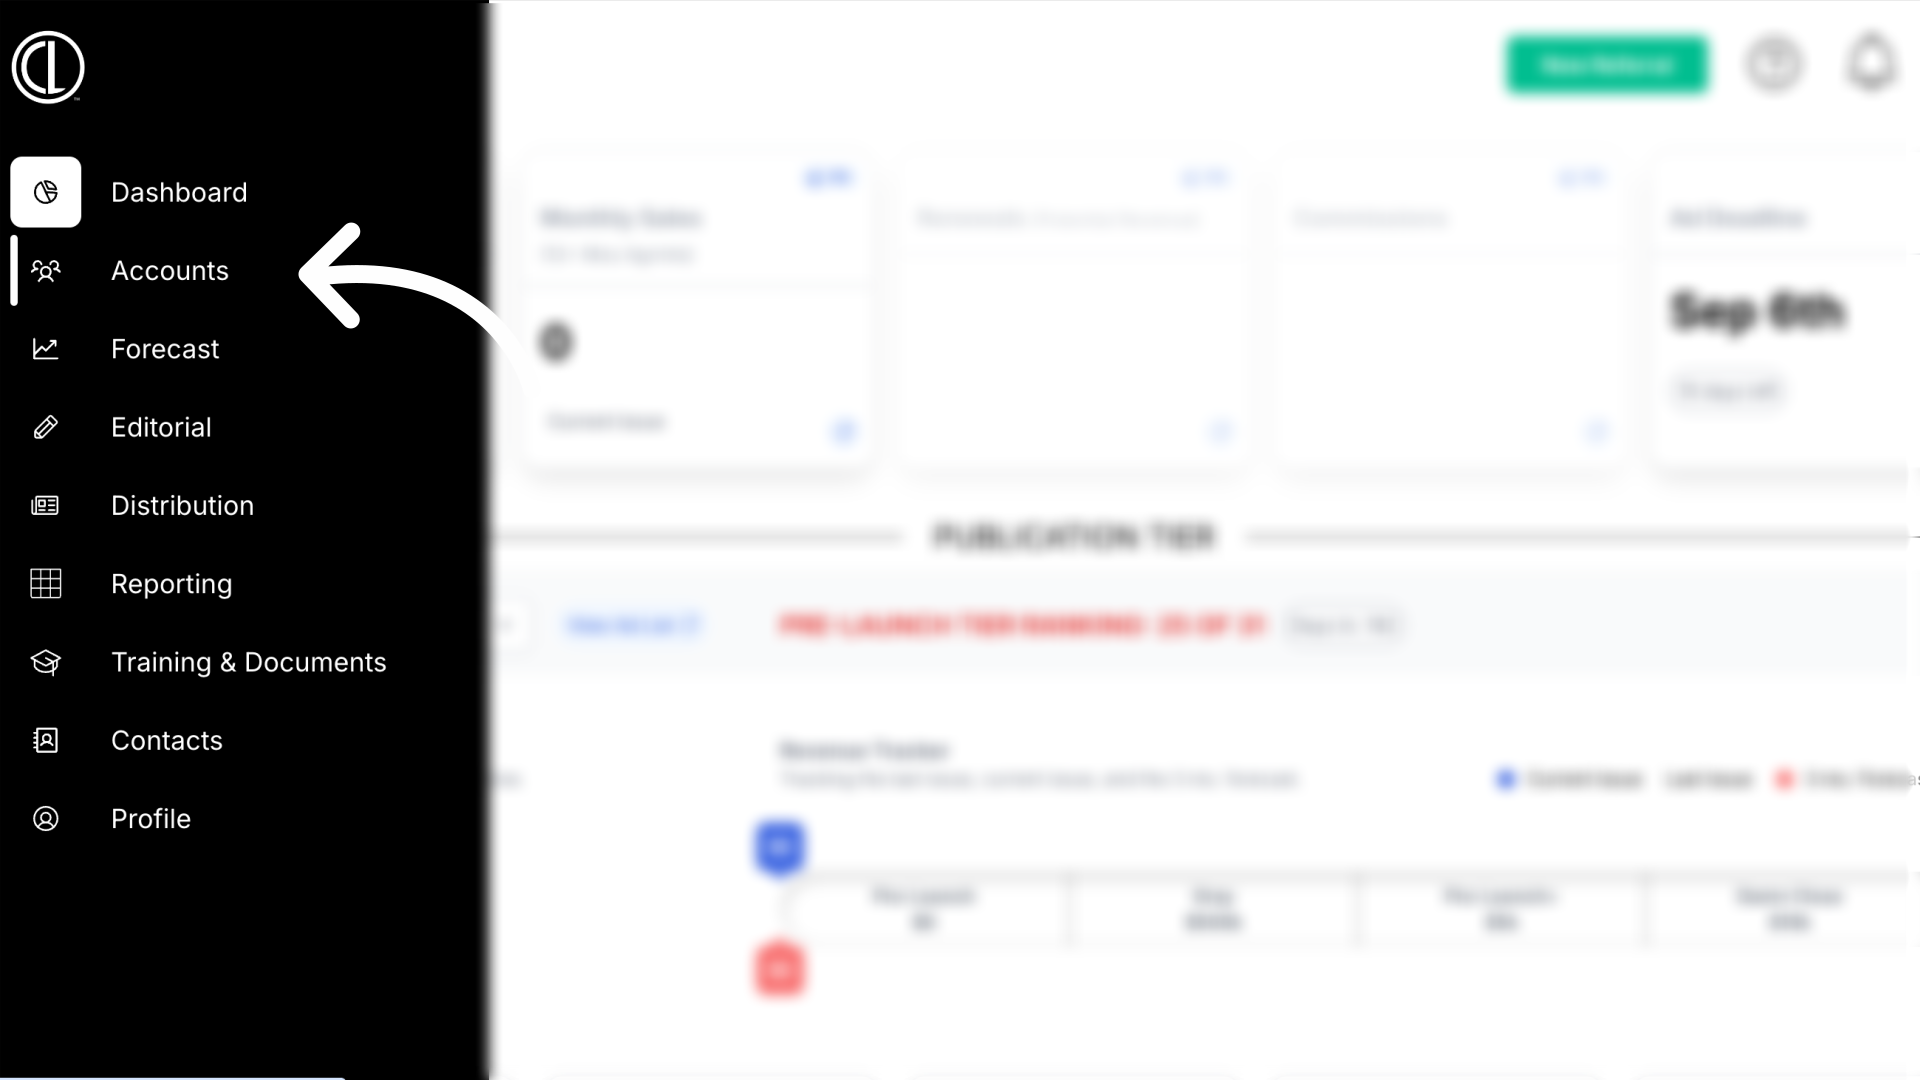
- In ARC, locate the menu on the left side of the screen and click on the “Accounts” tab.
- On the Accounts page, find and click on the “Accounts” tab at the top of the page.
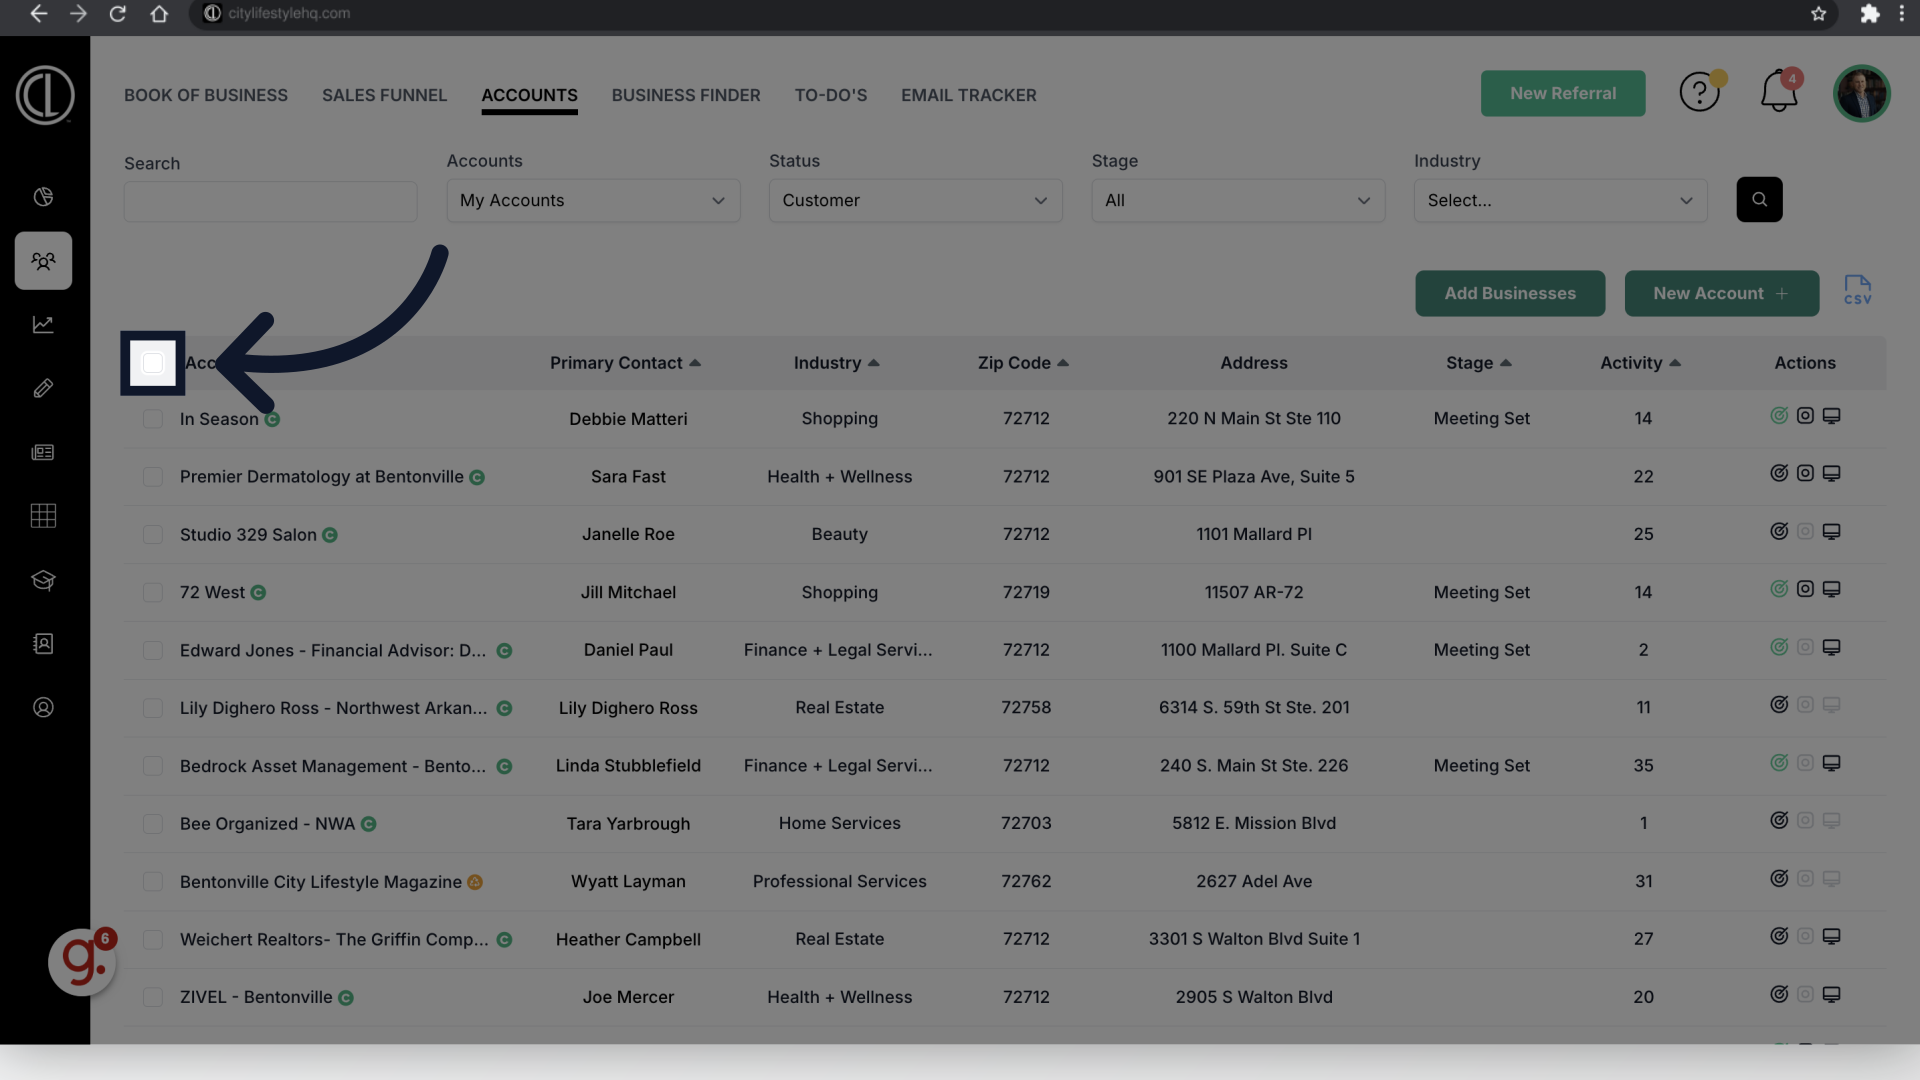
- At the top of the page, click on the Status drop-down menu and change the Status from “All” to “Customer.”
- The bulk email function under the Accounts tab can only able to be used to send to Customers. Please use the Sales Funnel Tab under the Accounts Tab in ARC to send a Bulk Email to Prospects.
- Locate your Hit List and choose the white box located next to Account Name under the title Hit List. Once the white box has been selected, Bulk Actions will populate. Select Bulk Actions, scroll to the bottom, and select Email to email Hit List Prospects.
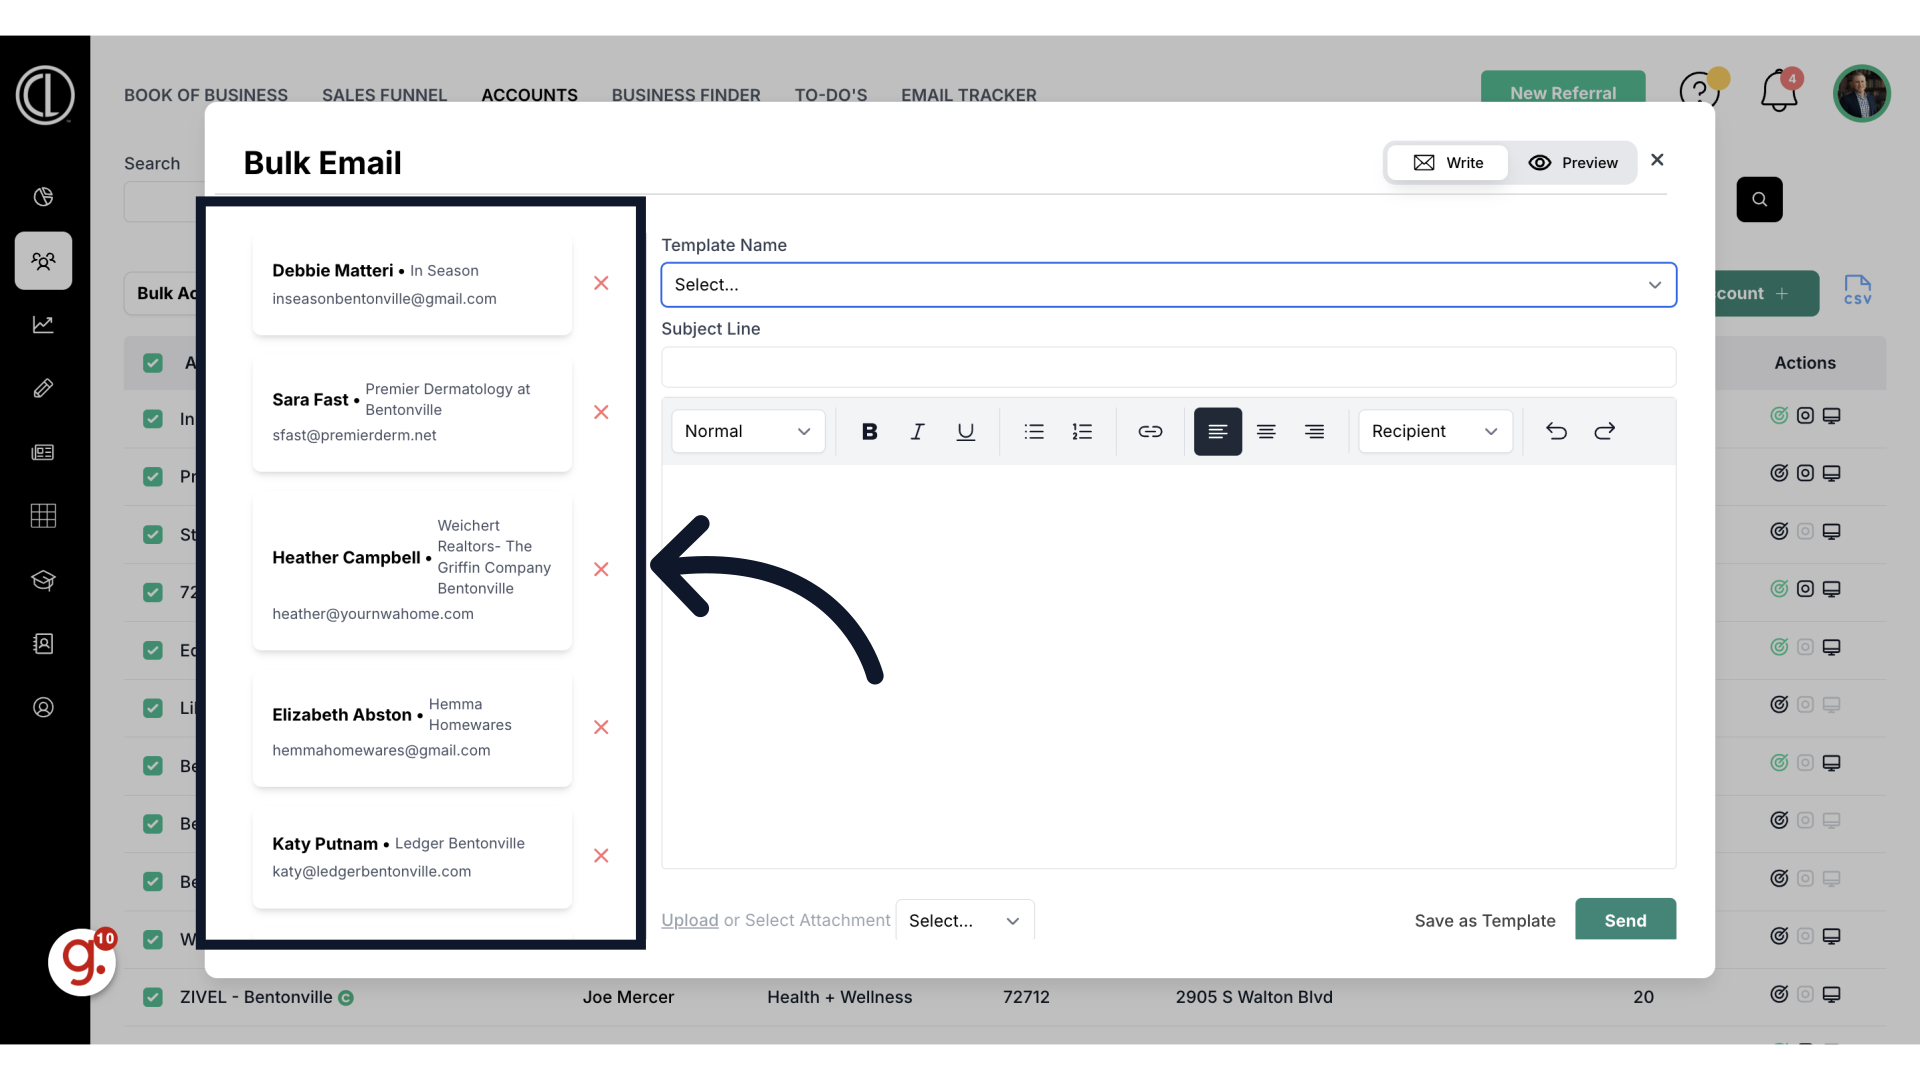
- To bulk email all customer accounts, click the white checkbox next to “Account Name” to select all clients, or you can individually check the boxes next to the specific accounts you want to email.
- Once the checkbox is selected or the specific accounts are chosen, the “Bulk Actions” dropdown menu will appear. Click on the “Bulk Actions” dropdown tab.
- From the “Bulk Actions” dropdown menu, select the “Email” option. An email box will populate on the screen.
- The email will be sent to all listed clients by default. To remove specific contacts, click the “Red X” next to the contact's name, business name, or email.
- Choose your email type:
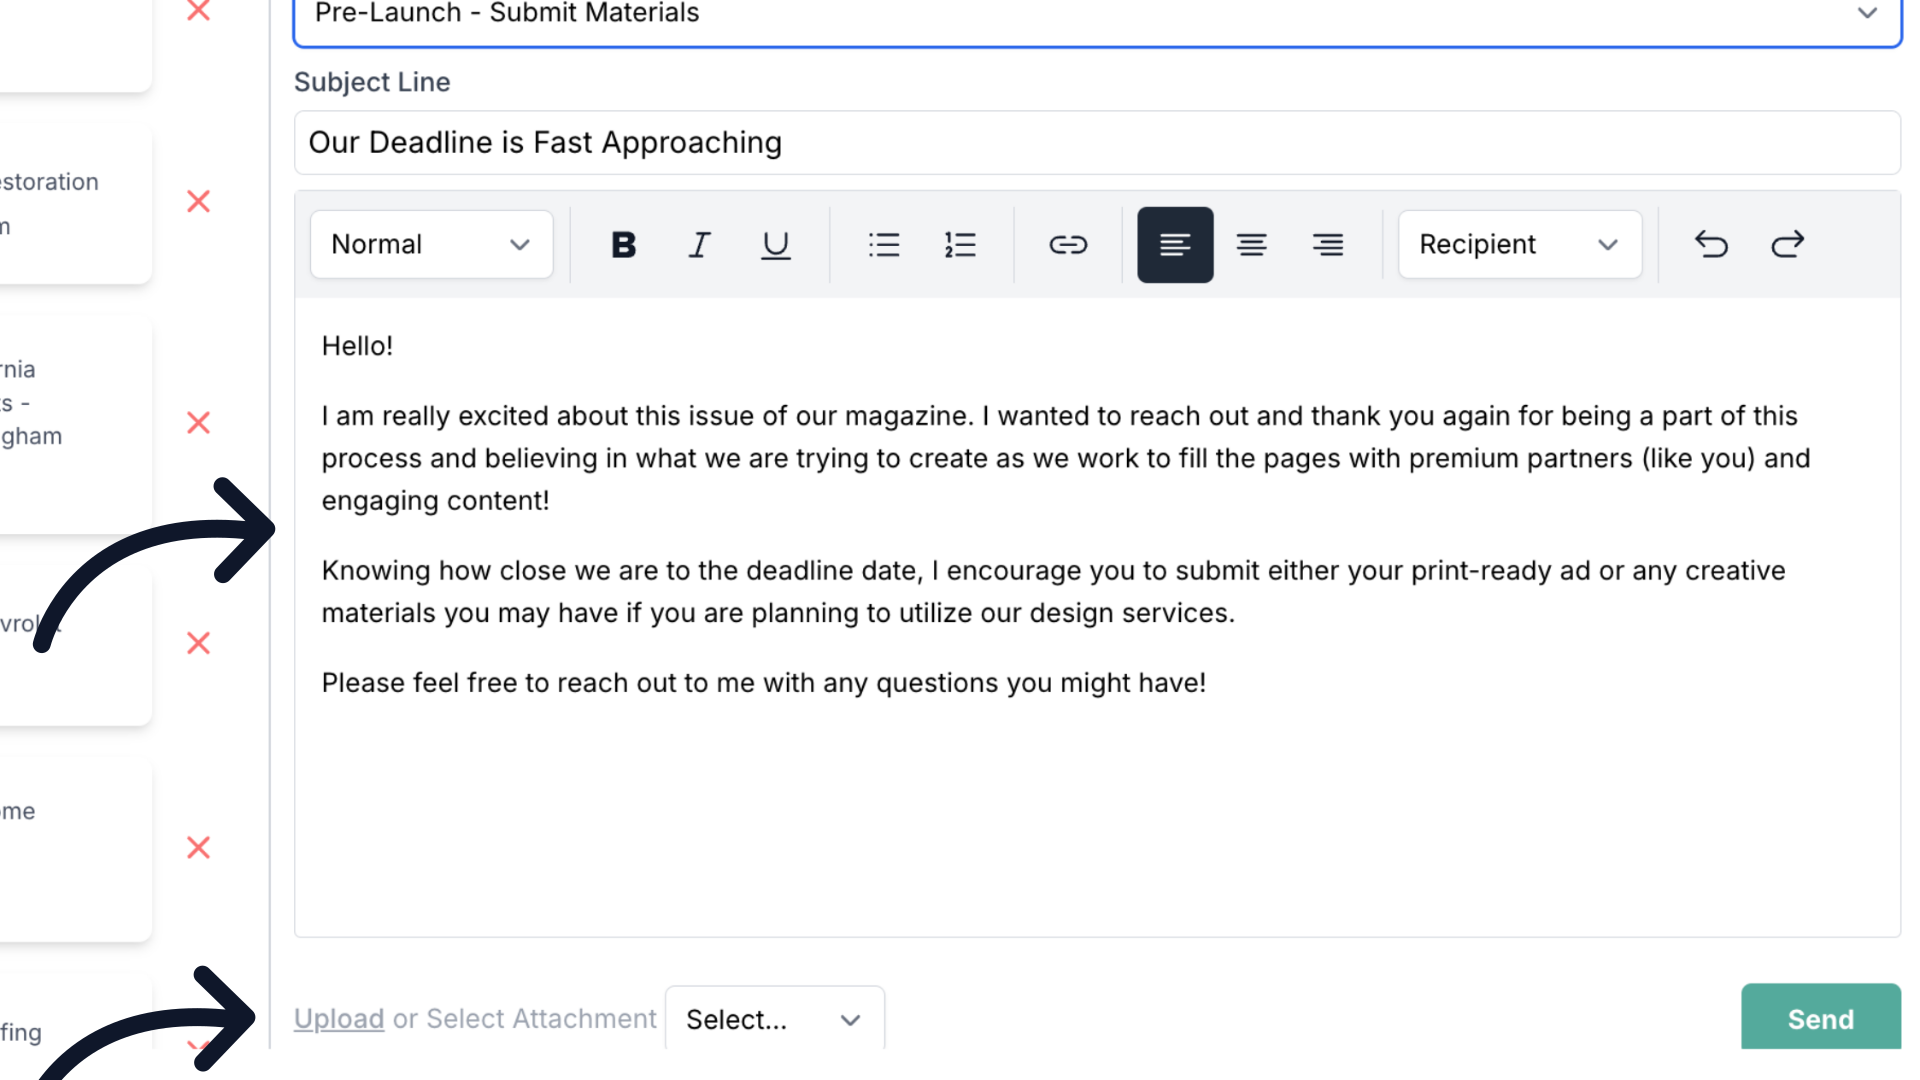
- For a Template Email, click on the drop-down menu titled “Template Name” at the top of the Bulk Email box and select the desired template. The subject line and email body will be automatically generated. You can edit the template as needed.
- For a Custom Email, type the Subject Line into the designated field first, then type the body of your email in the main text area. Format the email using the formatting tools.
- Upload or select any attachments if needed by using the attachment options available in the Bulk Email box.
- If you want to preview the email before sending, click the “Preview” button at the top right of the Bulk Email box. Review your email content in preview mode. To return to editing, click the “Write” button next to the “Preview” button.
- Once you are satisfied with the email content and any attachments, scroll to the bottom of the Bulk Email box and click the green “Send” button located at the bottom right.
How to Send a Bulk Email to Customers
This guide will walk you through sending a bulk email to your customers through ARC.
Go to citylifestylehq.com
1. Accounts Page
In ARC navigate to the Accounts page on the left hand side
2. Click "Accounts"
Click the "Accounts" tab at the top of the page
3. Change Status to "Customer"
Click on the Status dropdown menu, and change the Status from "All" to "Customer."

4. Check box
Click the white check box in the top left corner to select all of the customers listed. You can also individually select the customers one by one.
5. Click "Bulk Actions"
Click "Bulk Actions" and open the dropdown menu.
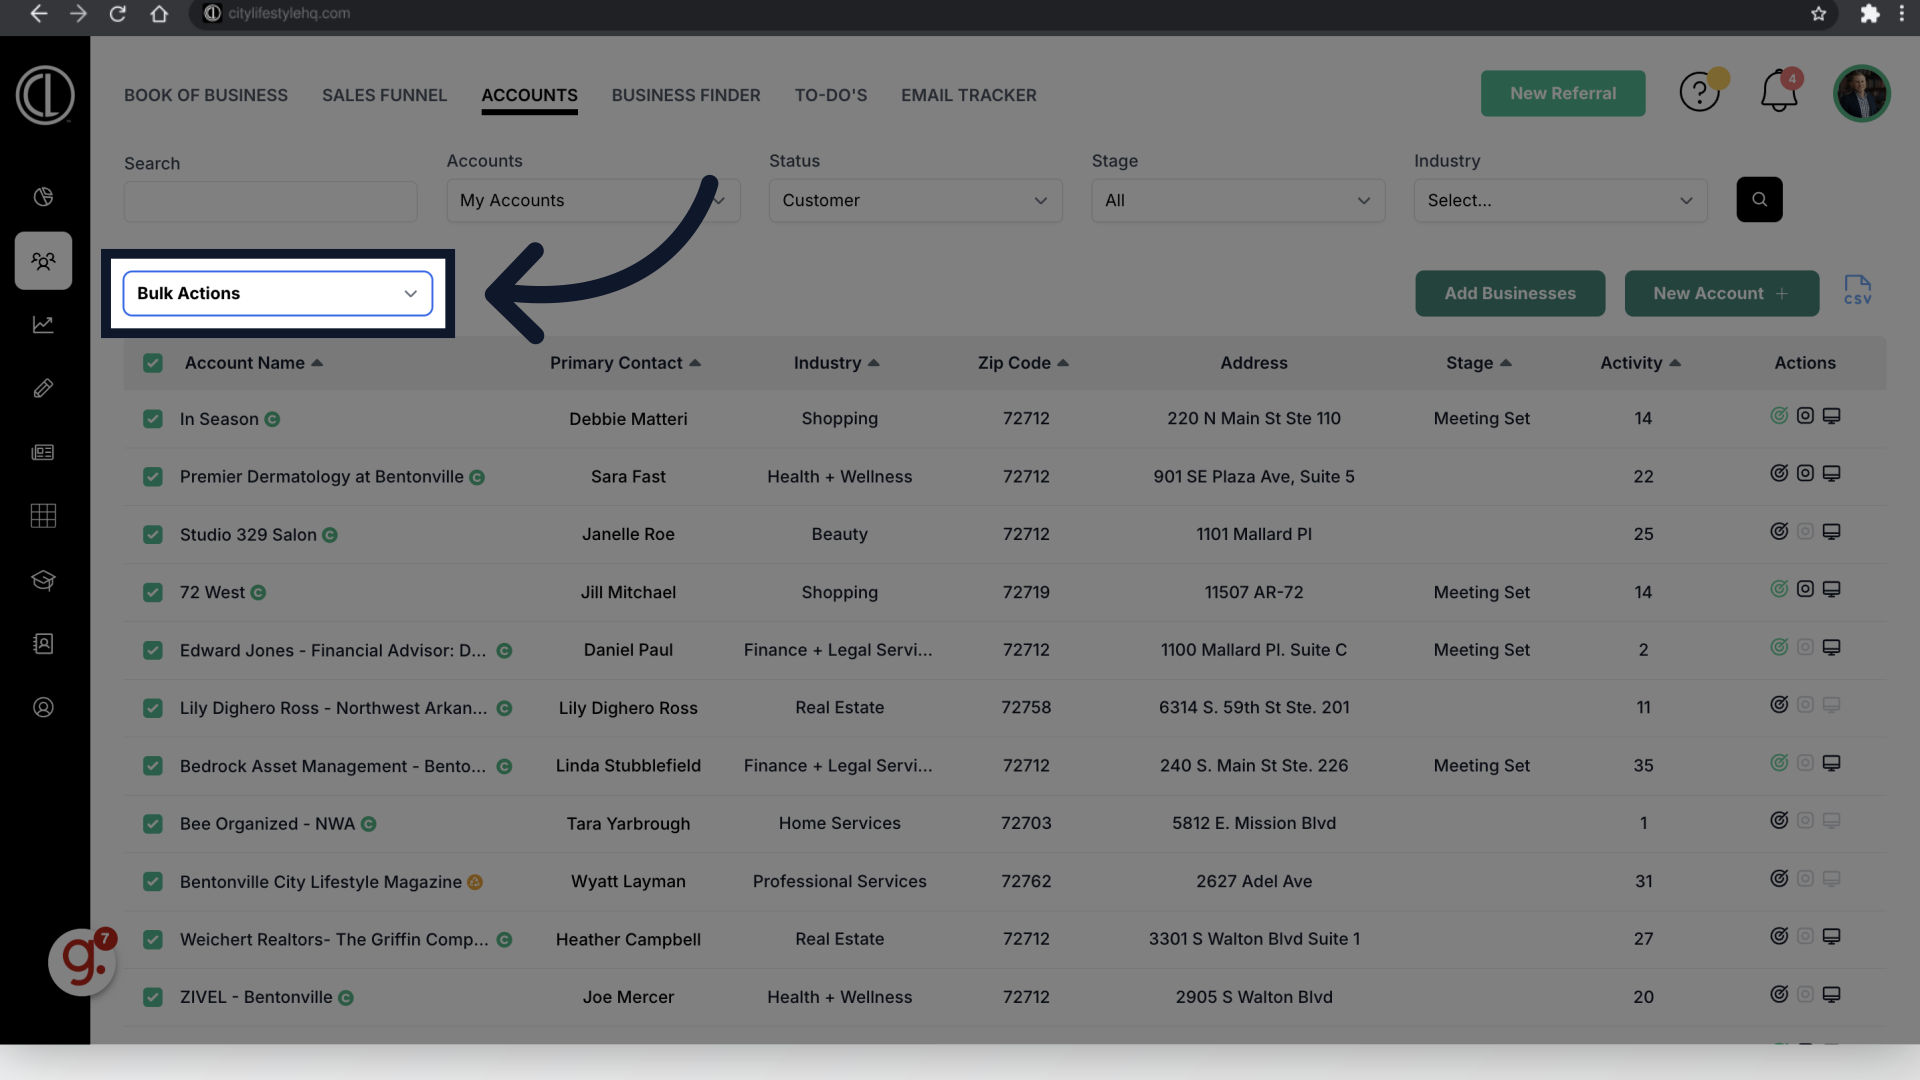
6. Click "Email"
Choose the "Email" option.

7. Select Template
Select your desired template from the drop down list or create a custom email.
8. Edit, Preview and Send
Use the "Preview" button to preview the email and the "Write" button to edit. Upload or select any attachments if needed. Once you are satisfied with the email content and any attachments, scroll to the bottom of the Bulk Email box and click the green "Send" button.
This guide covered the process of sending bulk emails to customers in ARC.